Here's my Pro Flex 856 restoration with some details and pictures.
This was my first venture into restoration, arguably somewhat unwise starting with a full sus with some whacky forks but in for a penny........
OK, I'd always loved Pro Flexes BITD, one of those bikes which just looked "right" which was rare i the early days of full suspension. So, when a tidy 857 came up for sale from someone on here I bought it with a view to an in depth but ultimately usable restore job. Somehow I ended up coming home with a spare 857 frame and this 856 (and since then another 857 and an RTS, whoops).
When I got it it was entirely functional and what I'd describe as "honest". It's obviously been cared for but it would benefit from a good bit of cleaning and attention. The obvious thing to do then would be a good clean, set up, new consumables and off we go. I decided that a full, back to the metal restore would be my course of action. :facepalm:
Off we go then. My intent with this was to get it as close to new spec and condition as was possible without going utterly loopy. New parts needed then were the usuals of BB, chain, headset, cables, brake blocks and the like along with other bits such as a full suite of stainless bolts throughout, a few nylon washers here and there for spacers etc in the bouncy bits. As well as that I bought a new bar to replace the riser that it had a) as I like flat bars and b) as that is what it came with when new and a seatpost as the existing one was cut down too far for me. Other than that, the cassette and chainrings were good, the tyres (Smokes) were good (although I'd like some skinwalls).
Here it is with the 857 when I got it home:
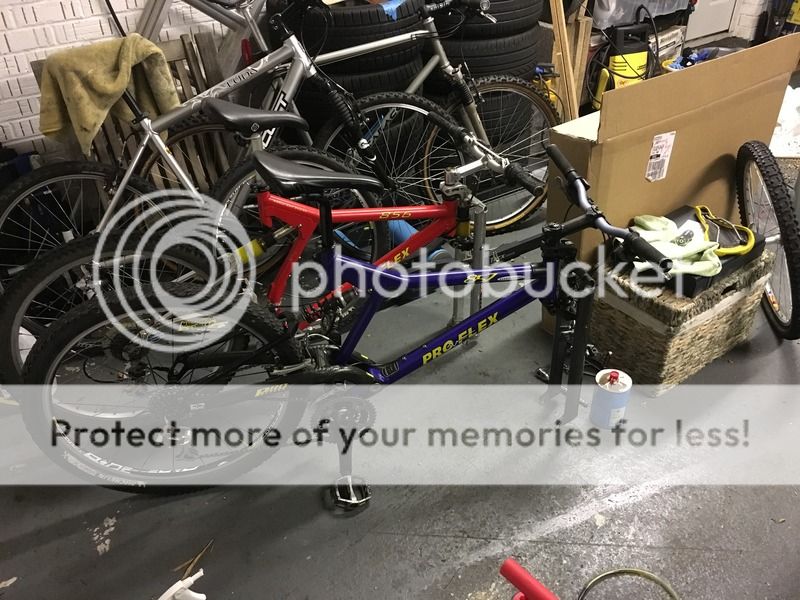
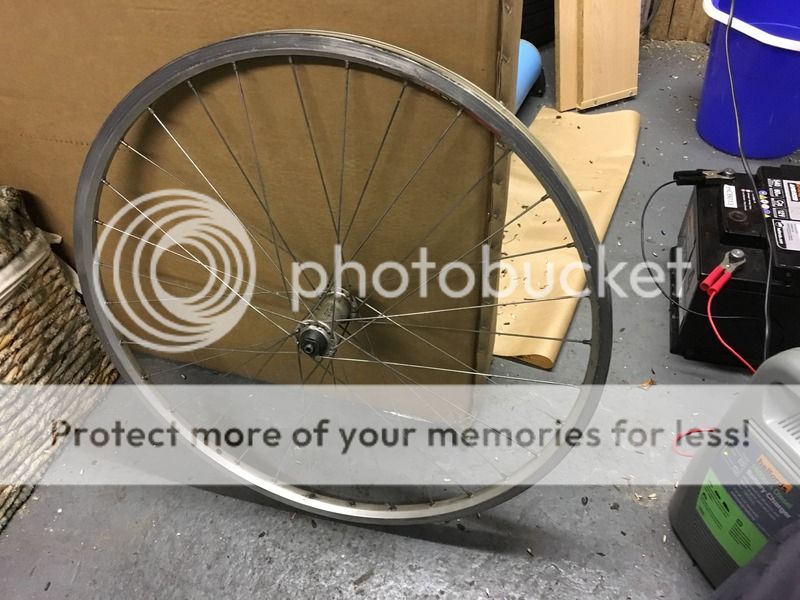
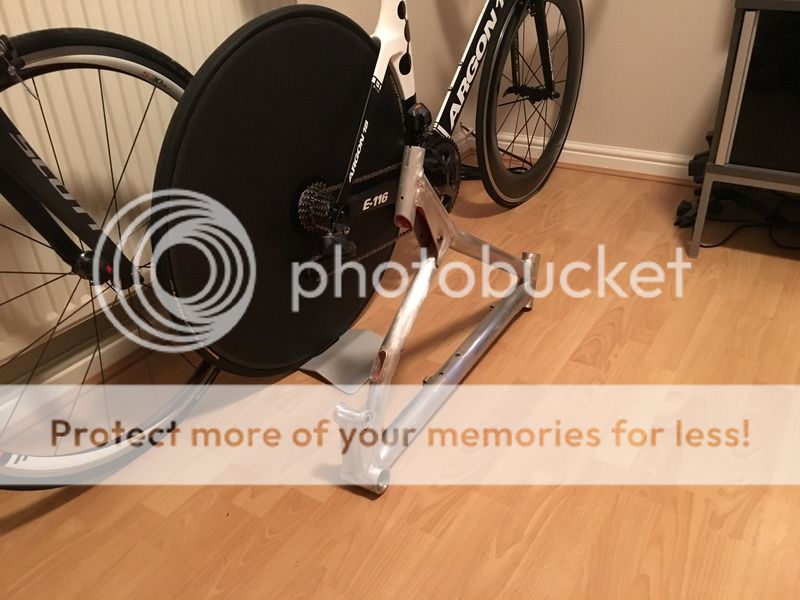
First job was the wheels which came up an absolute treat and while it was on my list to strip and rebuild the hubs they feel absolutely fine and buttery smooth so if it ain't broke.....
Before
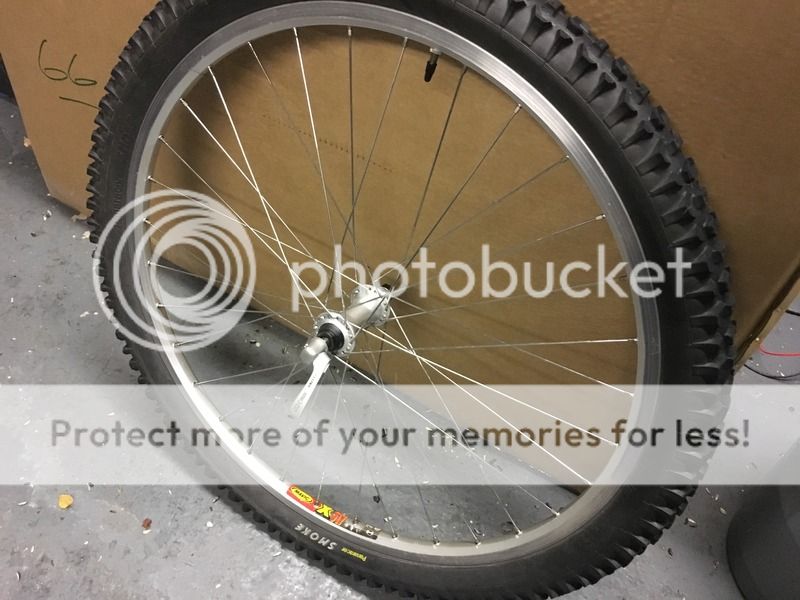
After
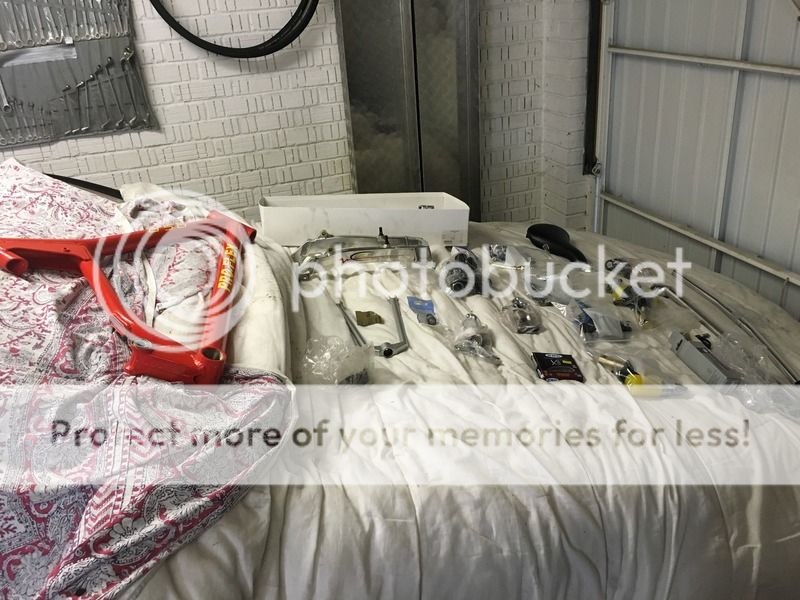
Then there was a load of dismantling, cleaning and fettling of all the components. It was all good just needed a damn good clean, someone during it's life sure did like chucking oil about the place. While that necessitated a hefty amount of degreaser it did mean that absolutely nothing was seized, bonus! I won't bore you with what a dirty and then clean mech or brake looks like.
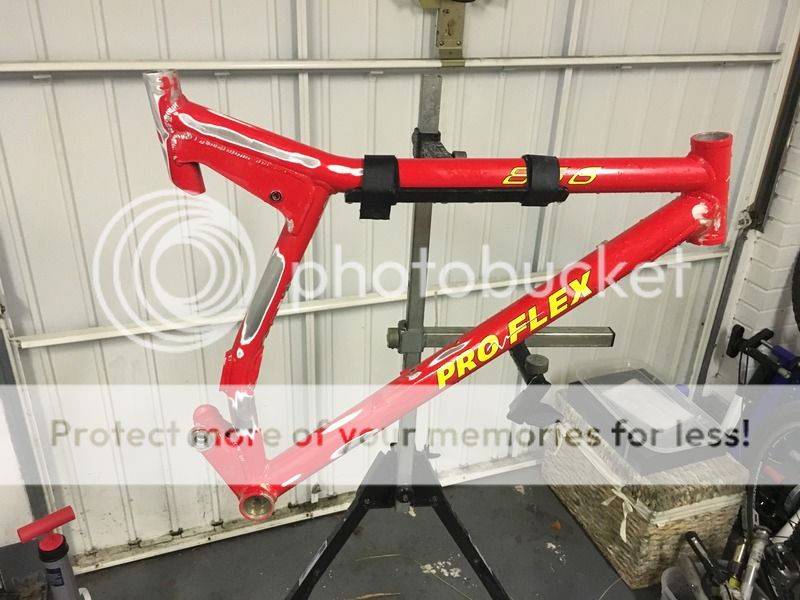
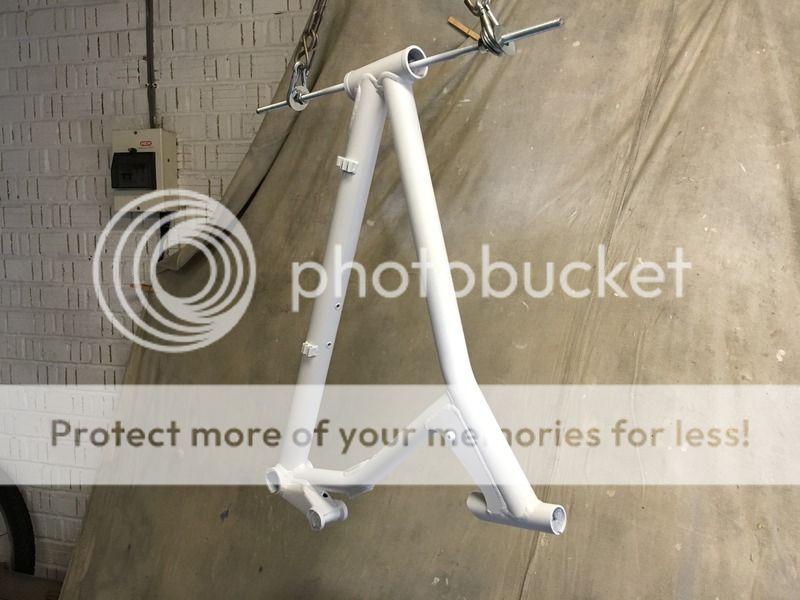
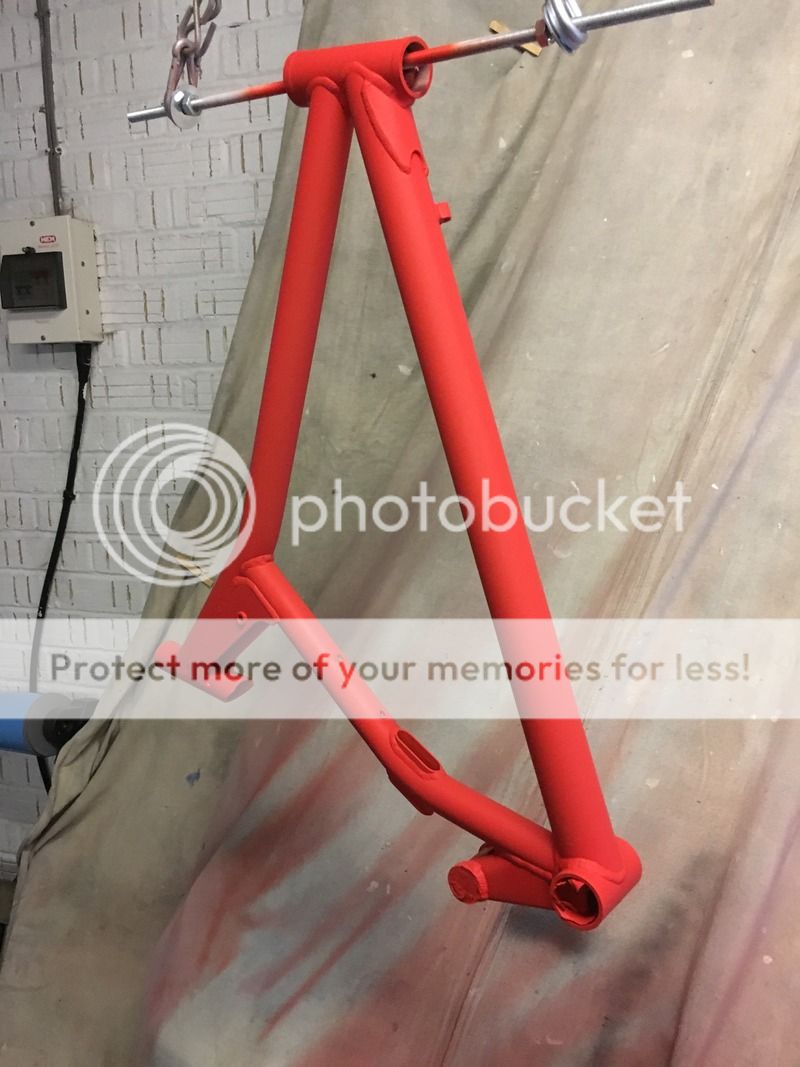
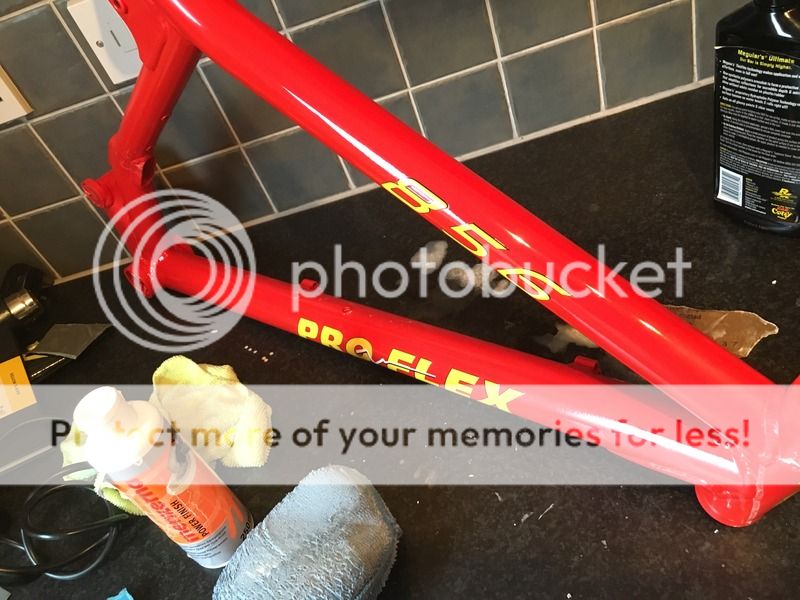
Onto the frame then, initial plan was to strip it back where there were chips and marks, then sand it flat, paint etc but after some faffing I decided it was better to go right back to the metal and start again. I (posh) rattle canned this one as much as an exercise in proving to myself that I could do it than anything else. Here's the various stages - doing it in sections, full strip, etch primer, white primer (several coats), base coat (several coats), decals (thanks Gil!), Clearcoat (several coats then a load of wetsanding and polishing!
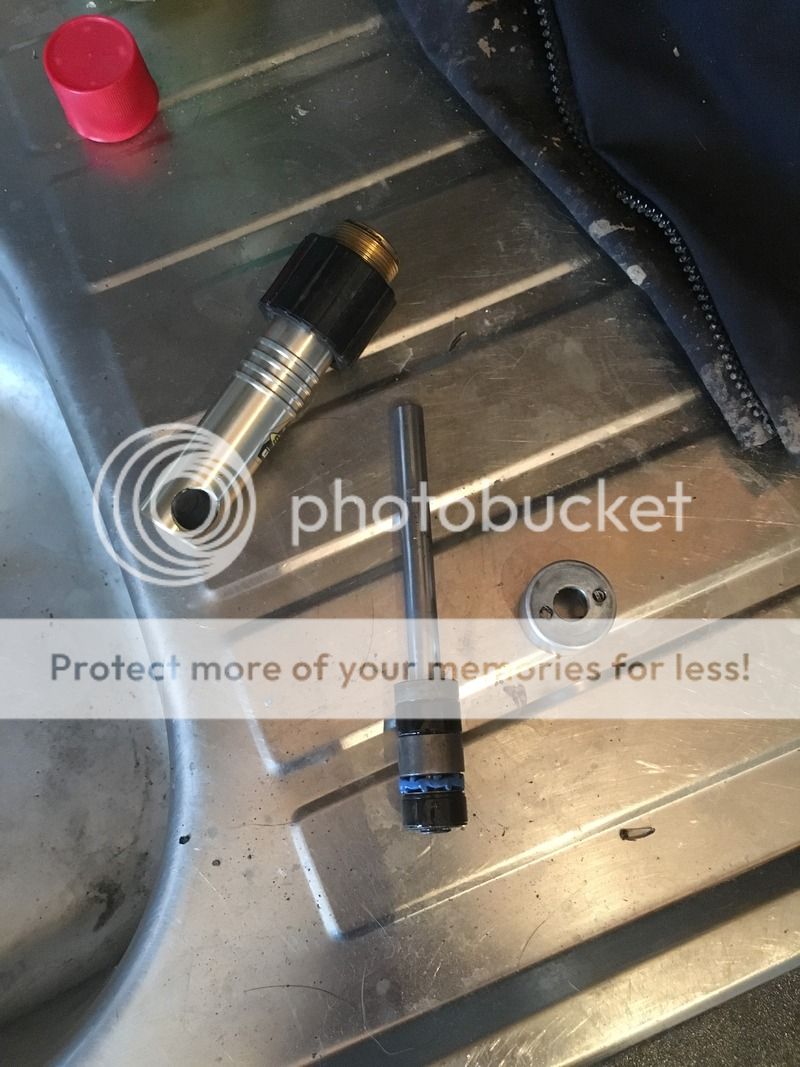
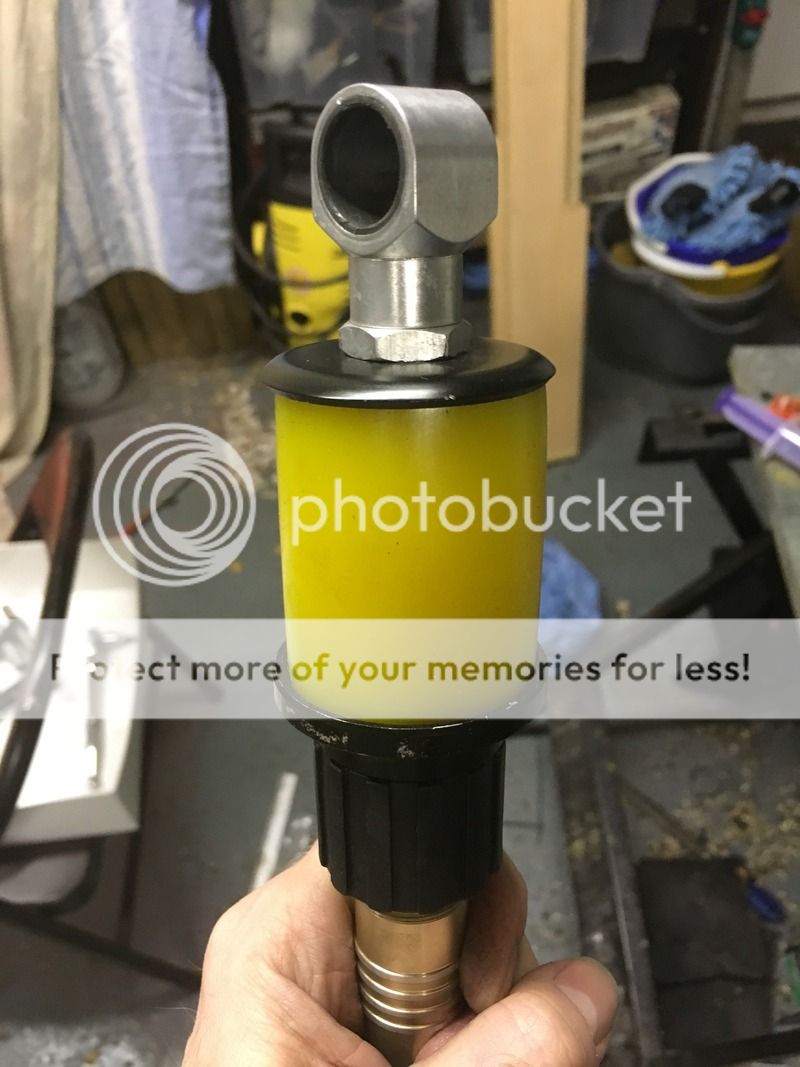
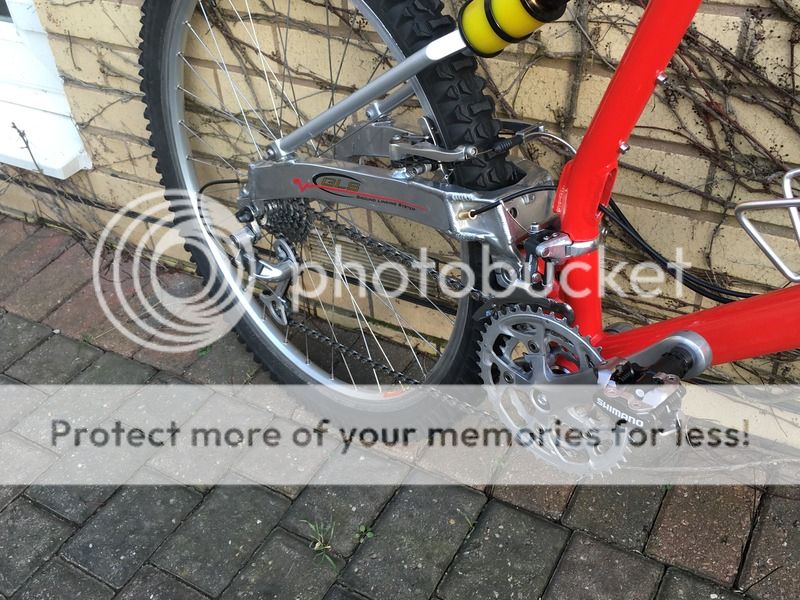
With all that going on I was also doing a lot of polishing and fiddling with the forks and both of the ODS shocks. The elastomers were fine and the shocks were OK but I stripped them both to give them a service and replace the fluid with the recommended lighter than standard type.
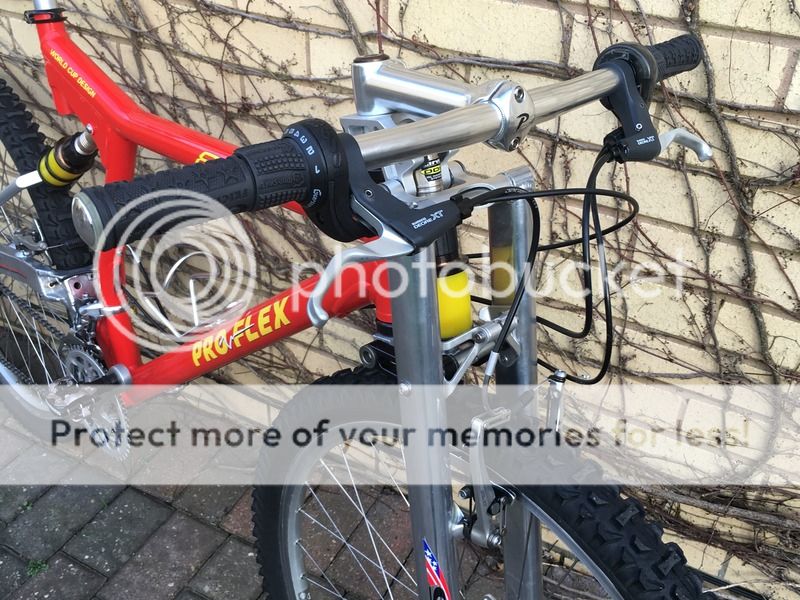
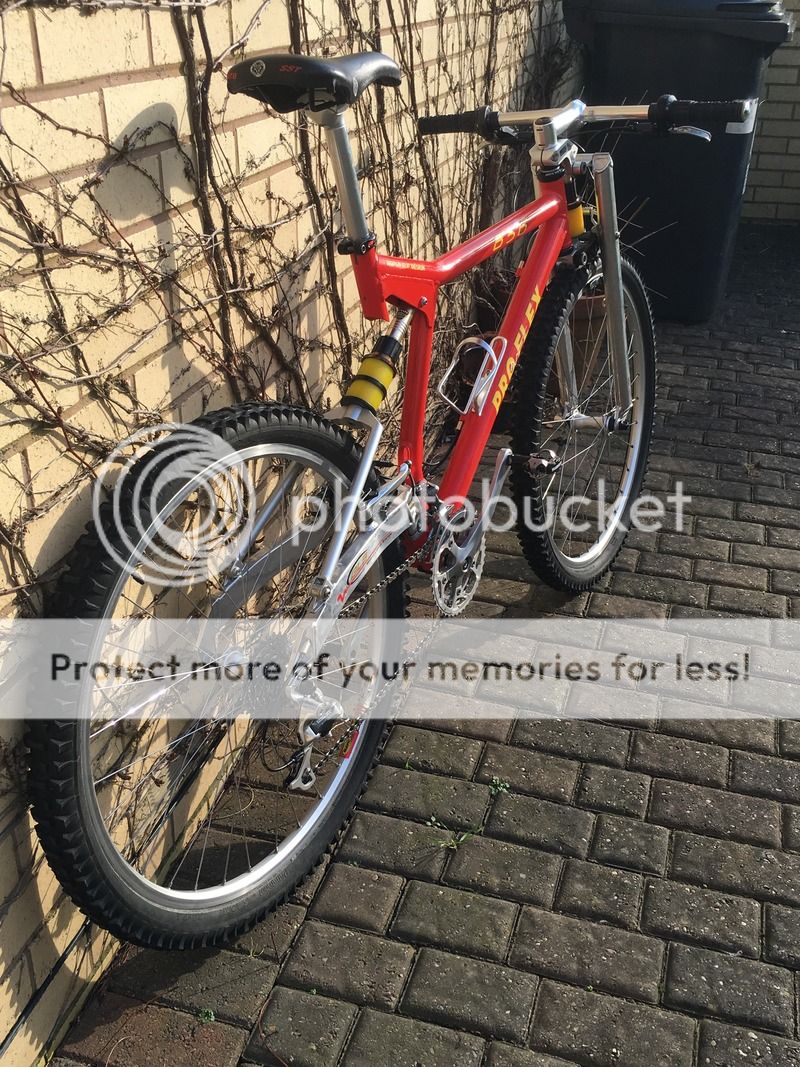
So, then it was a case of putting it all back together!

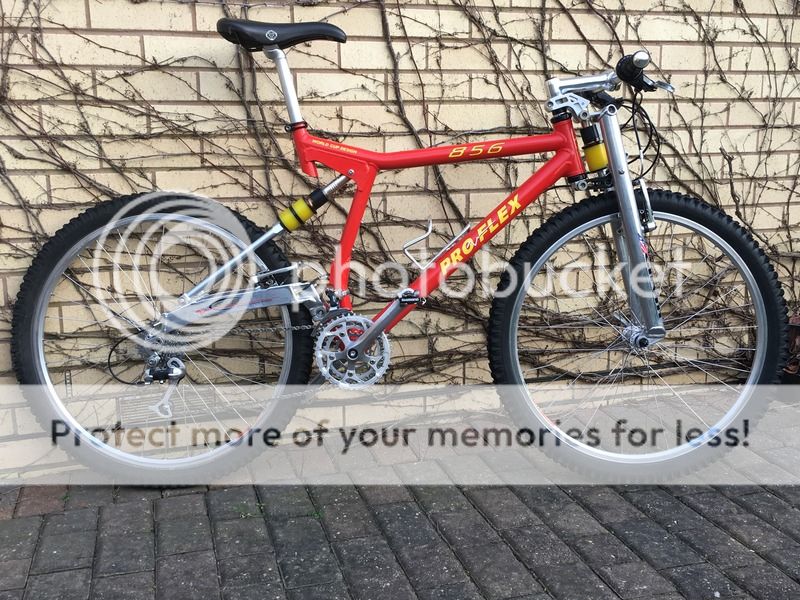
And after all that, here it is. Still need to do some helitaping to protect it but this one is going to be more of an ornament than a rider. I will take it out at least once and having ridden it up the road it's a lovely handling thing.
Phew, so next for me is the blue 857 which I've already stripped. No frame painting this time as for one thing the colour is a swine to match but I will be painting the forks as they're scratched up as well as various replacement bits and bobs.
This was my first venture into restoration, arguably somewhat unwise starting with a full sus with some whacky forks but in for a penny........
OK, I'd always loved Pro Flexes BITD, one of those bikes which just looked "right" which was rare i the early days of full suspension. So, when a tidy 857 came up for sale from someone on here I bought it with a view to an in depth but ultimately usable restore job. Somehow I ended up coming home with a spare 857 frame and this 856 (and since then another 857 and an RTS, whoops).
When I got it it was entirely functional and what I'd describe as "honest". It's obviously been cared for but it would benefit from a good bit of cleaning and attention. The obvious thing to do then would be a good clean, set up, new consumables and off we go. I decided that a full, back to the metal restore would be my course of action. :facepalm:
Off we go then. My intent with this was to get it as close to new spec and condition as was possible without going utterly loopy. New parts needed then were the usuals of BB, chain, headset, cables, brake blocks and the like along with other bits such as a full suite of stainless bolts throughout, a few nylon washers here and there for spacers etc in the bouncy bits. As well as that I bought a new bar to replace the riser that it had a) as I like flat bars and b) as that is what it came with when new and a seatpost as the existing one was cut down too far for me. Other than that, the cassette and chainrings were good, the tyres (Smokes) were good (although I'd like some skinwalls).
Here it is with the 857 when I got it home:
First job was the wheels which came up an absolute treat and while it was on my list to strip and rebuild the hubs they feel absolutely fine and buttery smooth so if it ain't broke.....
Before
After
Then there was a load of dismantling, cleaning and fettling of all the components. It was all good just needed a damn good clean, someone during it's life sure did like chucking oil about the place. While that necessitated a hefty amount of degreaser it did mean that absolutely nothing was seized, bonus! I won't bore you with what a dirty and then clean mech or brake looks like.
Onto the frame then, initial plan was to strip it back where there were chips and marks, then sand it flat, paint etc but after some faffing I decided it was better to go right back to the metal and start again. I (posh) rattle canned this one as much as an exercise in proving to myself that I could do it than anything else. Here's the various stages - doing it in sections, full strip, etch primer, white primer (several coats), base coat (several coats), decals (thanks Gil!), Clearcoat (several coats then a load of wetsanding and polishing!
With all that going on I was also doing a lot of polishing and fiddling with the forks and both of the ODS shocks. The elastomers were fine and the shocks were OK but I stripped them both to give them a service and replace the fluid with the recommended lighter than standard type.
So, then it was a case of putting it all back together!
And after all that, here it is. Still need to do some helitaping to protect it but this one is going to be more of an ornament than a rider. I will take it out at least once and having ridden it up the road it's a lovely handling thing.
Phew, so next for me is the blue 857 which I've already stripped. No frame painting this time as for one thing the colour is a swine to match but I will be painting the forks as they're scratched up as well as various replacement bits and bobs.