citrixccea
Retro Guru
Re: De-Anodizing and Polishing and Refurbishment of Campag P
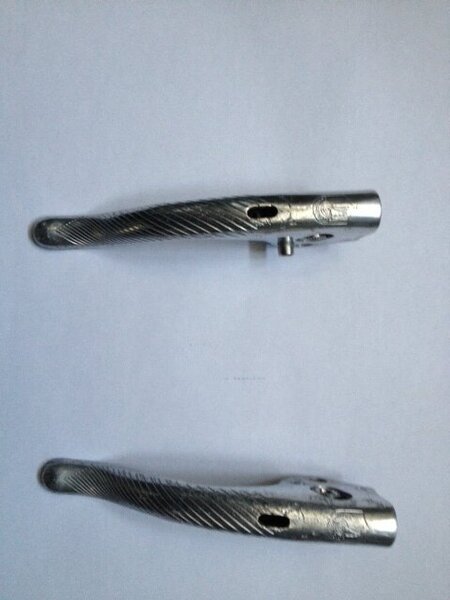
Found the pesky grub screw")
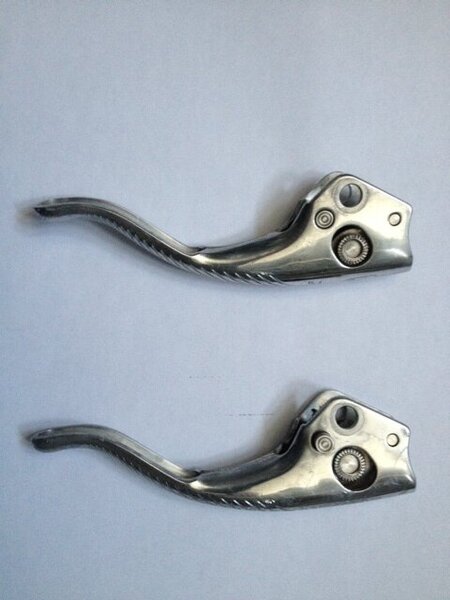
I like your results, but I didn't want these levers to look like NOS, so I've stripped the anodizing and then used 1500 grit, and then polished, polished, polished.
There are still some scrapes but I'm classifying those as 'Patina', and are in line with the history of the bike.
Thanks for your help, here are how my levers came up.
Found the pesky grub screw
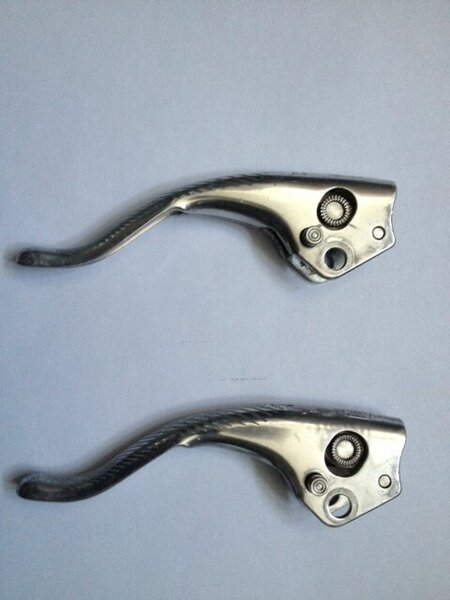
I like your results, but I didn't want these levers to look like NOS, so I've stripped the anodizing and then used 1500 grit, and then polished, polished, polished.
There are still some scrapes but I'm classifying those as 'Patina', and are in line with the history of the bike.
Thanks for your help, here are how my levers came up.