I see that the controversy has started again ! 
It’s interesting to see how strong opinions are (both ways) about the modifications
With regards handing out :facepalm:’s, the only :facepalm: that I think is required is for the folk that appear to be genuinely wound up / stressed out about what some guy is doing to an old yo frame that’s seen a hard life and has already been subject to some odd repairs … ;-)
The mods I am doing aren’t the first time they have been done on a yo, neither will they be the last – A disk braked yo even managed to find its way into the ‘30 years of Fat official party by Chris Chance & Wendyll Behrend’ and get a mention in the write up, without any negativity ;-)
Anyhow, back onto the build
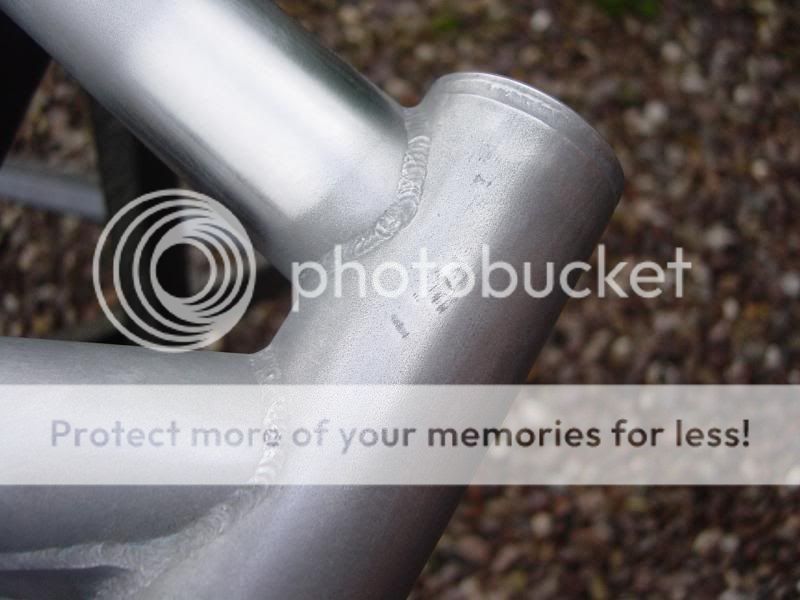
In preparation for soldering on the cable stops, brake pipe mounts, repairing the chain suck and adding the anti chain suck mounts, I had been wondering about the effects of heat on the ‘sealed’ tubes and if they originally had a vent somewhere that was sealed at the end of manufacture / before painting etc
I asked a few questions and got this very helpful response from Scott Bengtson over on FatCogs (User ID : I-ROBOT), Scott’s avatar photo reads “Chief Welder, Fat City Cycles, Somerville, MA’ … :shock:
-----------------------------------------------------------------------
Hello WD
It is virtually certain that I welded your seat tab, pizootie tab (the little seat stay gusset plate) small bridge tubes, brake cable bridge, brake mounts, and rear dropouts. I welded nearly all of them for the Yo's made in Somerville.
I welded quite a few of the Yo main triangles and most of the Fat titaniums and road frames. I did not weld many of the forks however
We did not use vent holes in the tubes. On a rare occasion a weld would pop as I went to seal it since the heat would build air pressure in the tube. Most of the time I would weld almost all the way around, let it cool completely and then go back and weld the last little part to finish it. I would always do that in an area that could be easily fixed if it did pop.
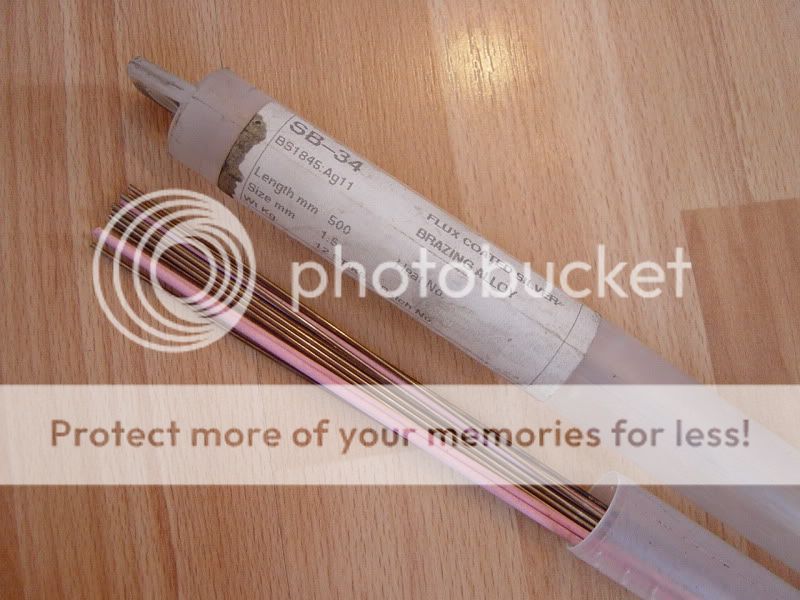
If I did have to use a vent hole (more common on repairs), I would drill a 1mm hole somewhere around the middle of the tube and usually toward the inside or bottom depending on which tube it was, finish the repair or weld whatever the operation was and then I would use a quick silver braze to seal the hole and then sand it smooth so it would not show.
I was perhaps the only American Welding Society Certified Welding Inspector and degreed welding engineer who worked welding bike frames in those days. There could have been others working at the big guys like Trek or Cannondale but I never knew of any personally
Thanks for your interest!
Scott
-----------------------------------------------------------------------
Bearing this in mind, I propose to solder the top tube cable stops, top tube and seat stay brake pipe mounts on without a vent hole (The top tube has already seen heat with me removing the cable stops – no detrimental effects).
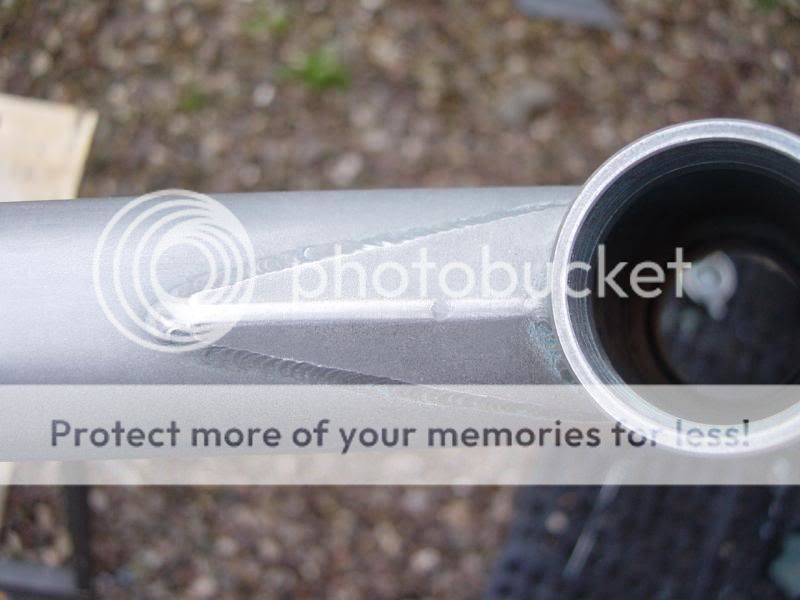
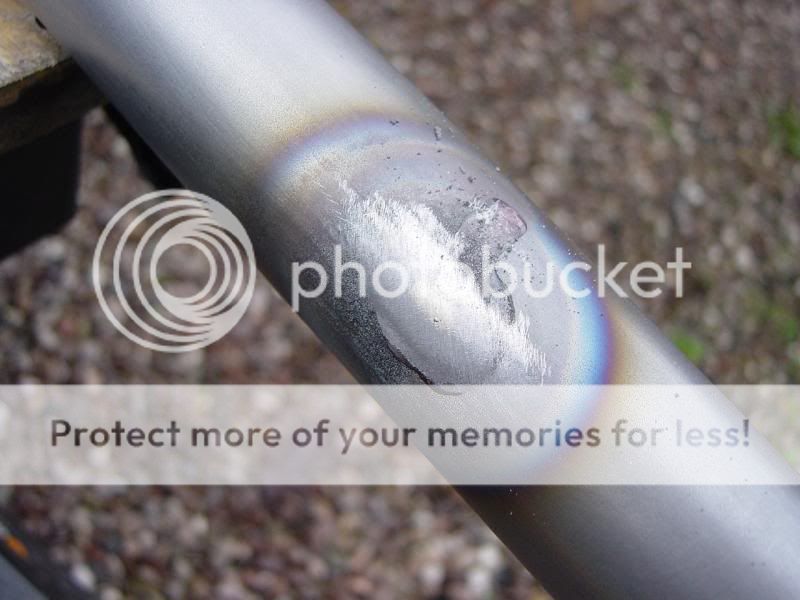
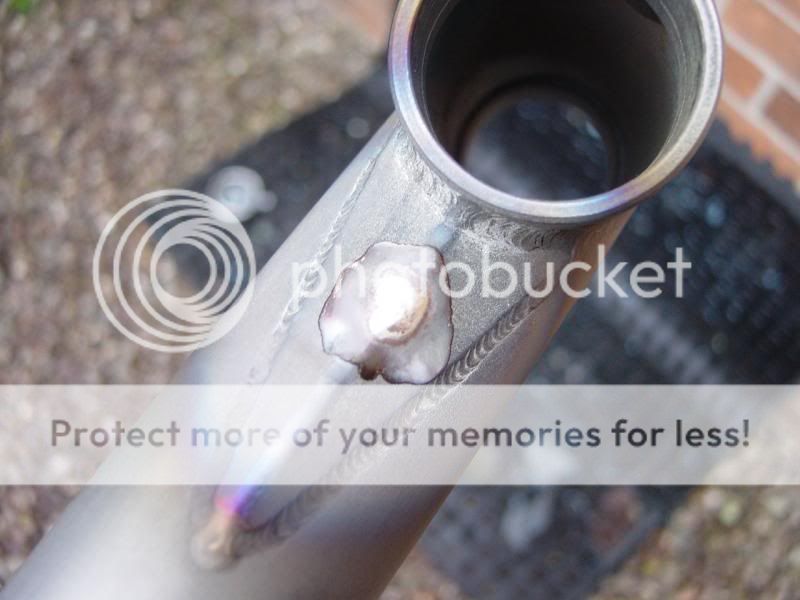
I will use a vent hole for the chain suck repair and the anti chain suck mounts – my logic being that this tube will see the most heat and it only has a small internal area to absorb the build in pressure.
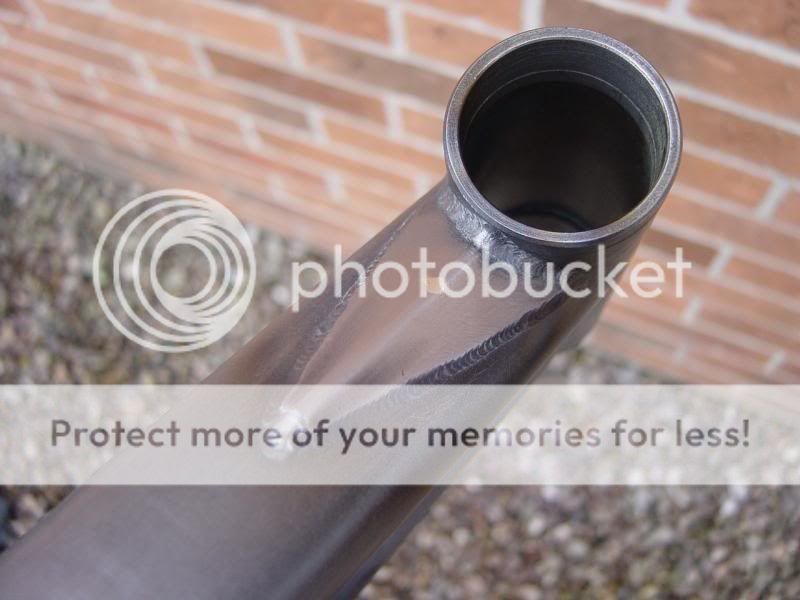
As I am not sure on the ideal hole position, I will put the vent hole in the end of the stay in the spot where most vented frames already have a hole – my logic being if it was a bad place it wouldn’t be so common ! I will fill the hole as the last operation once everything else has fully cooled.
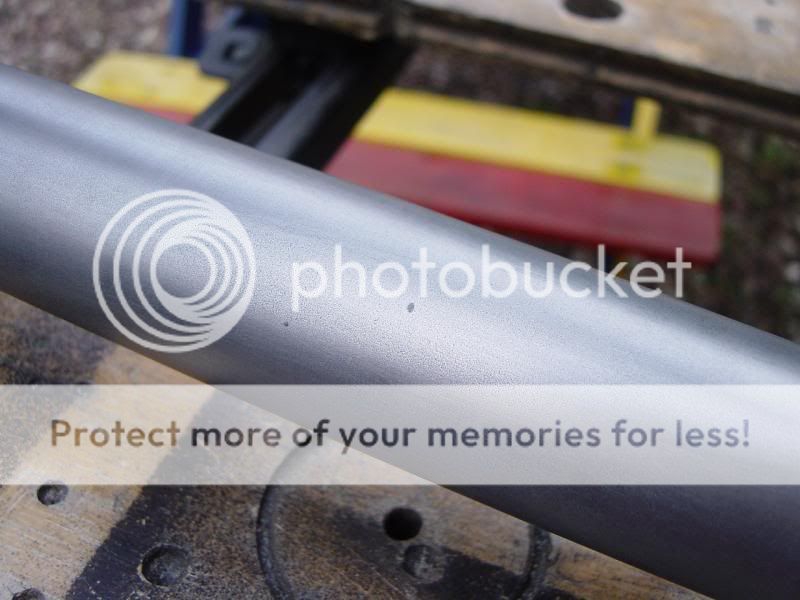
I just need to fully strip the frame now which is being a bit of a pain, the finish seems quite resilient to Nitromors – it takes ages and hardly does anything ? ! It worked quite well on the crank and forks … ? :-(
The new decals were dispatched from the states a couple of days ago now so I should have them soon
WD
It’s interesting to see how strong opinions are (both ways) about the modifications
With regards handing out :facepalm:’s, the only :facepalm: that I think is required is for the folk that appear to be genuinely wound up / stressed out about what some guy is doing to an old yo frame that’s seen a hard life and has already been subject to some odd repairs … ;-)
The mods I am doing aren’t the first time they have been done on a yo, neither will they be the last – A disk braked yo even managed to find its way into the ‘30 years of Fat official party by Chris Chance & Wendyll Behrend’ and get a mention in the write up, without any negativity ;-)
Anyhow, back onto the build
In preparation for soldering on the cable stops, brake pipe mounts, repairing the chain suck and adding the anti chain suck mounts, I had been wondering about the effects of heat on the ‘sealed’ tubes and if they originally had a vent somewhere that was sealed at the end of manufacture / before painting etc
I asked a few questions and got this very helpful response from Scott Bengtson over on FatCogs (User ID : I-ROBOT), Scott’s avatar photo reads “Chief Welder, Fat City Cycles, Somerville, MA’ … :shock:
-----------------------------------------------------------------------
Hello WD
It is virtually certain that I welded your seat tab, pizootie tab (the little seat stay gusset plate) small bridge tubes, brake cable bridge, brake mounts, and rear dropouts. I welded nearly all of them for the Yo's made in Somerville.
I welded quite a few of the Yo main triangles and most of the Fat titaniums and road frames. I did not weld many of the forks however
We did not use vent holes in the tubes. On a rare occasion a weld would pop as I went to seal it since the heat would build air pressure in the tube. Most of the time I would weld almost all the way around, let it cool completely and then go back and weld the last little part to finish it. I would always do that in an area that could be easily fixed if it did pop.
If I did have to use a vent hole (more common on repairs), I would drill a 1mm hole somewhere around the middle of the tube and usually toward the inside or bottom depending on which tube it was, finish the repair or weld whatever the operation was and then I would use a quick silver braze to seal the hole and then sand it smooth so it would not show.
I was perhaps the only American Welding Society Certified Welding Inspector and degreed welding engineer who worked welding bike frames in those days. There could have been others working at the big guys like Trek or Cannondale but I never knew of any personally
Thanks for your interest!
Scott
-----------------------------------------------------------------------
Bearing this in mind, I propose to solder the top tube cable stops, top tube and seat stay brake pipe mounts on without a vent hole (The top tube has already seen heat with me removing the cable stops – no detrimental effects).
I will use a vent hole for the chain suck repair and the anti chain suck mounts – my logic being that this tube will see the most heat and it only has a small internal area to absorb the build in pressure.
As I am not sure on the ideal hole position, I will put the vent hole in the end of the stay in the spot where most vented frames already have a hole – my logic being if it was a bad place it wouldn’t be so common ! I will fill the hole as the last operation once everything else has fully cooled.
I just need to fully strip the frame now which is being a bit of a pain, the finish seems quite resilient to Nitromors – it takes ages and hardly does anything ? ! It worked quite well on the crank and forks … ? :-(
The new decals were dispatched from the states a couple of days ago now so I should have them soon
WD