Fat Chance 1992 Yo Eddy Rebuild

The M95x cranks are anodised then powdercoated. The grey underneath is the anodising.
At last I understand what the BB parts are for!
 
NeilM":1r2oycmc said:
Purple! I shudder to the core of my very being, and yet, I am powerless to look away. :shock:

Well I spotted these from two different sellers and couldnt resist ...


The Sony captures them as a pastel shade :( but the iPhone does a better job :


That's actually how bright they look in real life :shock:

Just to see how things are going on the colour choices :


Or should I mix it up a bit :LOL:


Should go well with neon pink decals and team violet :LOL:

WD :D
 
The purists best hit the back button now, Mr Dremel came out to play ...


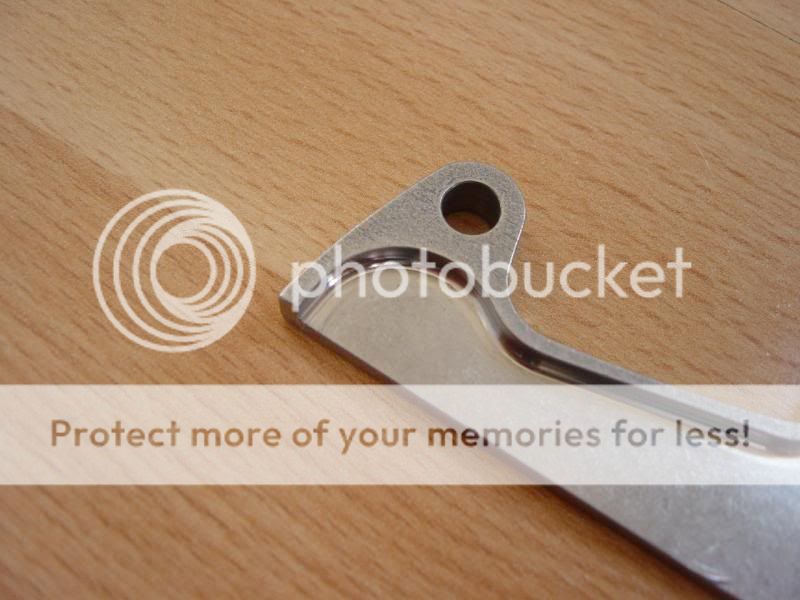
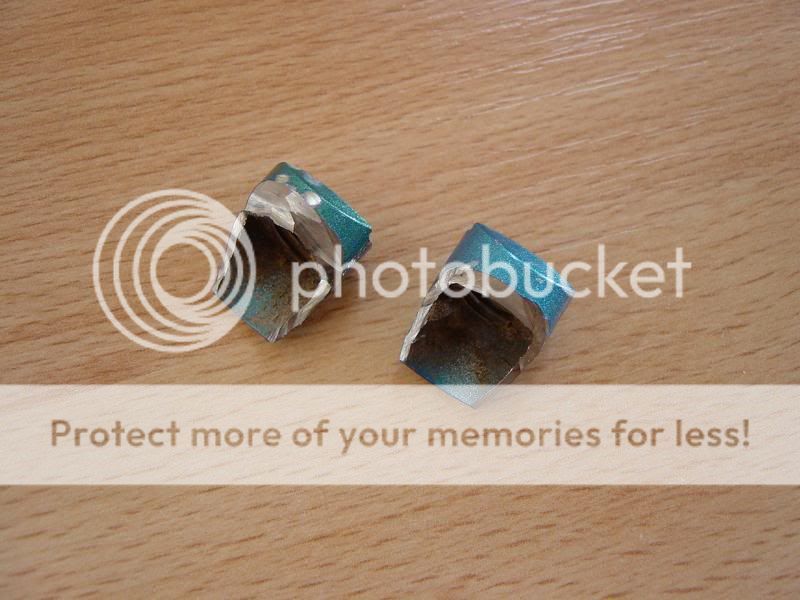
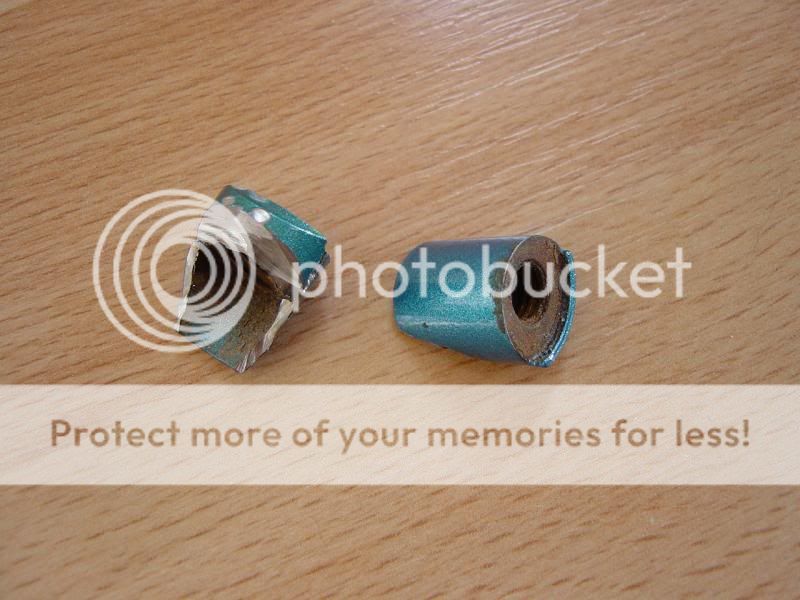
I managed to save this for the spares (future rebuild ?!) box :


It should still fit OK if needed, maybe slightly higher up to compensate for a slightly reduced length :


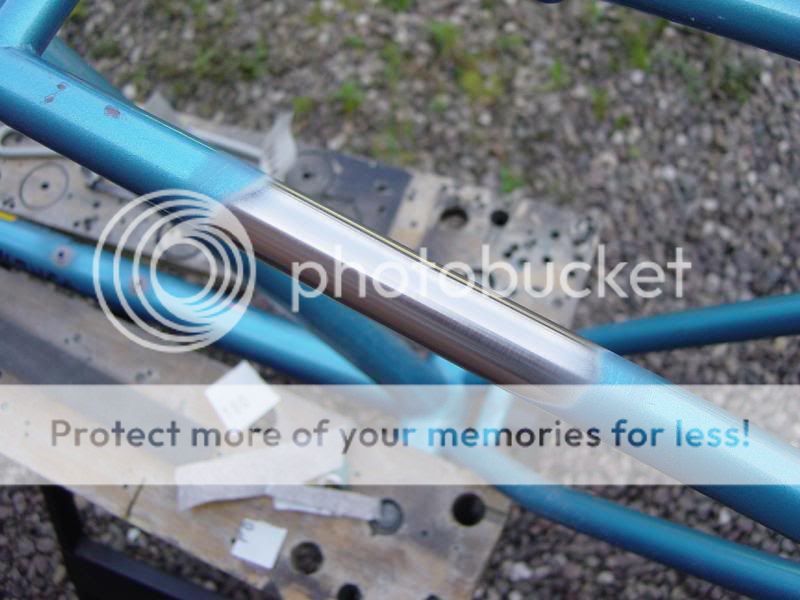
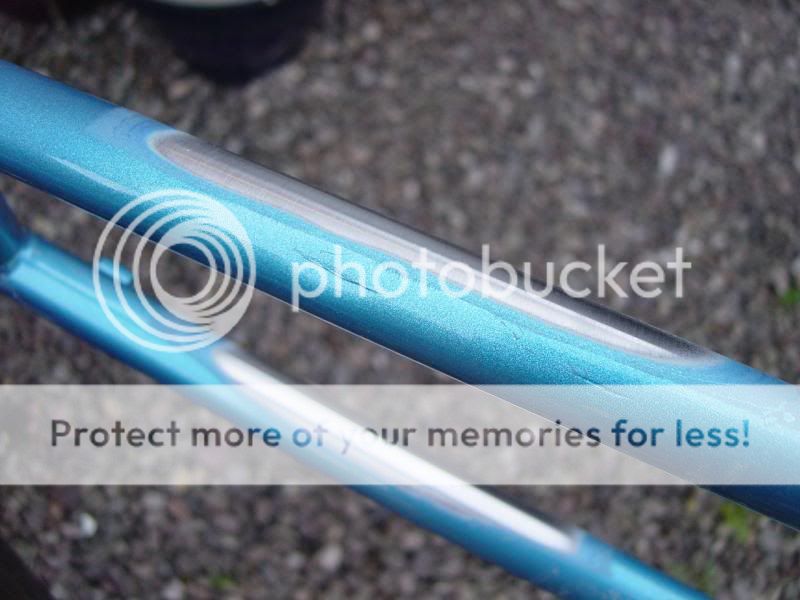
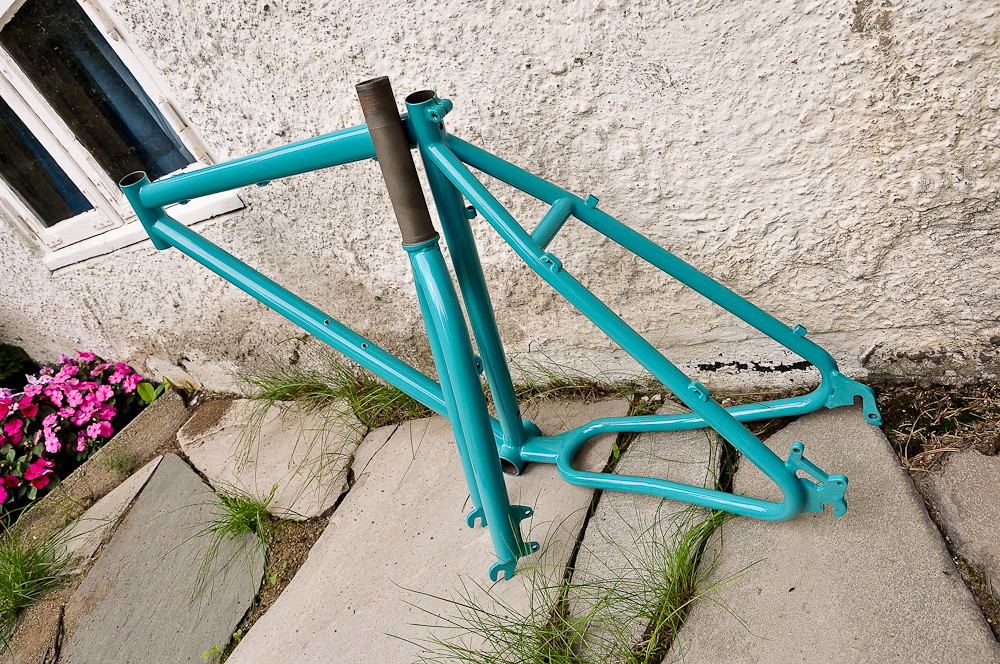
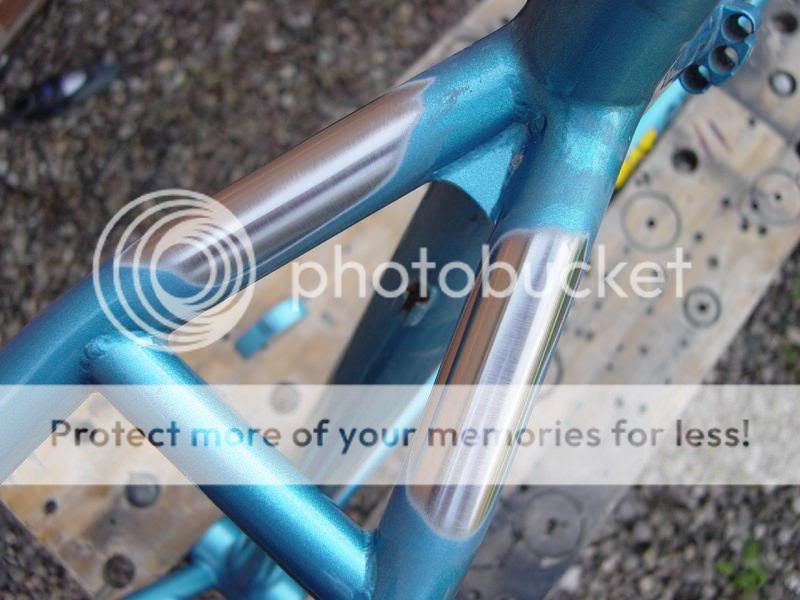
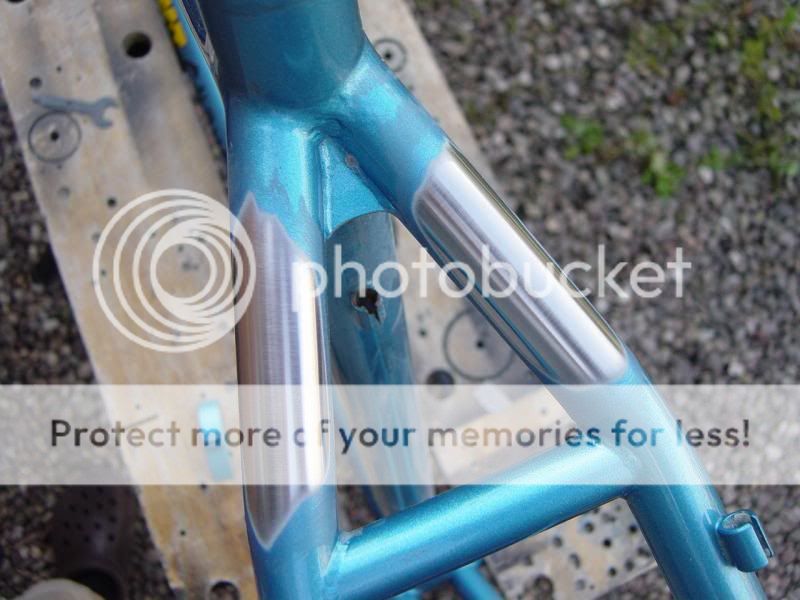
Polished to allow me to see reflections (look for the lines running along the tubes) - any distortion in the reflection / lines means something is wrong with the surface. A lump means you haven't worked the area enough, a hollow means you have c0cked up ...

I am pleased so far :D


Mr Dremel was having so much fun he called his mate over to join in, Mr Blow Torch ... :LOL:


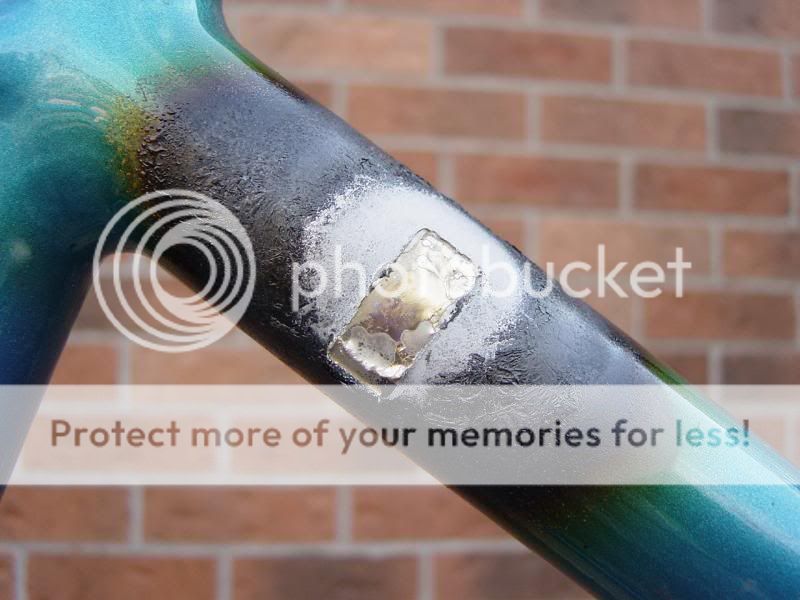
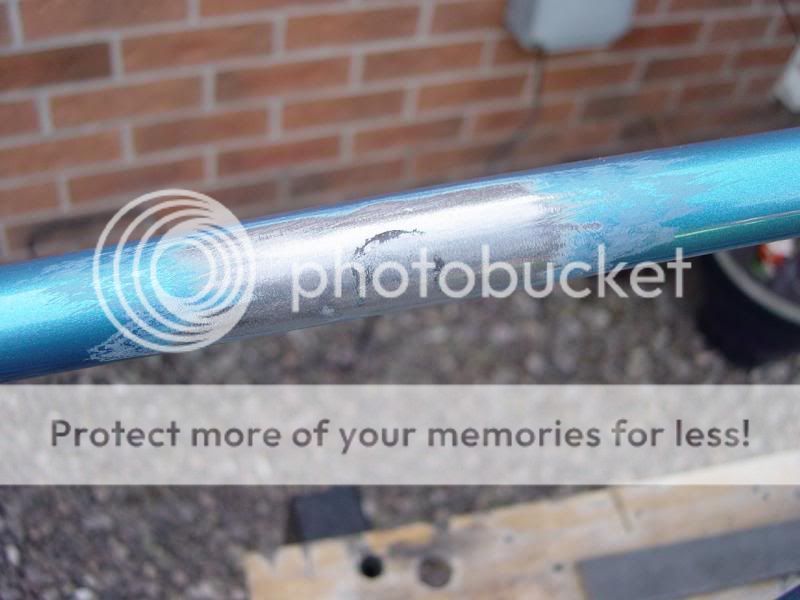
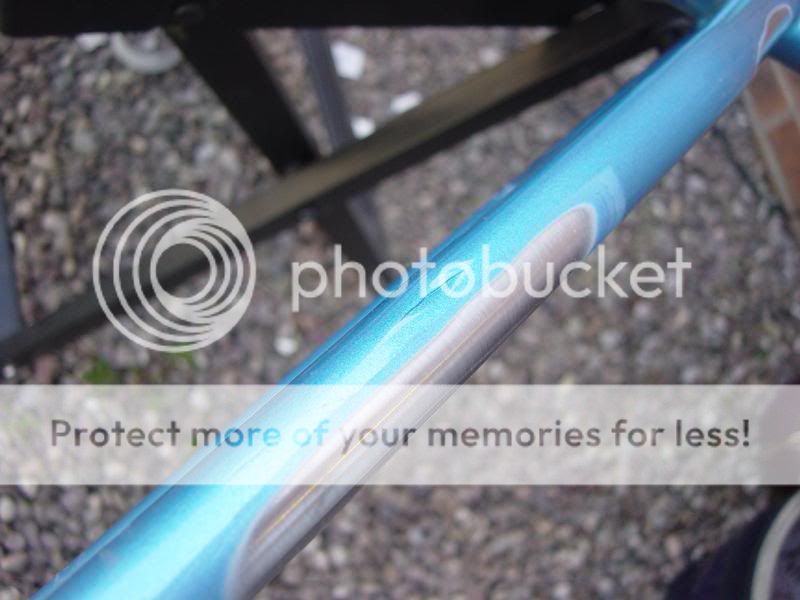
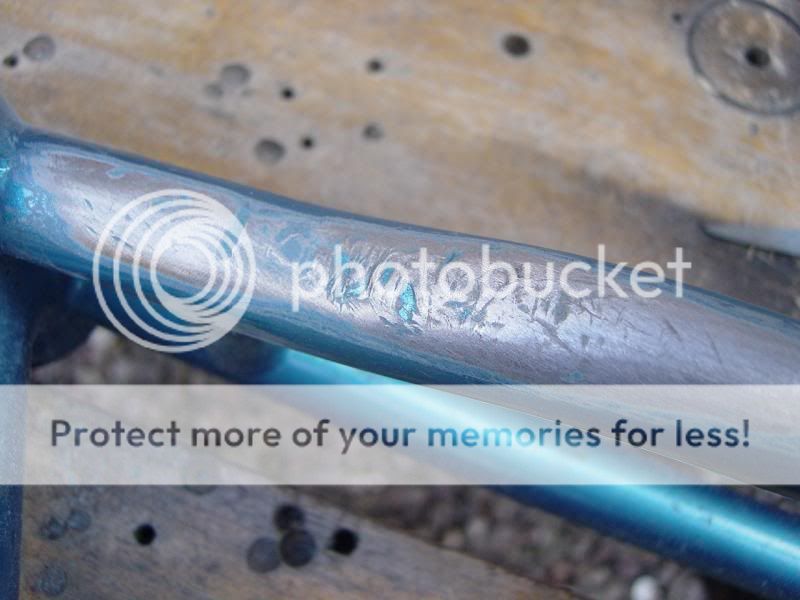
This is after the file had flatted off the initial mess, you can still see the outline from the stop :


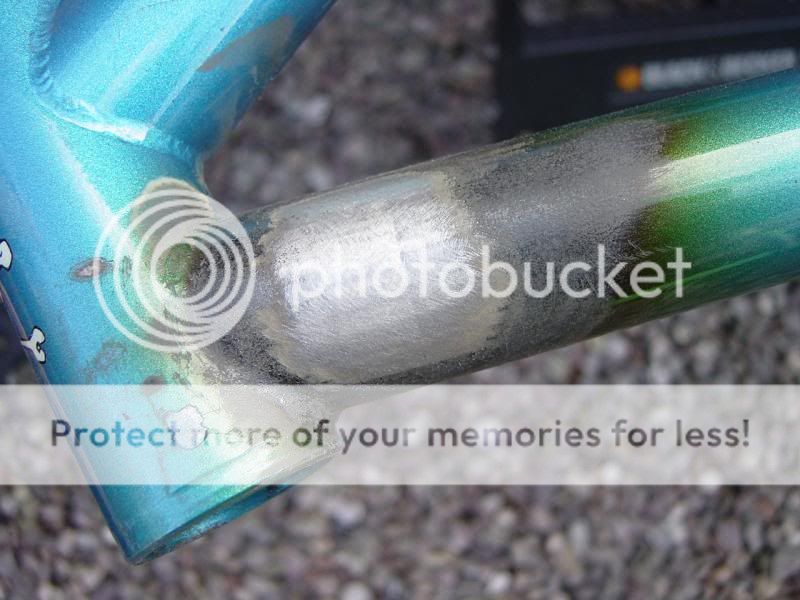
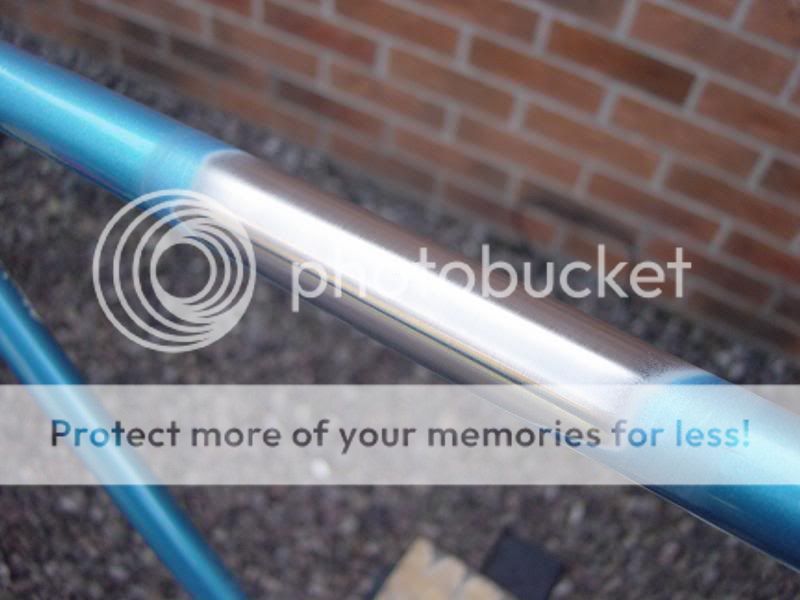
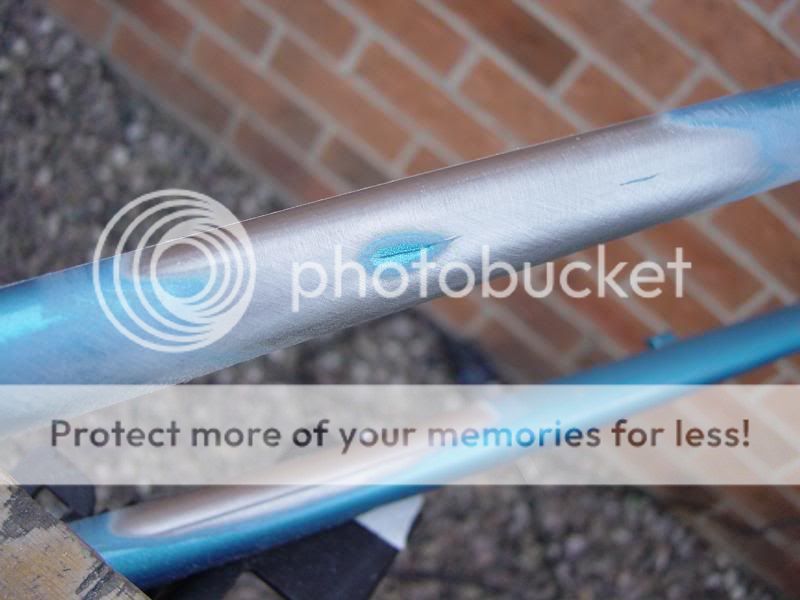
And then the emory :
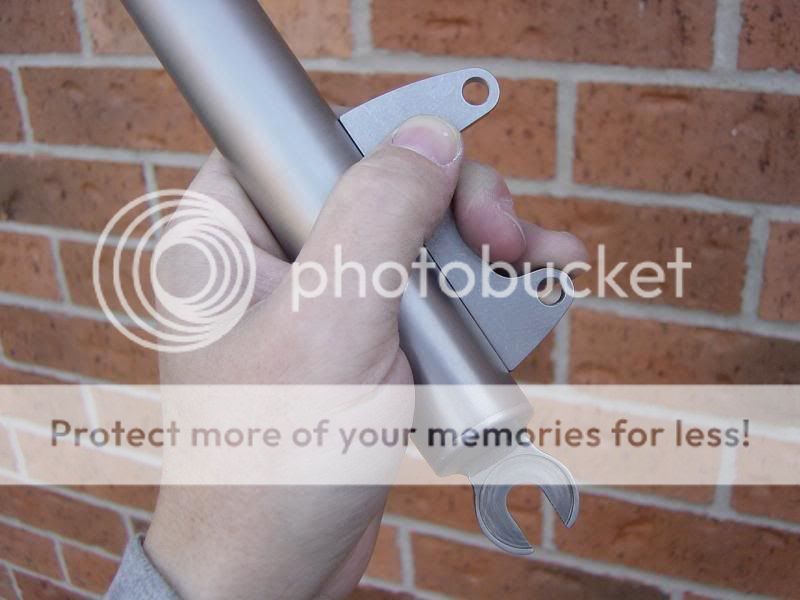


The other end :


Some more bits for the spares box :


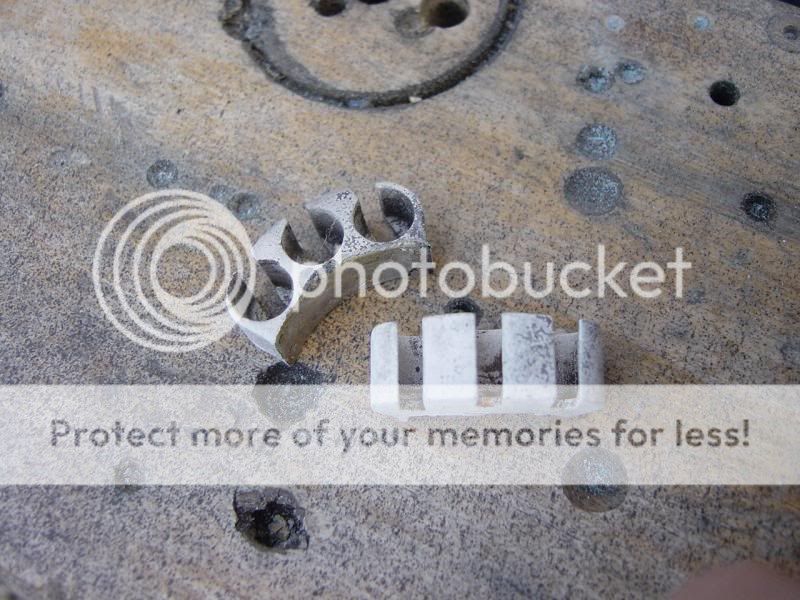
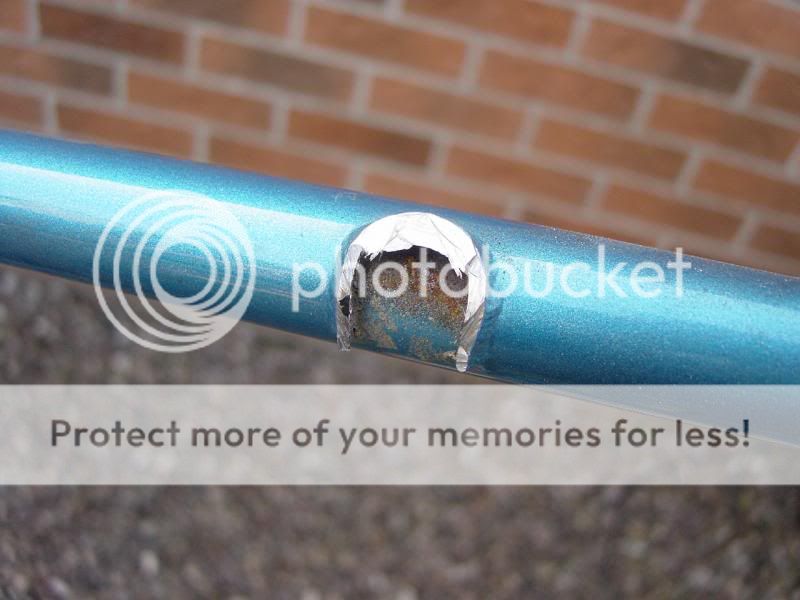
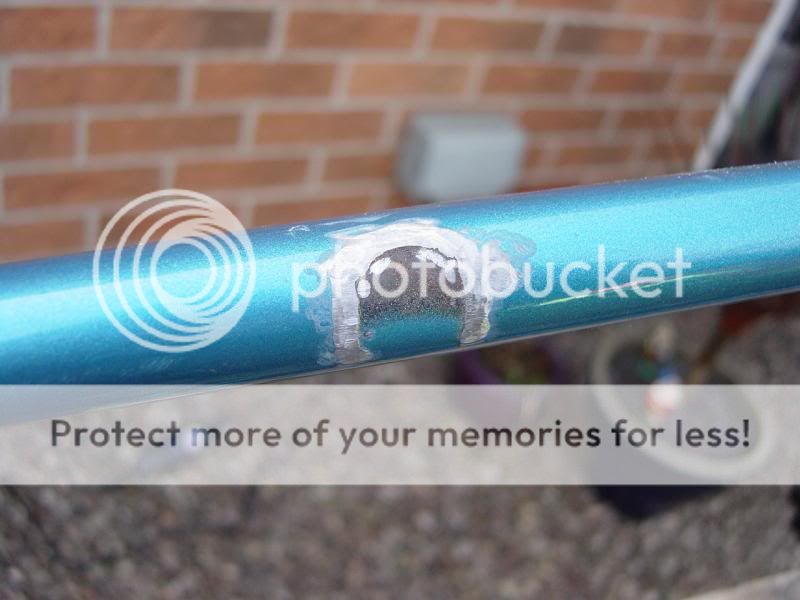
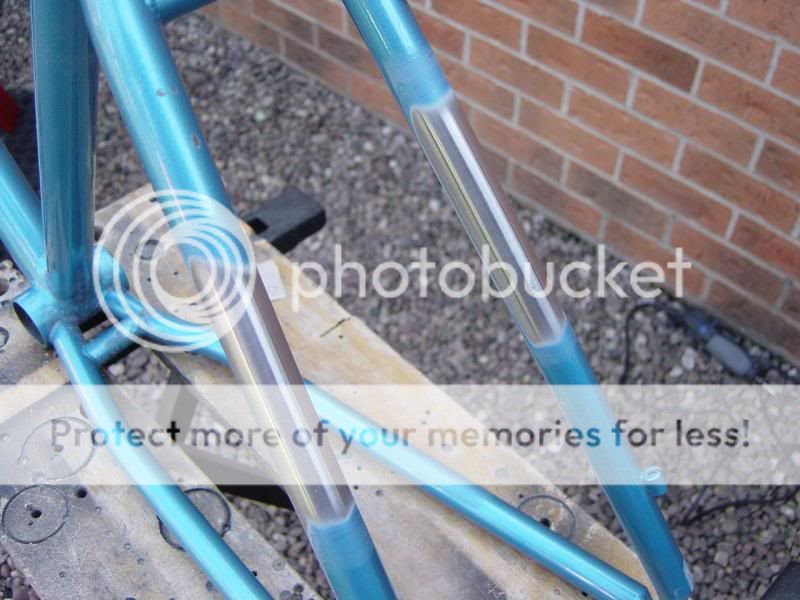
I took the paint off the bosses so I could get some good mesurements to match the replacements for the seat tube ('Rampage' is turning down the heads of the new ones) :


I also started on the chain suck, this is going to need some silver solder running in :


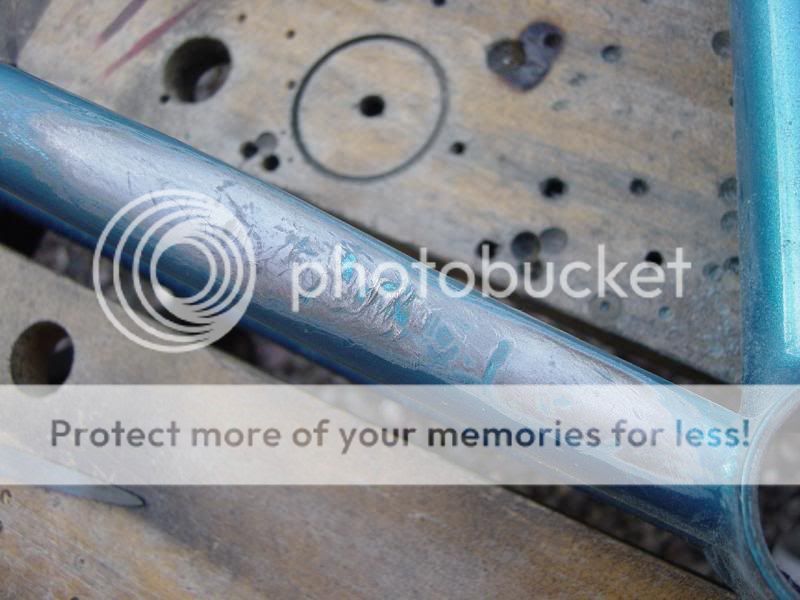
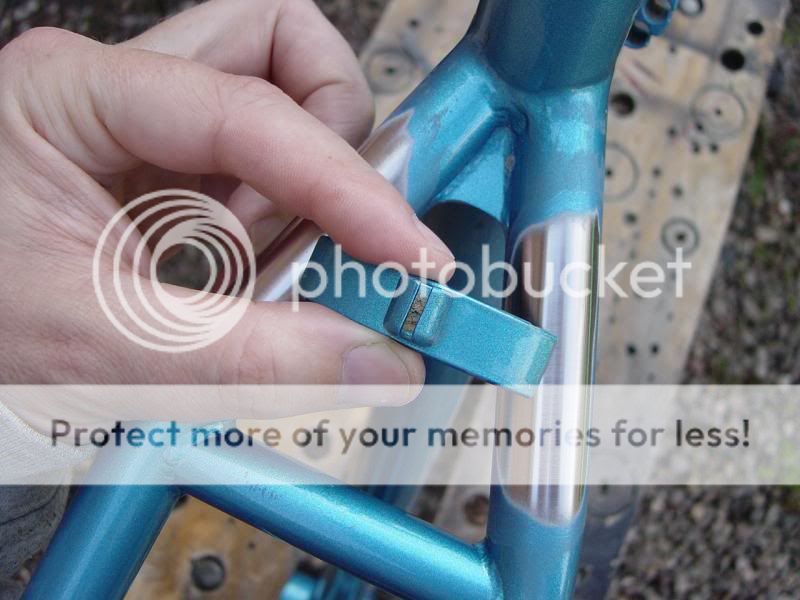
Interestingly, these were under the paint i.e. the paint wasnt scratched (in most places) and the scratches were underneath ? Someone had actually painted this without flatting the burrs off first ? :facepalm:

WD :D
 
Sourced via Paragon Machine Works (in the USA) - matching front and rear calliper mounts :

DSC08796_zpse59d57dc.jpg


The rear one is stainless and relieved to save a bit of weight :

DSC08795_zps9d875b27.jpg


Very nicely done to :cool: :

DSC08801_zps742cdb4b.jpg


The front is solid Ti to suit the forks :

DSC08786_zps679450ff.jpg


These are the steps I took to remove the bosses ...

Dremel with cutting disk :

DSC08746_zpsd16d5f6f.jpg


Dremel with sanding drum :

DSC08752_zps88b4935f.jpg


Note to other owners - get some grease / Waxoyl / spray oil behind the canti bosses ... :-(

That's as far as I would dare go with an electric tool :)

Wide file :

DSC08757_zps9049c59c.jpg


80's and then 120's :

DSC08760_zps1bff18a7.jpg


Other side :

DSC08765_zps1c20771e.jpg


Both done :

DSC08783_zpsc473613a.jpg


Some repair work needed here :-( Underside of the non drive side seat stay :

DSC08766_zpse8843a87.jpg


DSC08771_zpsc48d1eaf.jpg


I don't think it will be to difficult though :D :

DSC08773_zps80406799.jpg


I will keep hold of these to draw them up :

DSC08798_zpsbfa6246c.jpg


DSC08799_zpsd574fee5.jpg


I have found similar designs but they are metric, it would be nice to have some imperial ones to match the original studs and disks I removed / saved :D

More coming soon ...

WD :D
 
i know i questioned using this frame originally, but the one thing i specifically like is, you do things properly, with the correct tools and with thought before hand.

:)
 
Loving this but why are you taking out the original bottle cage bosses out when they look good and silver soldered in...unless you anodising these new ones to add colour after the paint job. Just seems a waste if your not

Liking the rest though mate :cool:
 
jonnyboy666":1jvw2lcs said:
i know i questioned using this frame originally, but the one thing i specifically like is, you do things properly, with the correct tools and with thought before hand.

:)

Thank you :cool: I did say :

WD Pro":1jvw2lcs said:
I know it wont be to everyone’s taste (that’s never bothered me in the past … :LOL:), but the build will be done properly with no corners cut and no hidden bodges etc :D

;-) :D

yeti-man":1jvw2lcs said:
I totally love this thread! Dig it all the way :cool:

Not the meaning to hijack this thread, but a inspiration to you - I know Your feeling ...

Here is my retrofit project I did some years back on one of my Yeti Pro FRO's, bare fork/frame

Nice :cool: did you get any grief for doing that ? :D

minor_LEGEND":1jvw2lcs said:
Subscribed.
As said above, good to see signs of mechanical sympathy with skill & intent.

Thank you :cool:

racer x":1jvw2lcs said:
Loving this but why are you taking out the original bottle cage bosses out when they look good and silver soldered in...unless you anodising these new ones to add colour after the paint job. Just seems a waste if your not

Liking the rest though mate :cool:

Cheers :cool:

Ref the bosses - the original ones are staying, but the new ones for the replacement seat tube (bottle bosses and cable roller) need to be the same to match ;-) I am trying to save my frame builder a bit of time searching for stuff, and it feels like I am doing my bit ... :LOL:

The anti chain suck bosses will be staying the standard size as A) the larger head will give more strength to the solder and B) the original fat bosses didn't match the bottle and roller bosses anyway :D

I also noticed today that the cable stop on the (replacement) seat tube is different than the others - something else that will need to be sourced / made - it will bug the hell out of me if I don't ... :oops: :LOL:

WD :D
 
Back
Top