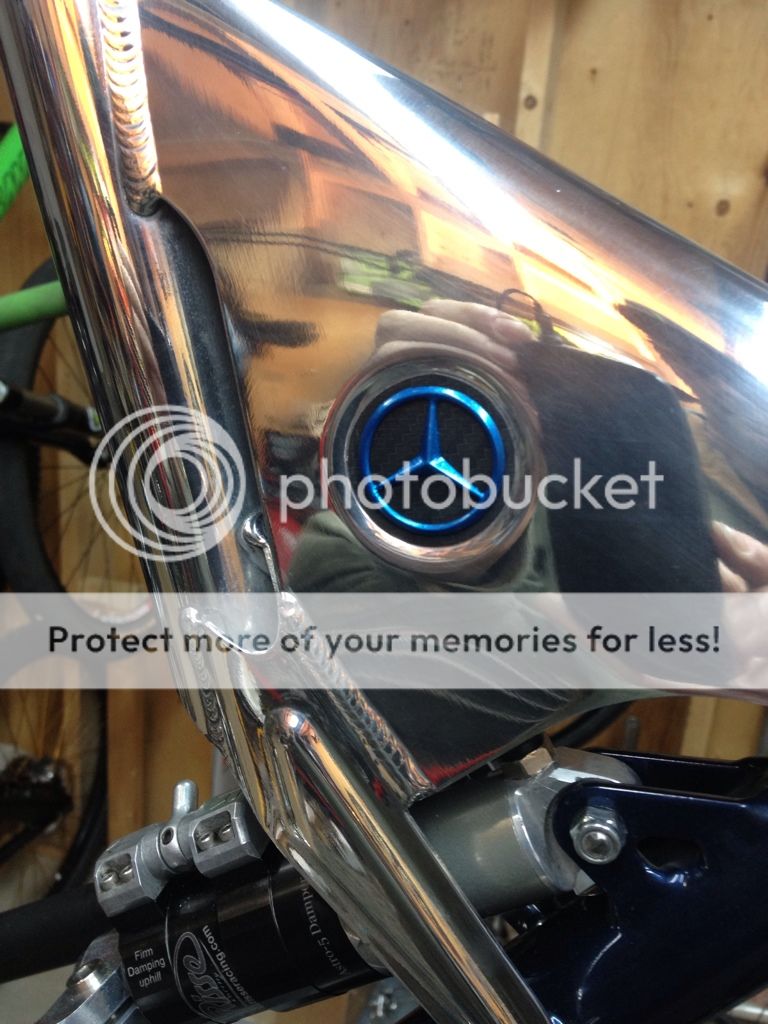
There is a serious amount of thought/effort going into the detail here and I love the evolution of the build so far: Ti hardware, custom anodising/powder coating/stripping and a good balance of parts - you are an inspiration sir!
Thank's guys! I've got a long way to go yet. I always appreciate your comments.
I did a bit more polishing tonight. I'm heading over to the machine shop tomorrow. I'll try to take some pictures to entertain you.
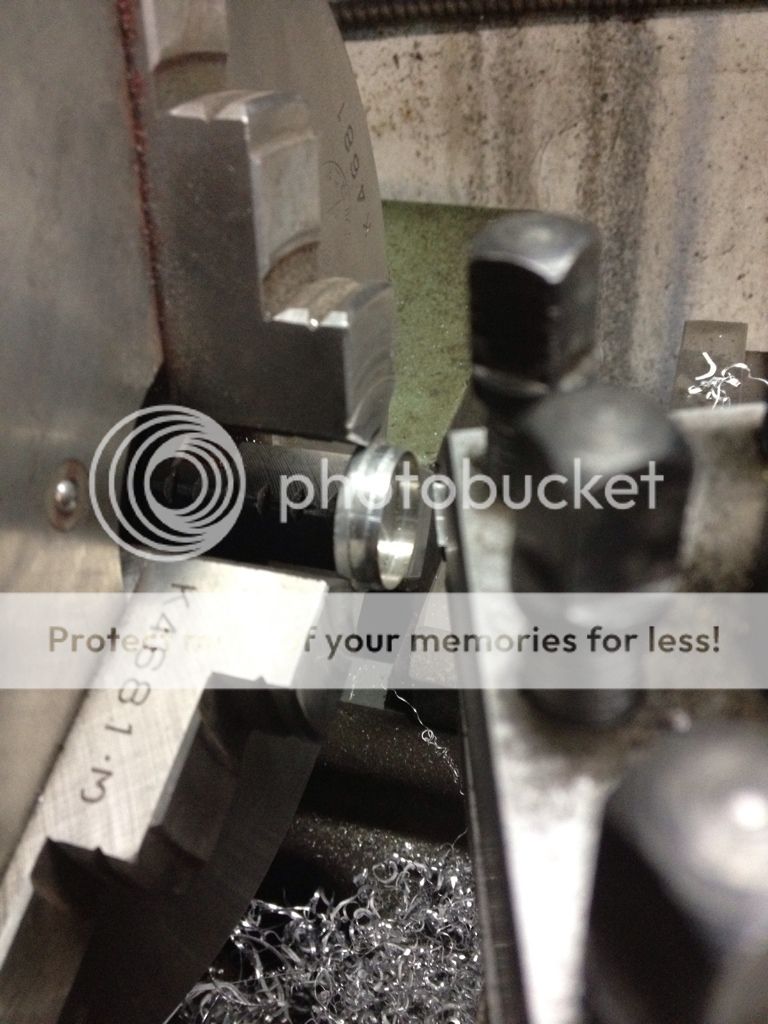
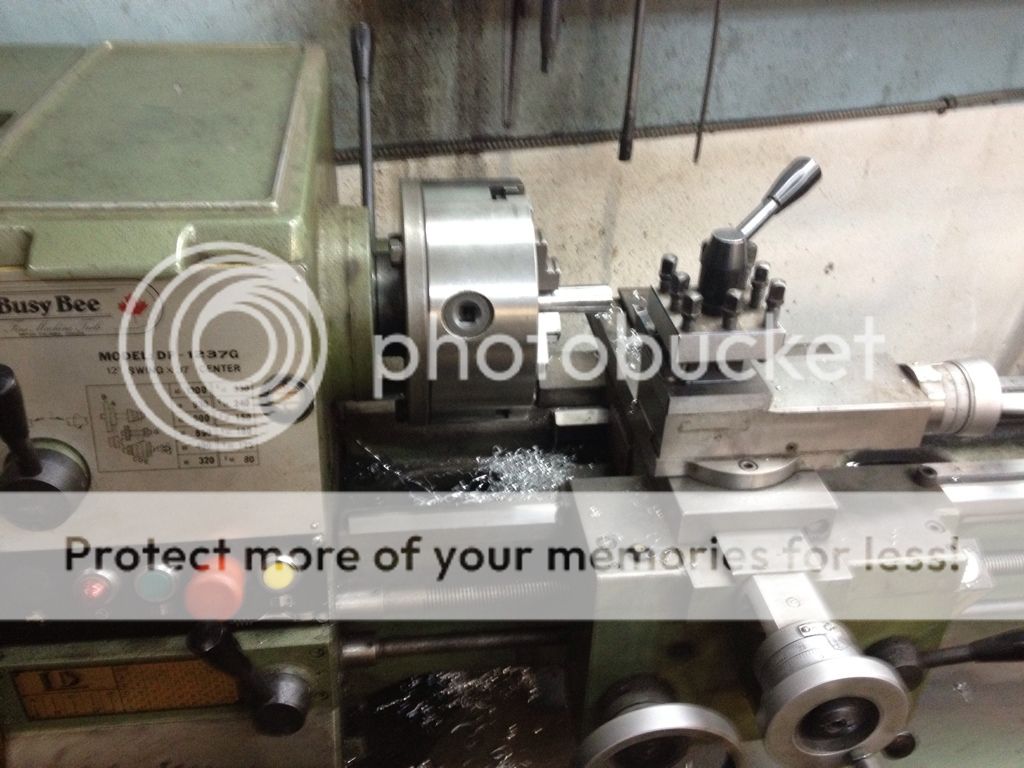
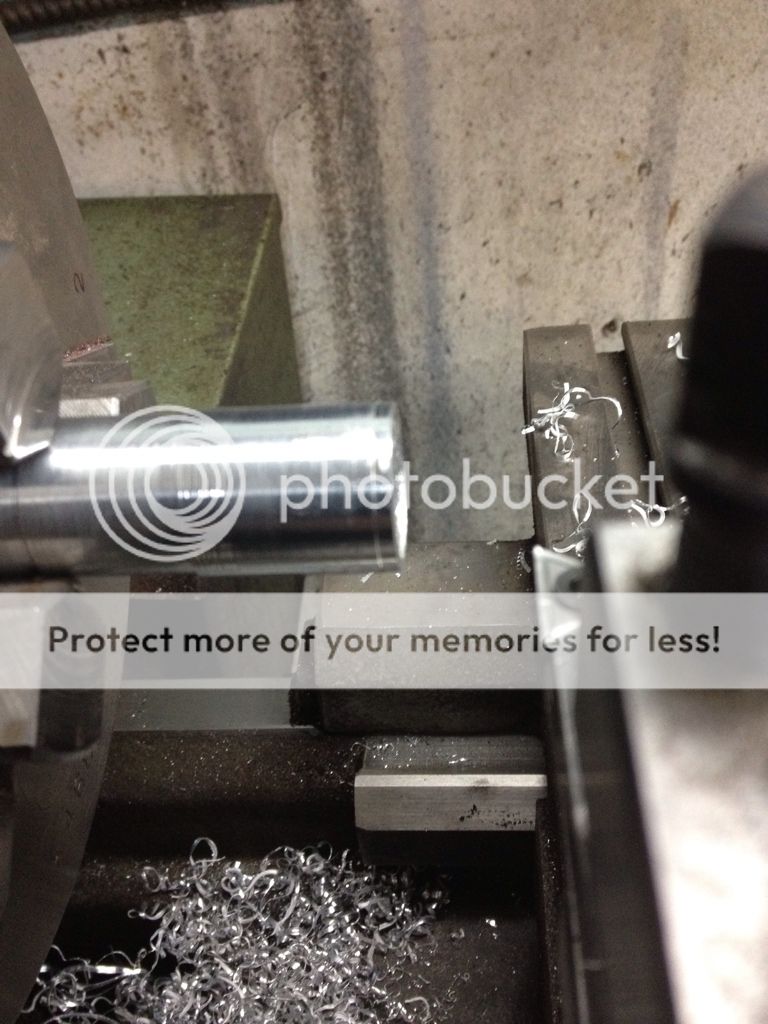
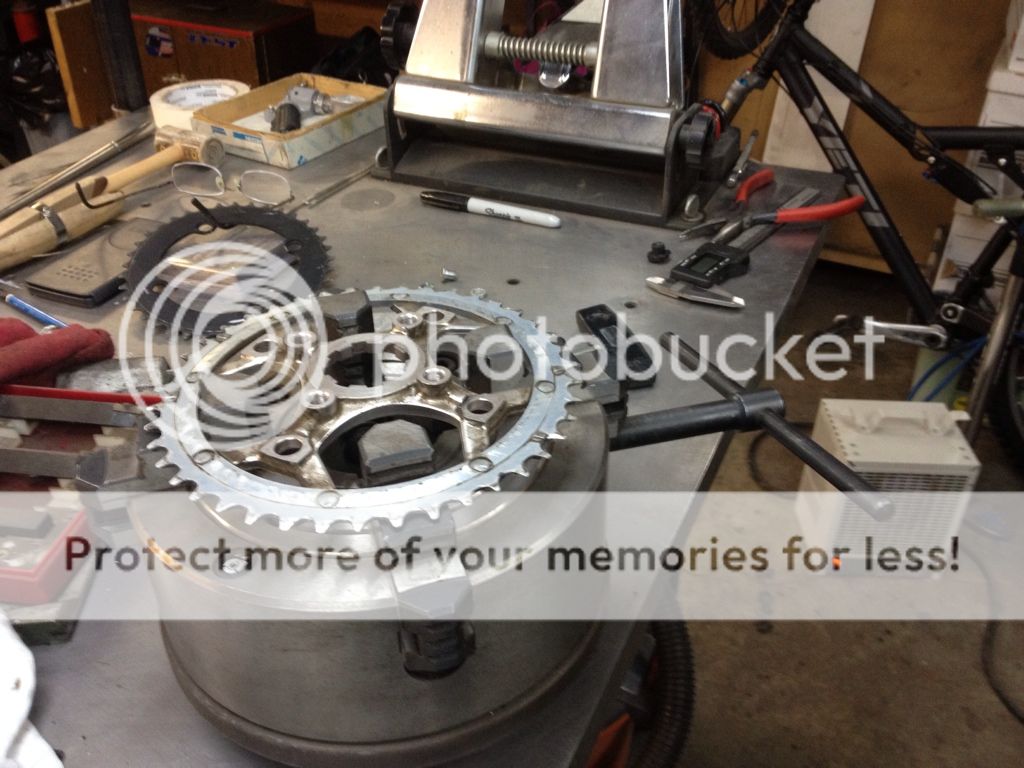
Fresh back from a successful 2.5hrs at the machine shop. I did this at the Best Bikes shop under the watchful eye of Mr Best himself. It's so fun to be practicing machine skillz while building pimpass partz for my ride!
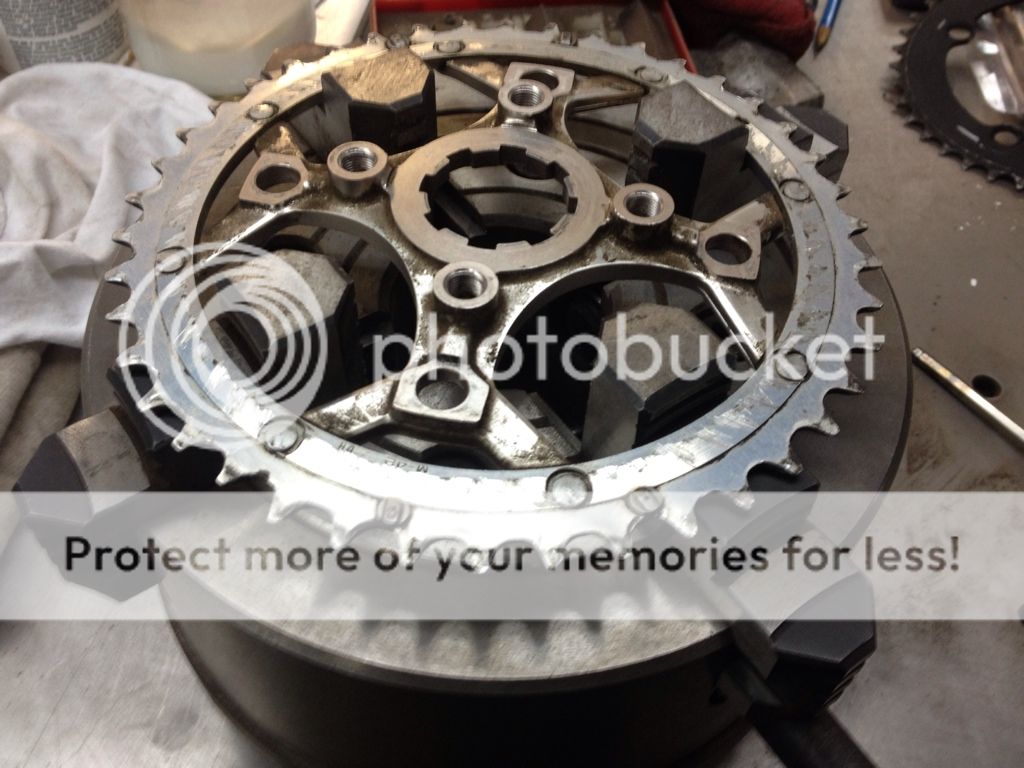
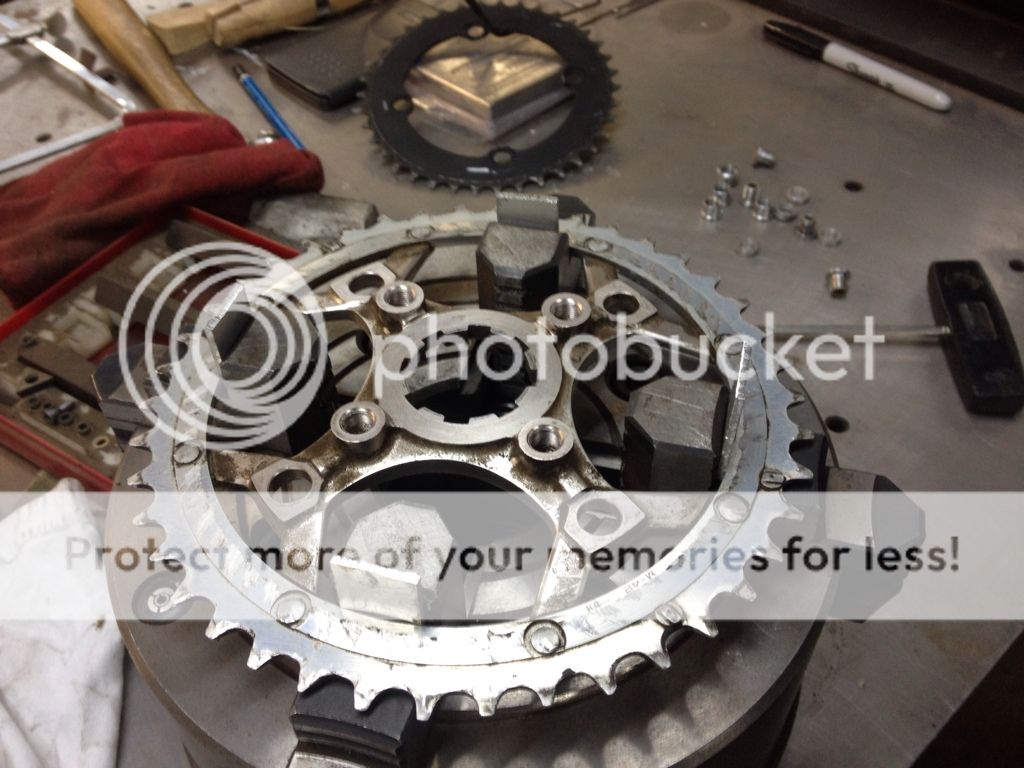
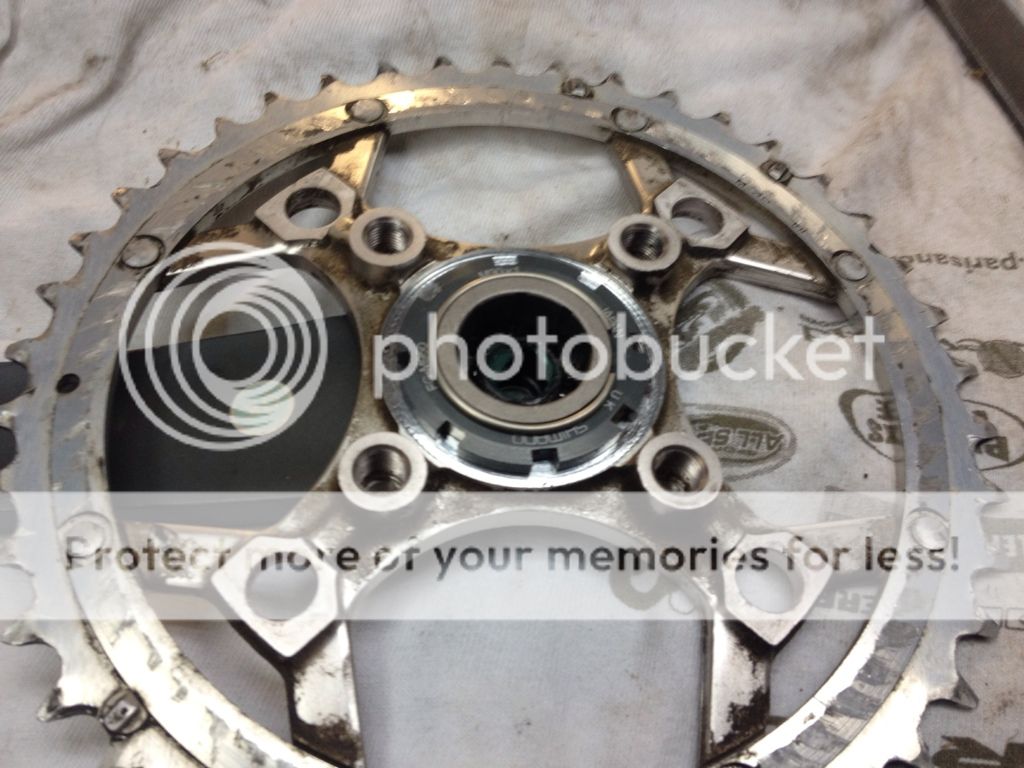
To machine mate the m739 spider to the M950 arm requires some surfacing of the clamped area at the center. On this frame there's enough room to move the chainline inboard about 3.mm. The offest difference between these and the m950 spider is about 2.5mm so this means I was able to machine the back side of the spider thus lowering my effective chainline to about 47.5mm.
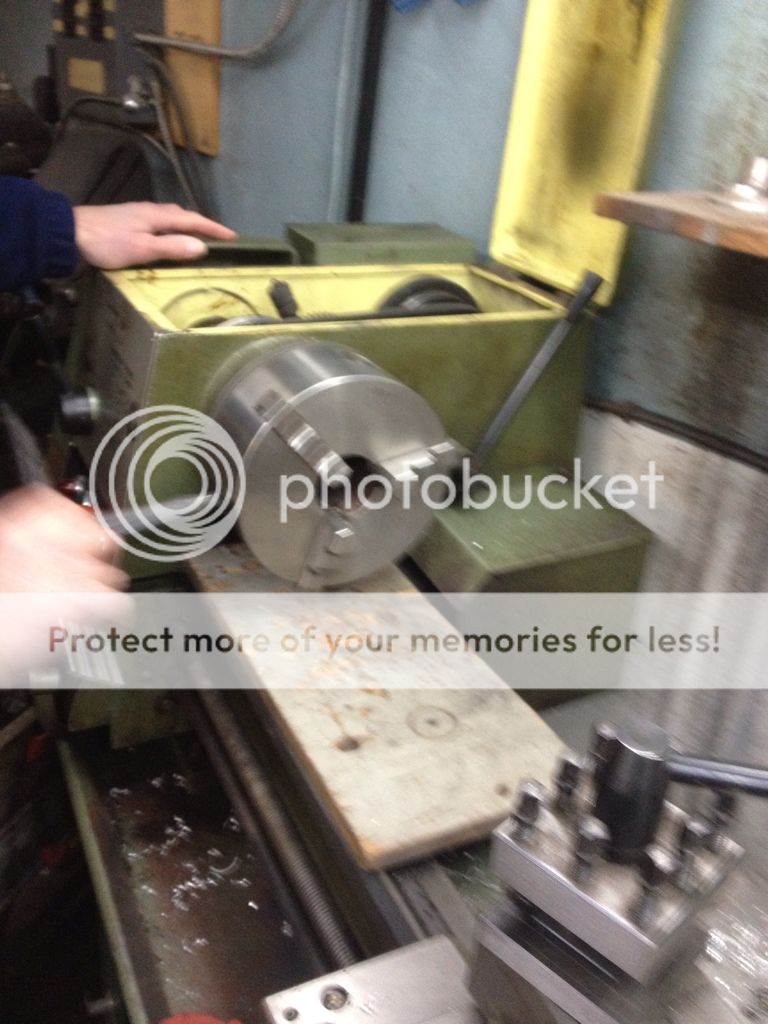
Setting up in the 4-jaw chuck;
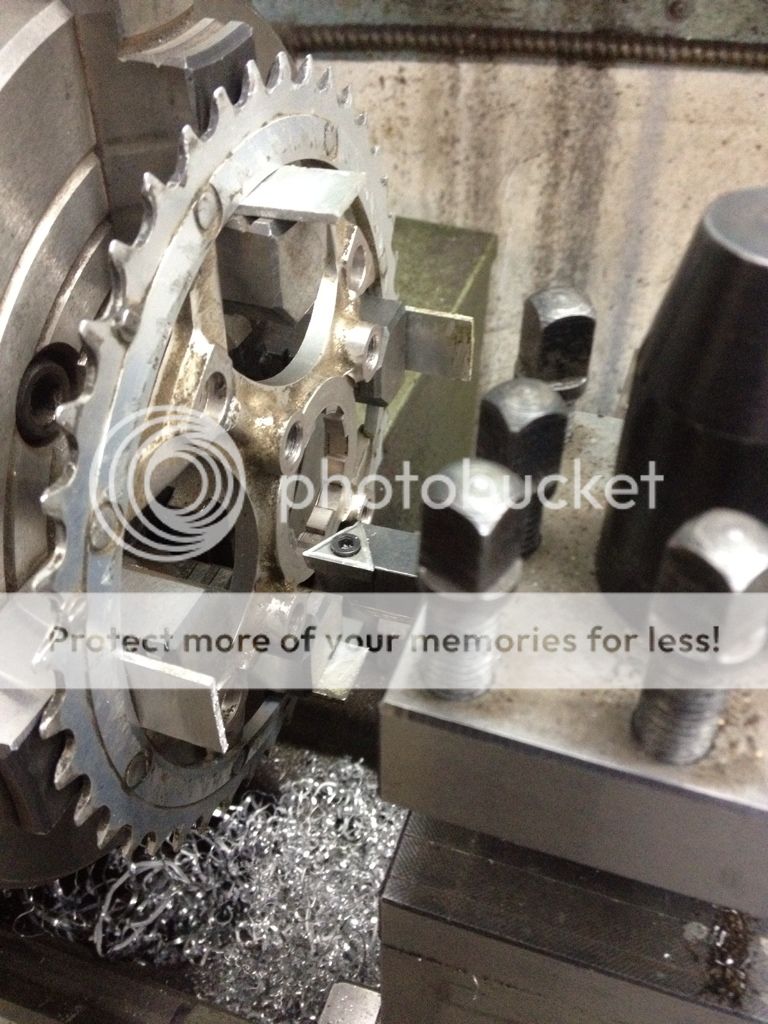
Switching the chucks;
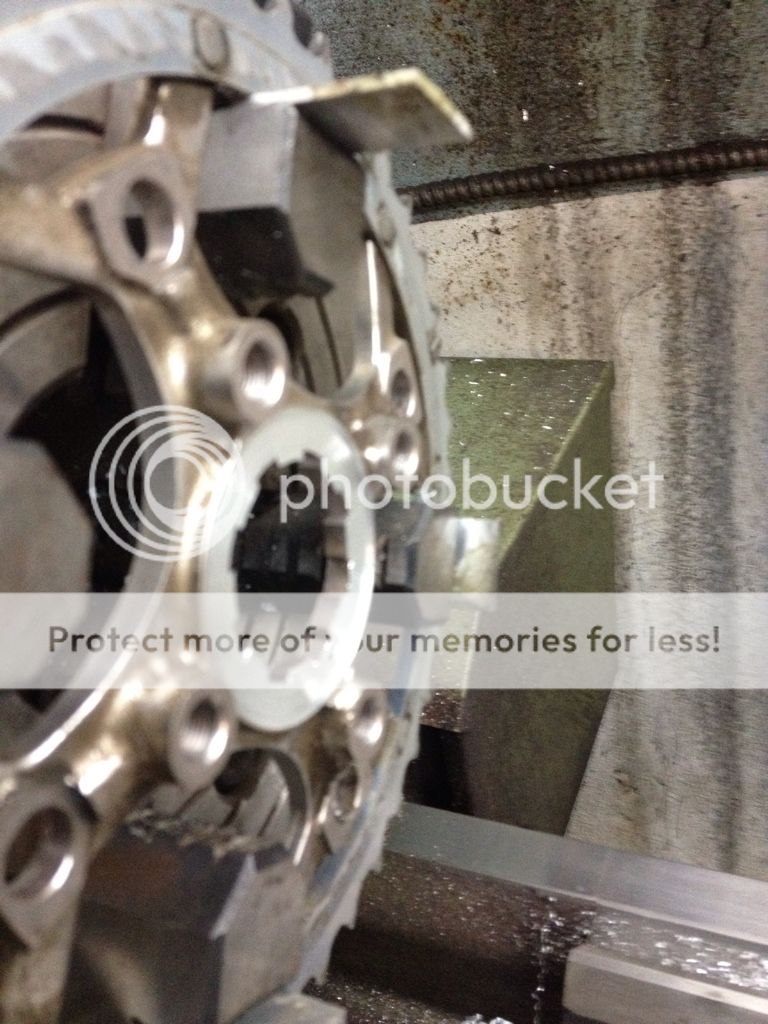
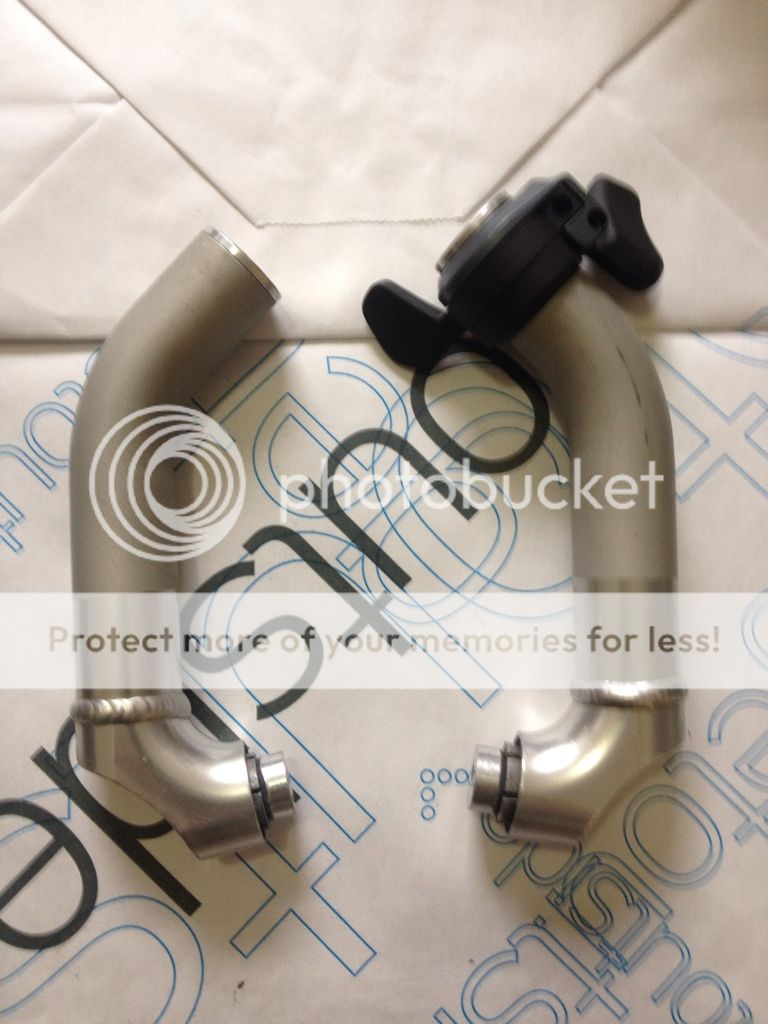
I'll post more on these last two bits after they're cleaned and installed.
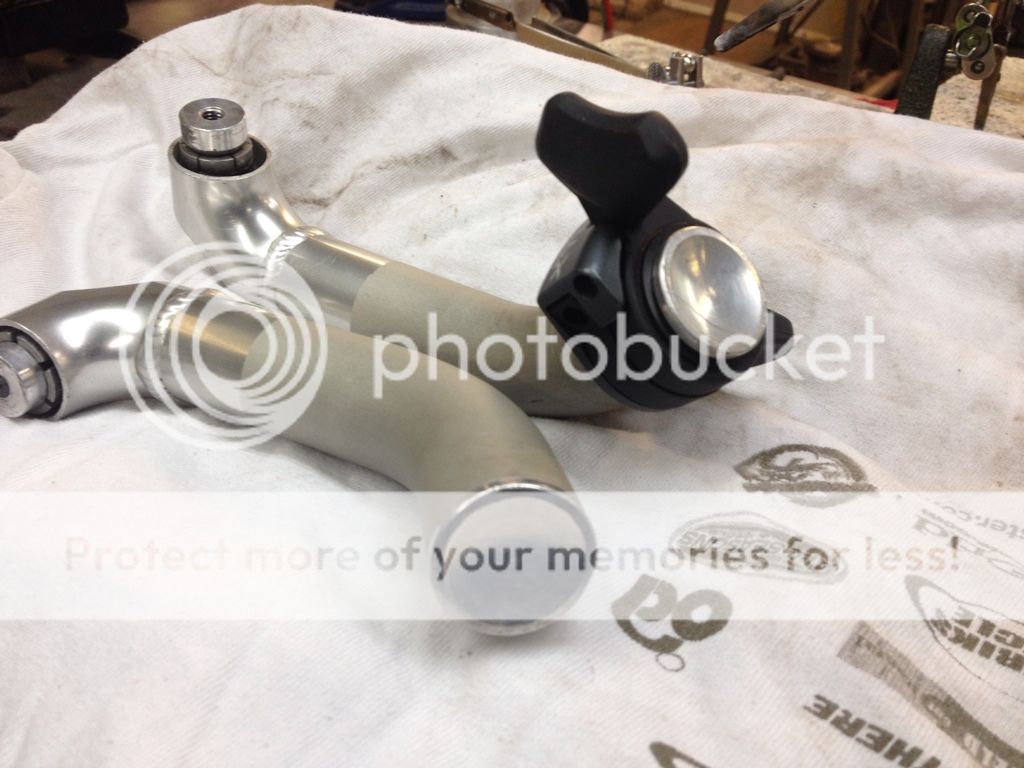
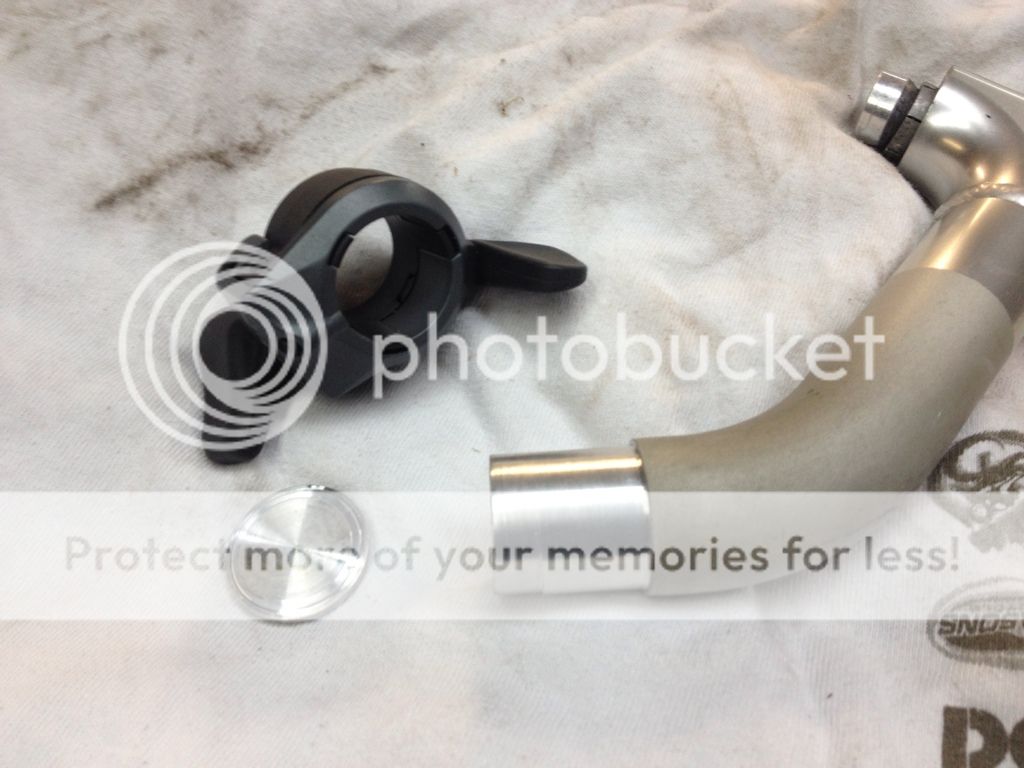
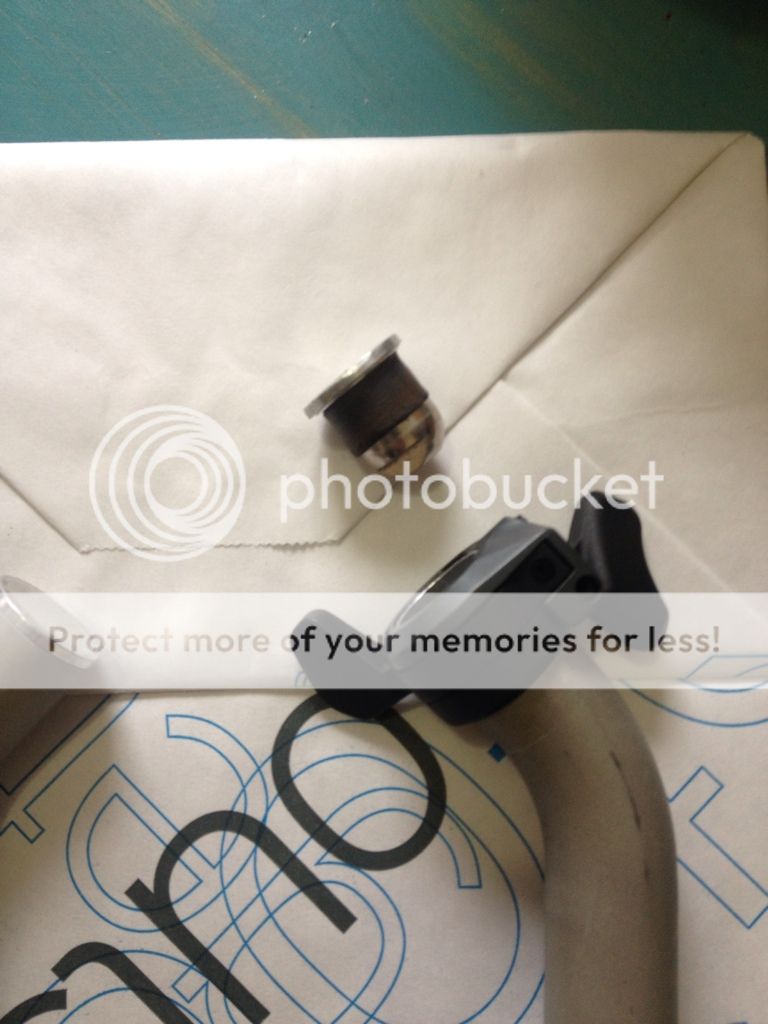
I forgot to show how I made the bar end cap removable on the last posts.
I bonded a 5mm aluminum bolt to the inside of the cap and used a rubber expansion block from an old bar plug with an aluminum Q/R nut.