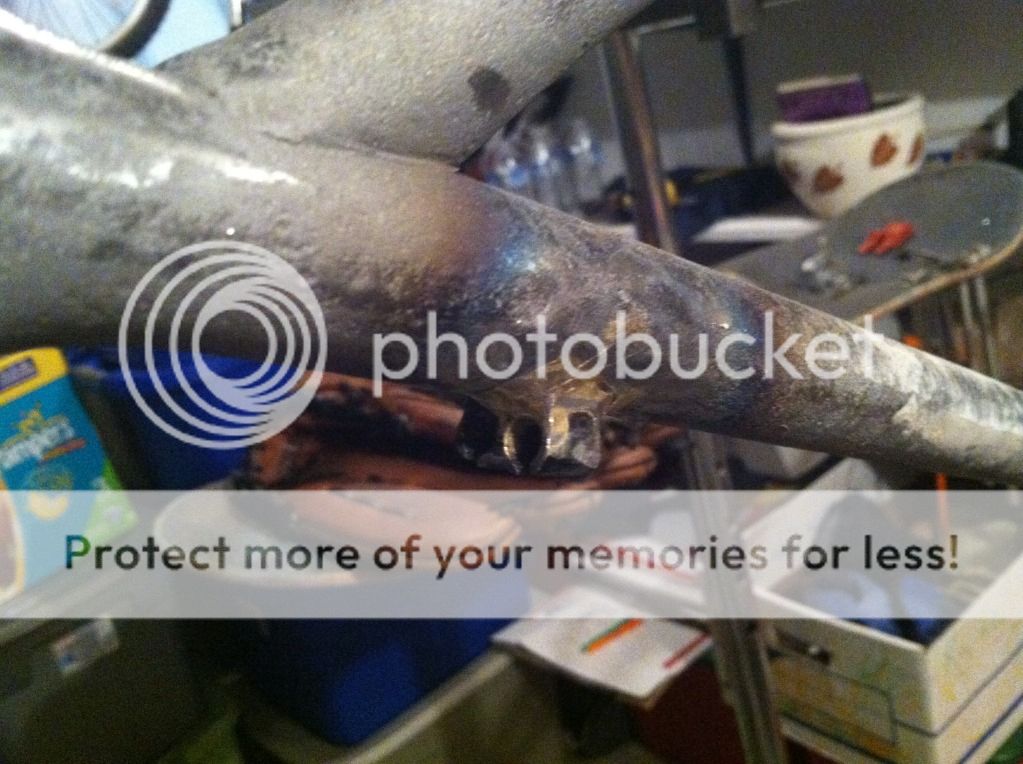
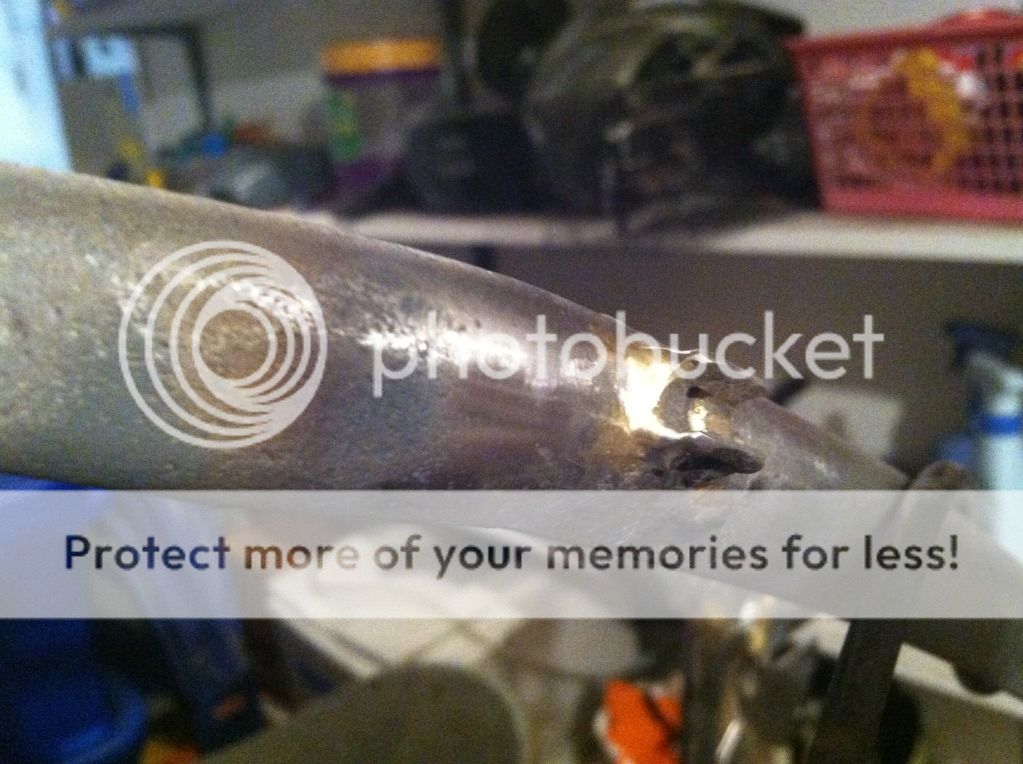
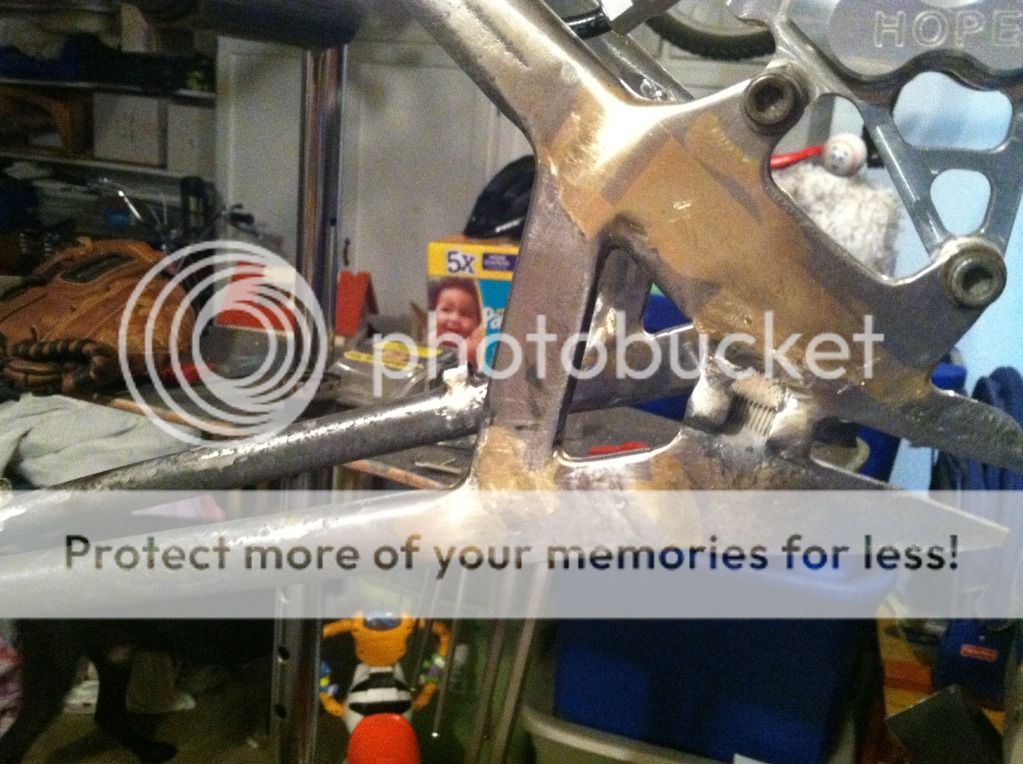
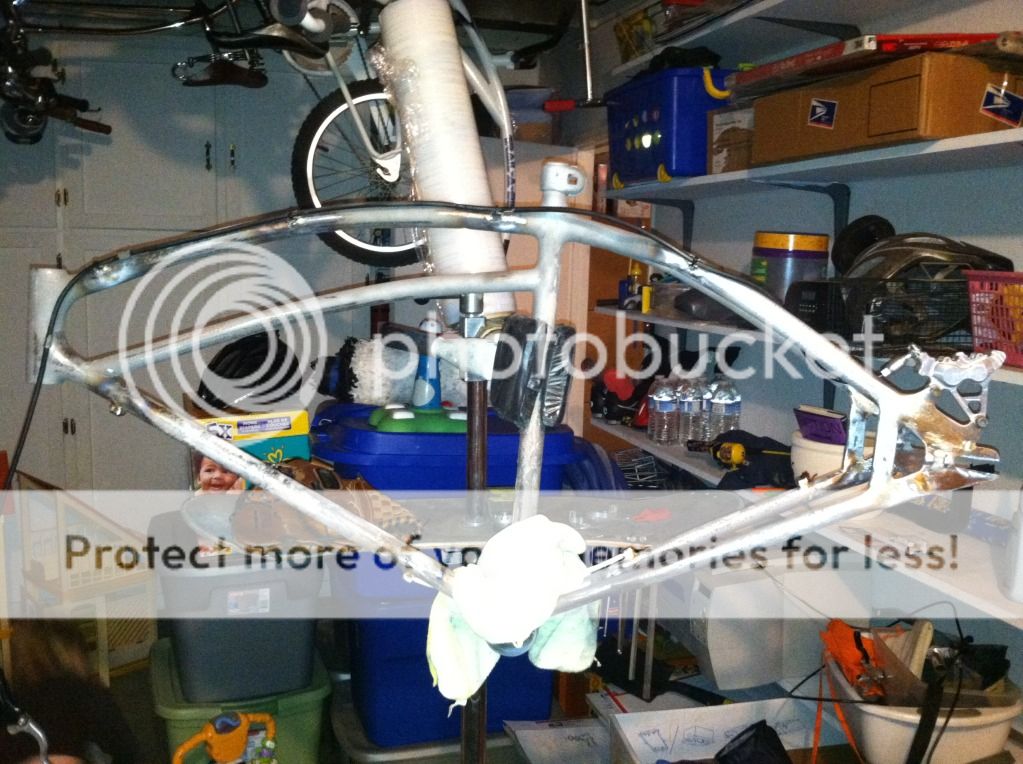
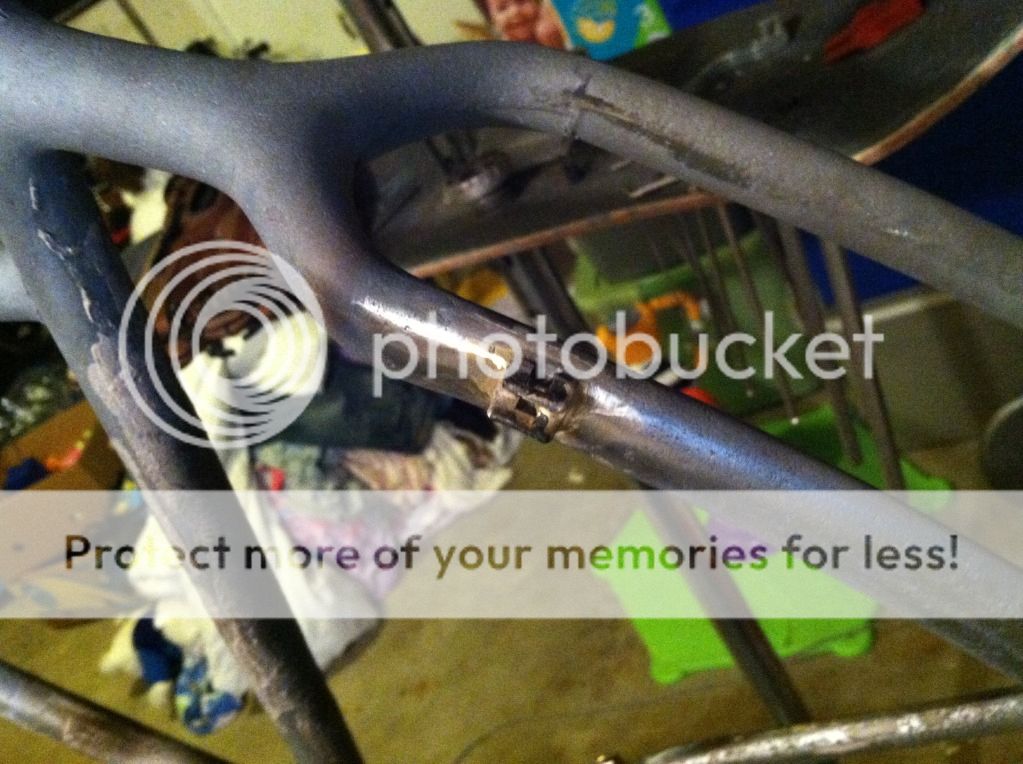
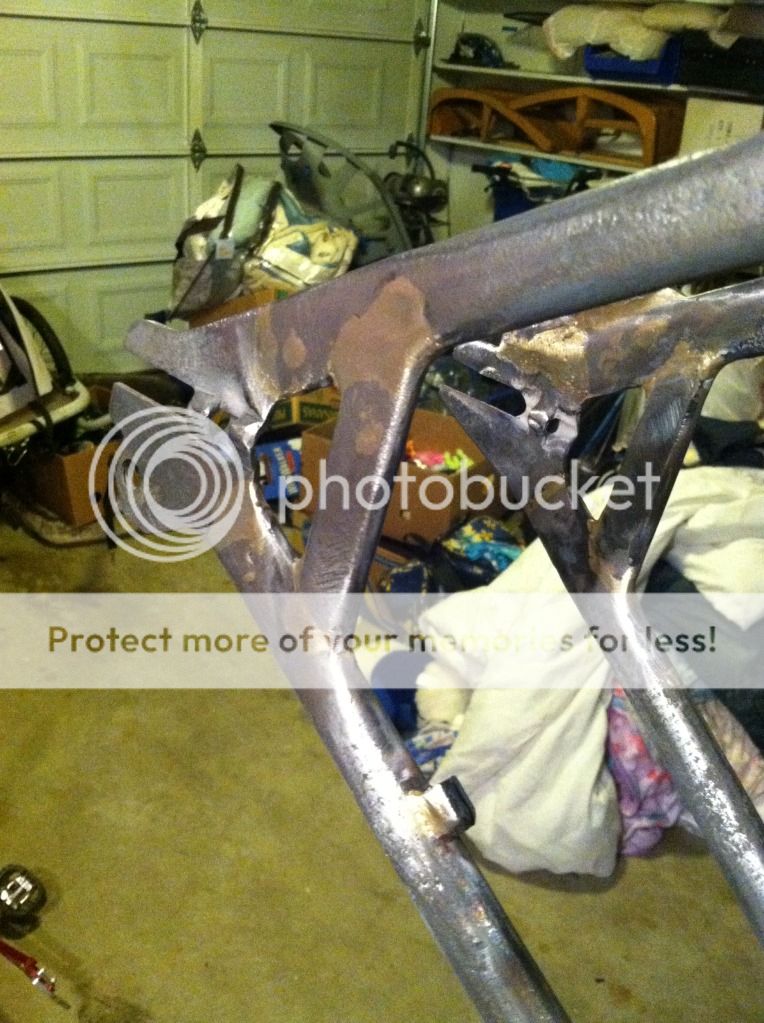
Bringing a Pre-War frame into the 20th century.

sandmangts":28zj95yn said:
lae":28zj95yn said:
What do you use to smooth the brass down? A file, or sandpaper, or a flapwheel or something?
All of the above. Start with an angle grinder for the places where I laid it on thick and gently bring the high spots down. Then with the same angle grinder switch to a flap wheel with 80 grit and bring it down a little more. It is very easy to screw up with the grinder so a little at a time is best. Then I hit the corners and tight spots with a dremel and then a file. Then just use sandpaper. I like to use a roll of 80 grit that is for a belt sander and cut it so I can pull it back and forth across the tubes. It is alot of work. It really makes you appreciate what the masters like Steve Potts and Tom Ritchey can do.


feel free to tell me to go to hell if you wish, but

If you use the Curtis method, you can save yourself hours of tedious filing

PB150050.jpg


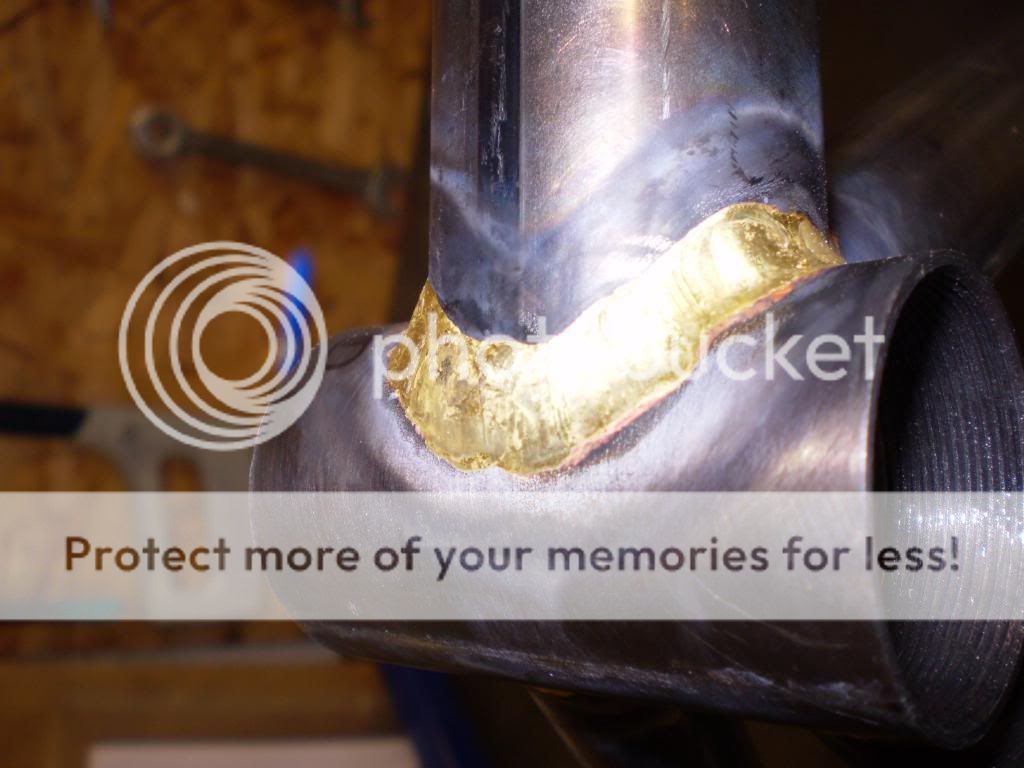
three days before I did this, I'd never so much as picked up a torch. the trick is to get a much smaller flame in much closer, accurately controlling where the heat is, the brass flows naturally into a nice neat fillet that way!

PB150020.jpg


Plenty of big name framebuilders use the methods you do, But i guess they just enjoy filing more than Brian Curtis does :D
 
Good tips cce for sure but keep in mind I am using a bernzomatic torch kit that I got at home Depot for 40 bucks. Flame control is not much of an option. If I ever do this again I will surely opt to buy a better torch. With this setup I am lucky to get the metal hot enough at all. Getting better though, with the last part on the back side I did get it laid in pretty smooth with minimal sanding.
 
Have to say that actually - that is looking completely mint. Love it. Modern Klunker. Keep up the good work and keep the updates coming :)
 
Got all the cable guides and stops on today. I also poured in some more brass around the dropouts to smooth them out. Cable routing on the downtube seemed the best option because it is the only straight bar on the bike. Using the top tube for the brake line was the only option for the rear brake. I had to mount it on the sid a bit to keep the cable from rubbing the head tube too much. I am going over the top of the bb shell for the rear derailler and under for the front was the only option for a bottom pull. Just need to smooth out some rough spots and it will be time for paint.
IMG_0254.jpg

IMG_0253.jpg

IMG_0250.jpg

IMG_0248.jpg

IMG_0242.jpg

IMG_0240.jpg
 
dont you mean 21st century? :)

that is so cool. Would be neat to redo an elgin paint scheme and hand pin stripes...maybe colour match the fork? try some new skinwalls?

just my two cents!
 

Attachments

  • Capture.JPG
    Capture.JPG
    155.7 KB · Views: 1,250
  • IMG_4203-625x331.jpg
    IMG_4203-625x331.jpg
    49.9 KB · Views: 1,250
Seatpost clamp removed, last cable stop brazed on. I filed and sanded for hours. The frame had some heavy pitting but I think after I get the primer sanded it will look ok. It is getting close! I still need to get the headset turned and get the bottom bracket adaptor and get a suitable bottom bracket and crank. Hopefully I will find a parts donor bike on craigslist that I can strip some parts from and sell the rest because I am totally broke from Christmas.
IMG_0328.jpg
 
That's looking really nice now. :) Amazing how a bit of paint brings it all together - really lets you see the nice details of the original frame (head tube brazing, seat stay intersection and so on).
 
Back
Top