Raleigh Rapide 1983 - Project Old-man - epilogue (P6)

Must confess I had a little tut when you said black wall tyres instead of gum but tell you what they do go ever so well and I retract my tut.

That is some valve you have there on those inner tubes!

Now off you trot back to the garage and line up the tyre logo with the valves.... :)
 
Tel":26l9g7ae said:
Now off you trot back to the garage and line up the tyre logo with the valves.... :)
Don't you start, I've already been brought up on that elsewhere...and I thought I was anal ;) :LOL:
 
Al-onestare,

Bike looks great - even showed my wife who thought is was a fantastic job! I am jealous that she takes an interest in yours and only complains about me and mine!!! Typical.
 
TGR":372ims9n said:
Al-onestare,

Bike looks great - even showed my wife who thought is was a fantastic job! I am jealous that she takes an interest in yours and only complains about me and mine!!! Typical.

:LOL: I can't help the LOL...indeed - typical! Thankfully my partner in crime has accepted the RB-bug and let's me get on with it - I thank the RB-Gods everyday on that count!

I'll try and get the gear cabling sorted before the weekend and I may have to improvise with the hoods I have if these others don't show up by next weekend...
 
al-onestare":214omflr said:
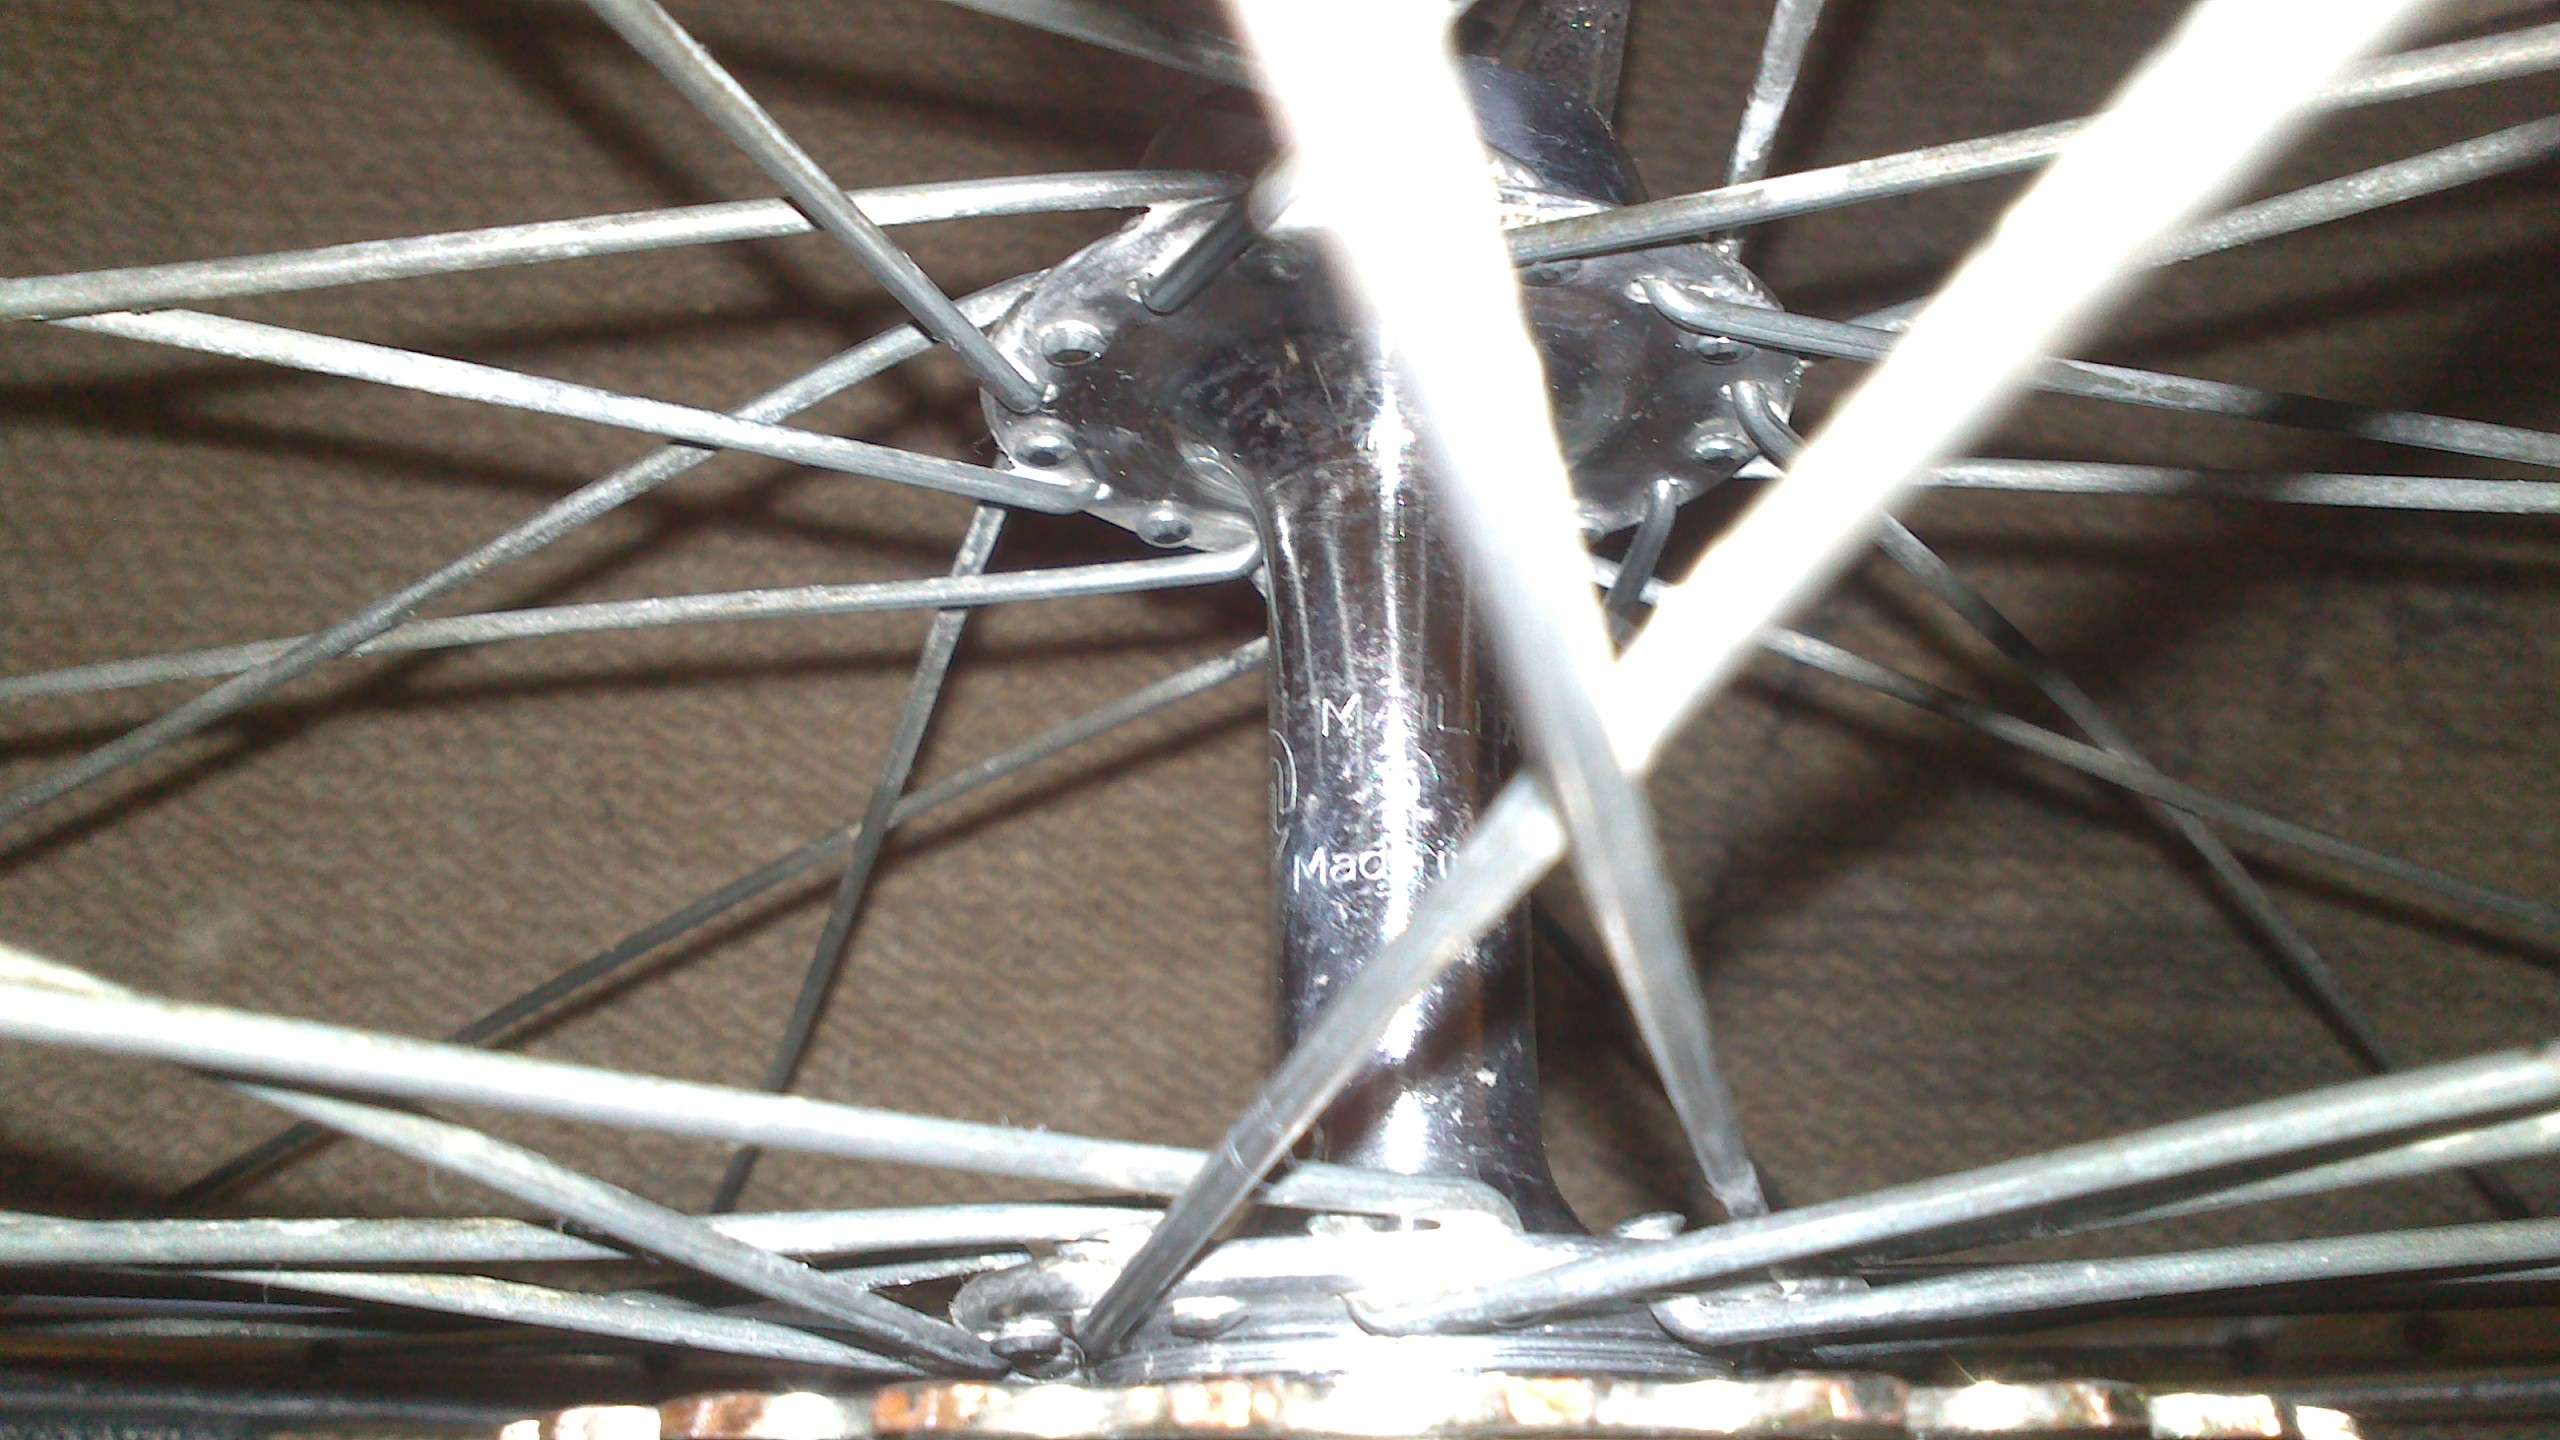
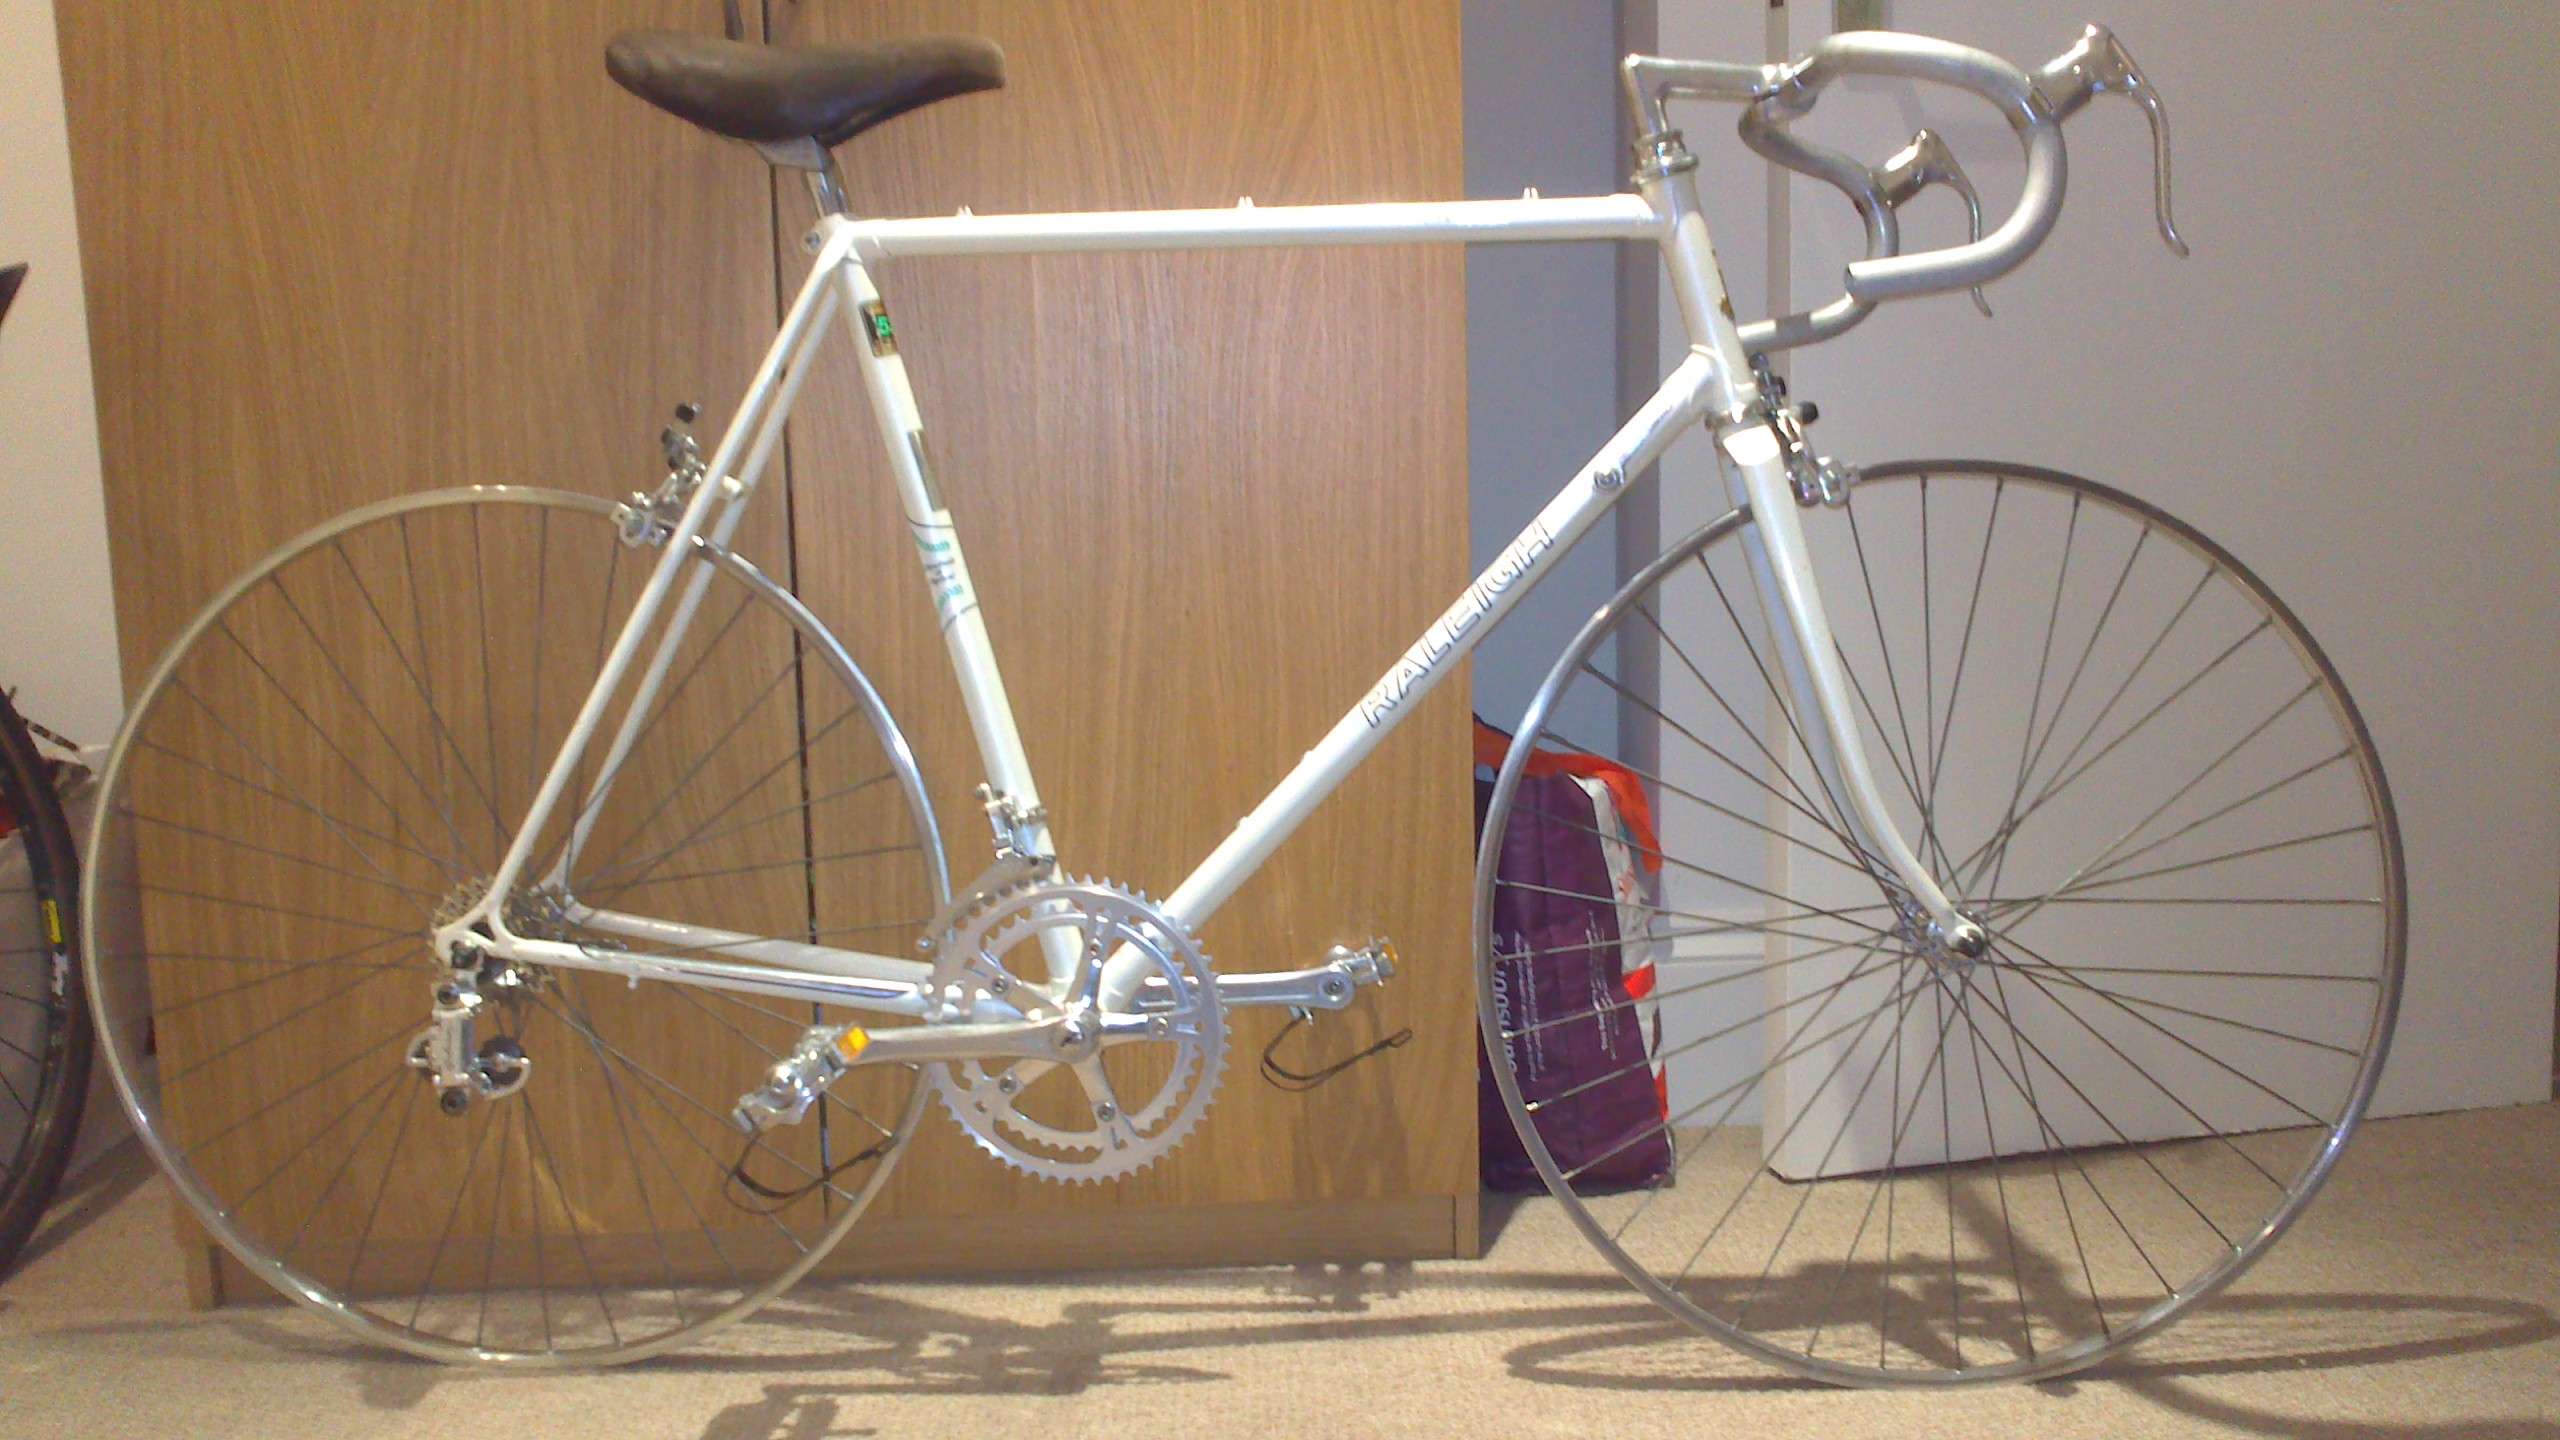
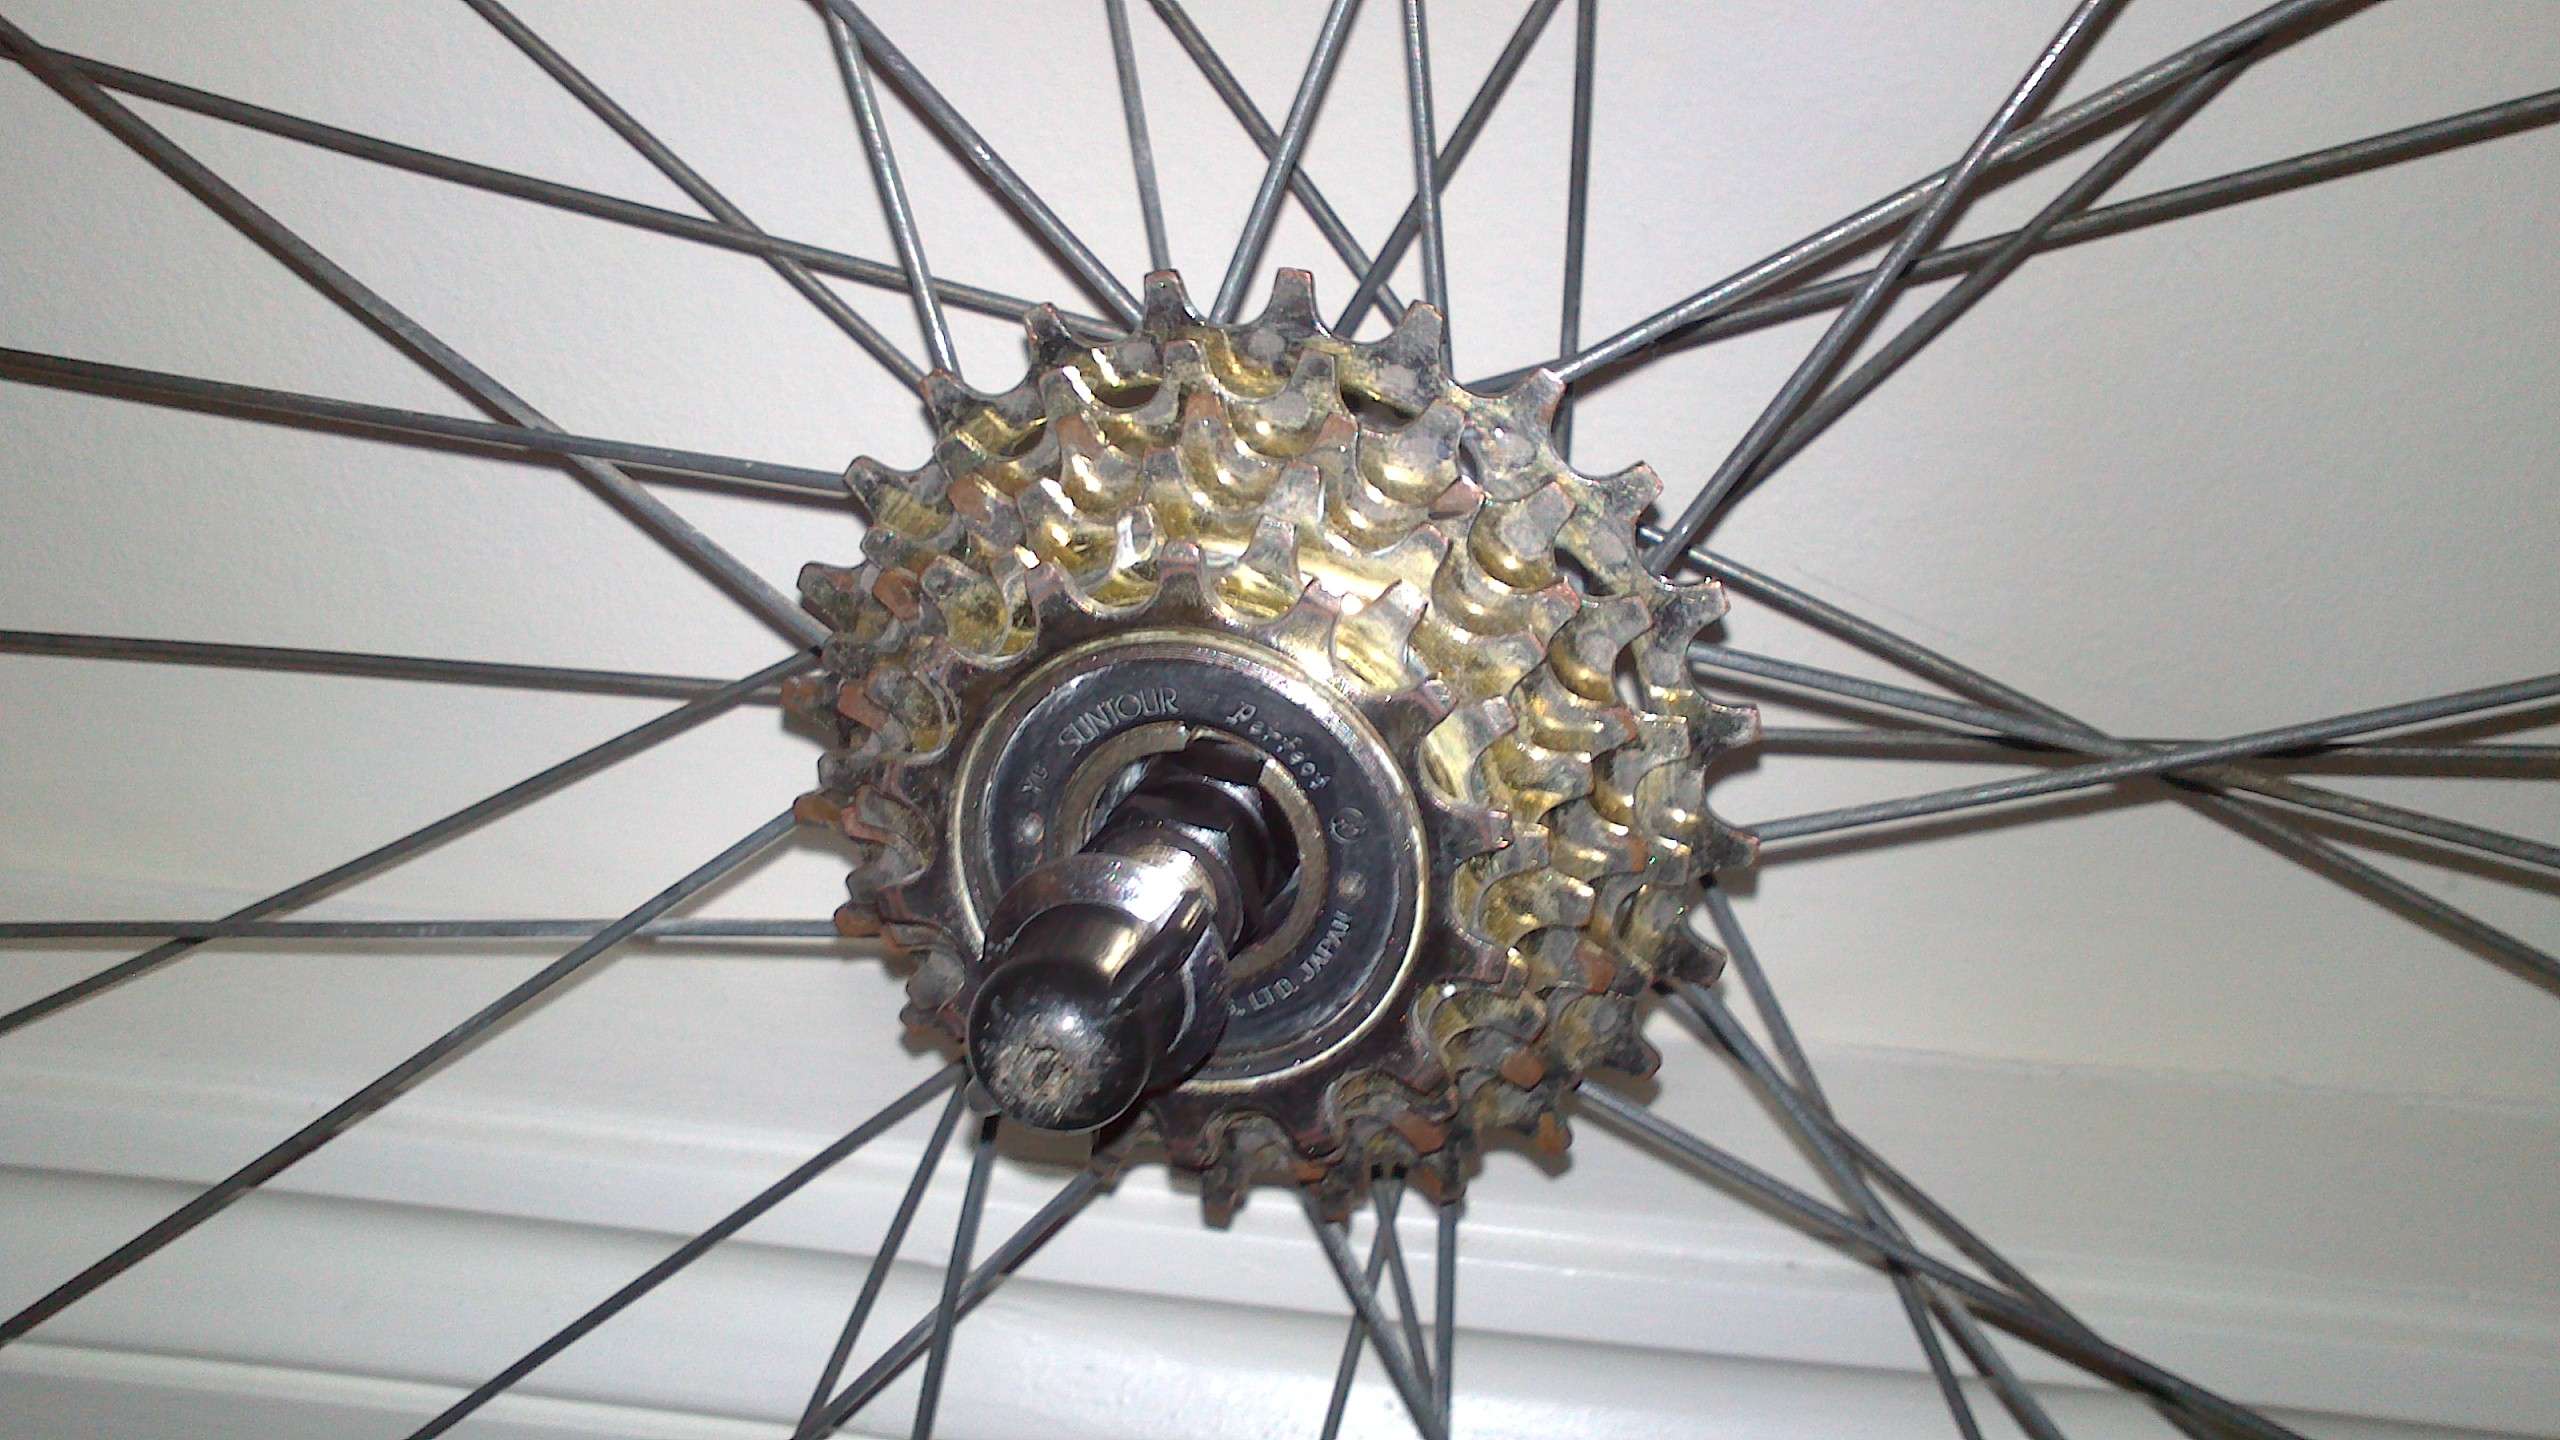
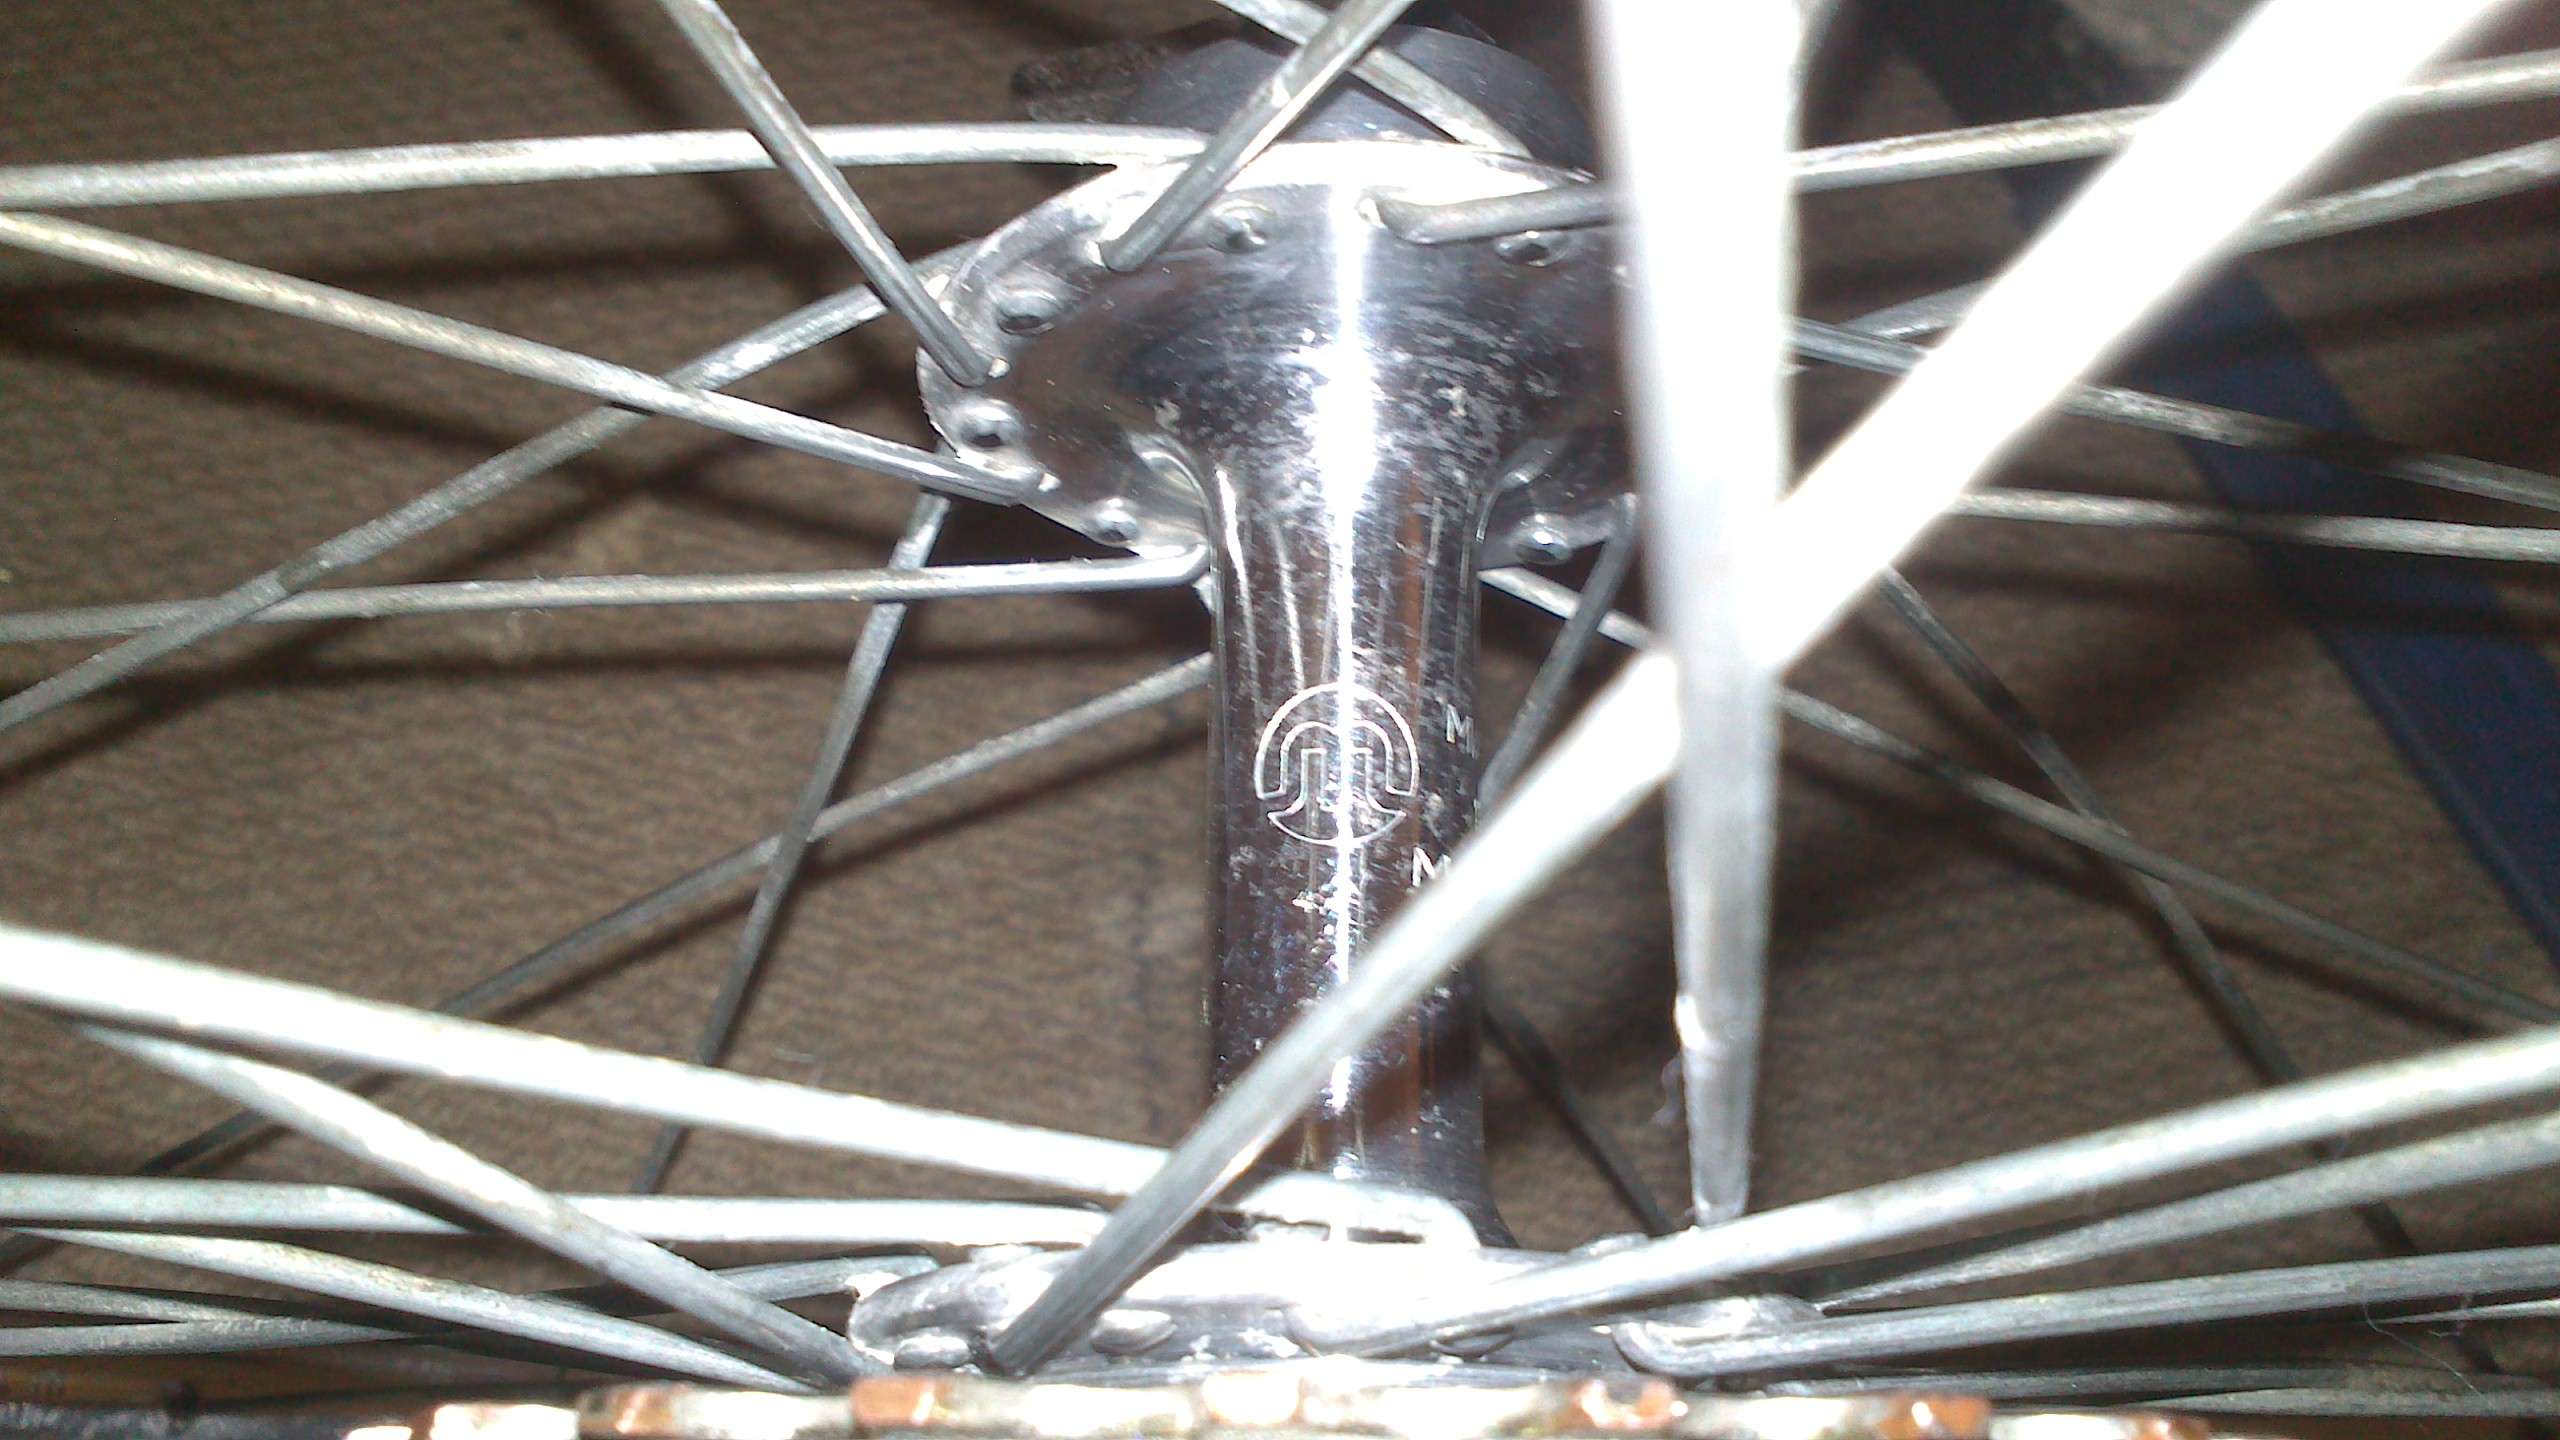
So the cleaning and polishing odyssey is over. I don't think my hands could take anymore abuse but it's been worth it. Last night the rear wheel was buffed up and re-built.

dsc0196hj.jpg


dsc0197gm.jpg


dsc0198xe.jpg


And put together, get your :cool: out.

dsc0200dmp.jpg


I found myself staring at it for 10 minutes yesterday evening... :oops:

The final stretch is here:

Tyres and tubes
Straps
Cables
Chain (will use the original, it's fine, not stretched or that worn)
Bar tape
Hoods (come on US post - where are they?!)

Has anyone got any recommendations for bringing back to life suede saddles? Would the sort of products you use for shoes be ok?


This is great, better than Grand Designs! Brilliant post he will love it! One request...please can we see some more seatpost, the only guys who got away with that little showing was Herrera and Oncana!
 
My Dad always had it that low but I'll extend it a little to keep you lot happy :LOL: The hoods arrived - they'll do for now but I'm going to keep an eye out for a better pair. It means I can fiddle tonight so I'll sort out some better tubes and the logo allignment (I mean really, come on) and get the brake cabling and set-up sorted.
 
Thank you - not sure what to expect but a nice big man-hug would be good ;)

So, all cabled up apart from the rear brake - that's tonight. Remember I am a novice with this and am very used to vbrakes. Excuse my language but these one pull things - what a load of arse :LOL: Anyway, front sorted and pulls really well, MUCH better than before.

Front mech set, rear sort of but of course waiting for proper tinkering when a nice new chain is fitted next weekend.

I've ended up using the original outers because a) taking another look they were in really good nick and b) the jagwire packs outer isn't long enough. Rightly, modern bikes don't have the outer on the top tube but of course this does. And since the rivets are the size of the outer it would look silly without it (and it wouldn't work either).

VERY pleased I kept them in the end.

dsc0209ef.jpg


And for your purists I hope you notice that I've increased the seatpost height a little, fitted new tubes with a shorter valve and measured up the logo to the valve thing as best I could.

So, rear brake tonight and that's it until next weekend when the bar tape will be applied, the chain fitted and tinkered with. One final polish then sit back, take snaps, etc. I may have an alternative set of brake hoods coming my way but we'll see...
 
Al-onestare,

Mine is a box of bits and a frame - you are waaaayyyyy ahead. Catch-up is doubtful at this point!
 

Latest posts

Back
Top