1996 Judy XC rebuild - FINISHED (page 7) 30/05/12

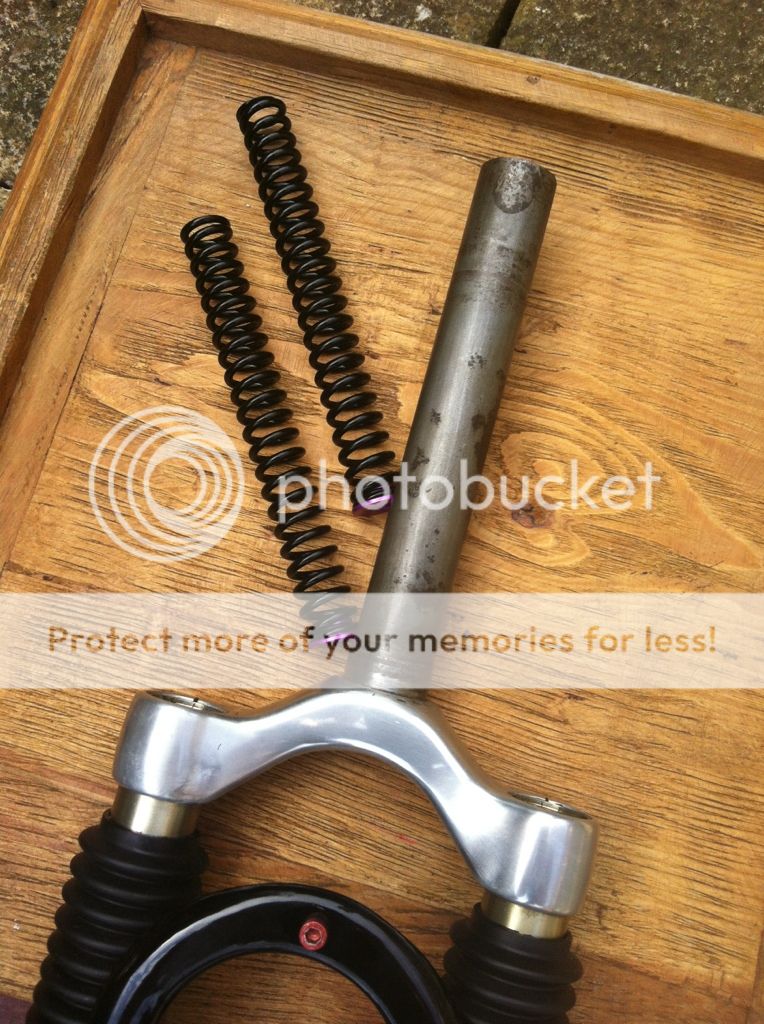
Nex job was to fit the inners into the outers, so I constructed a contraption consisting of a toothbrush taped to a long allen key, so I could get grease right down to the bottom bushing.

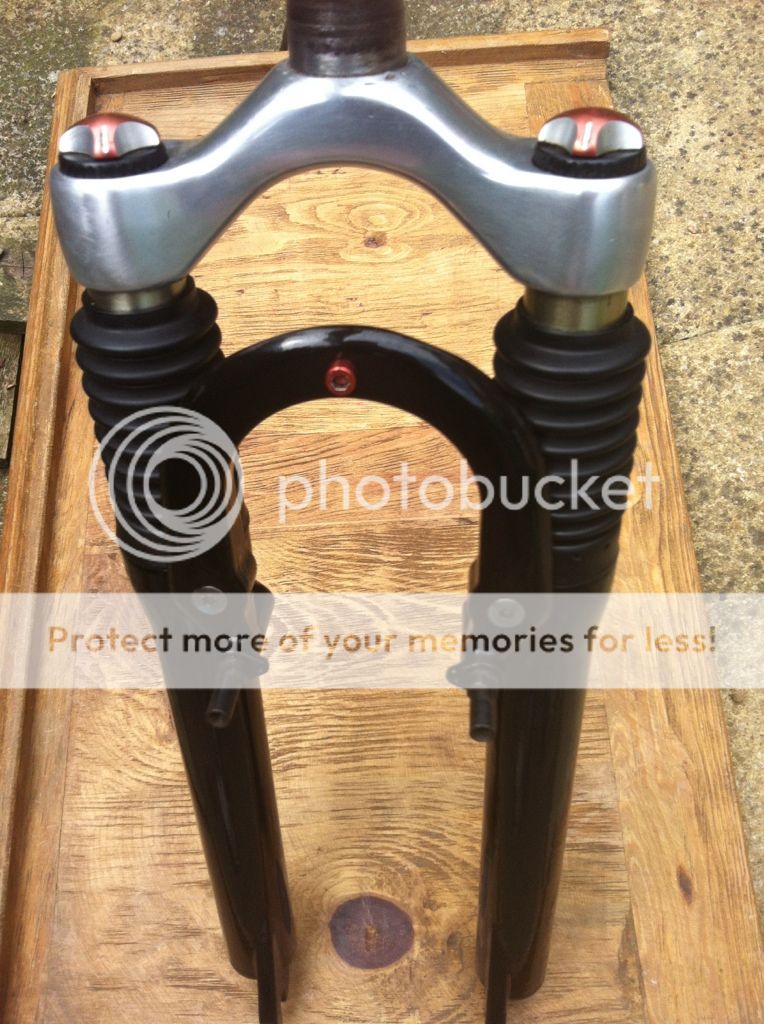
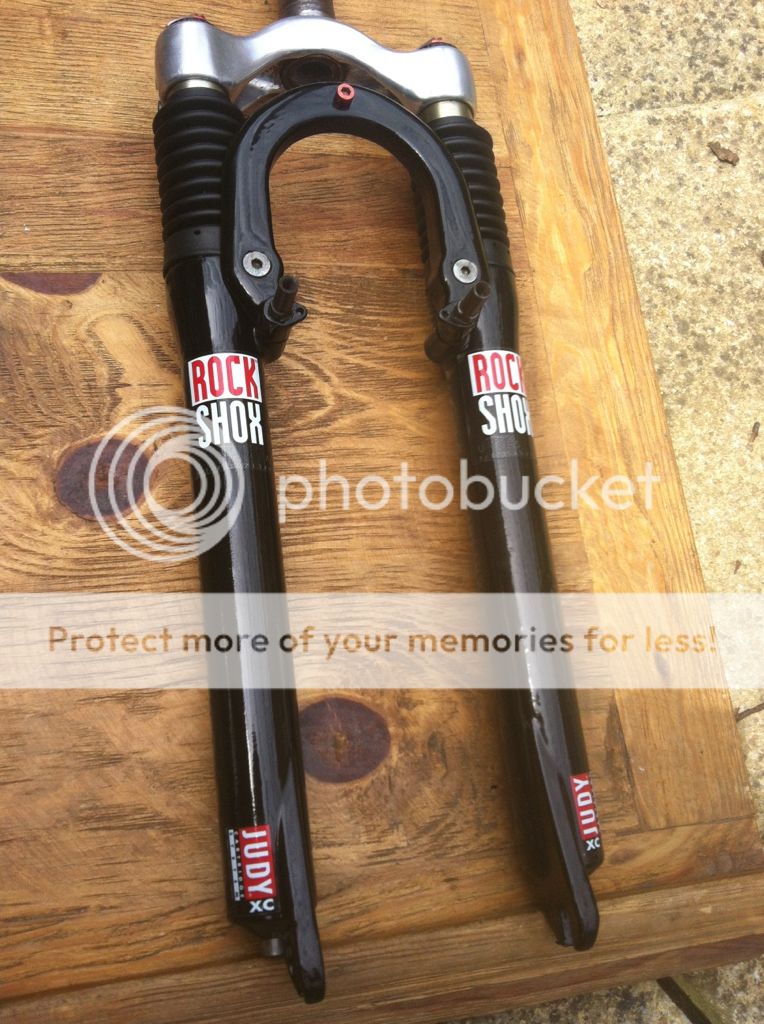
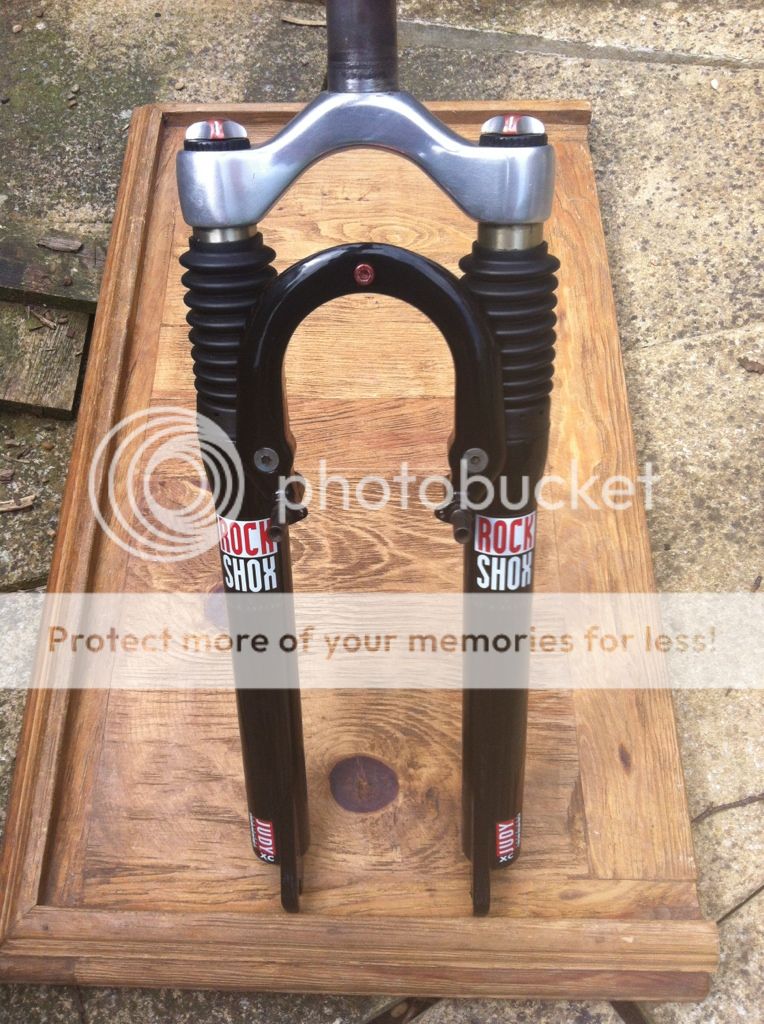
Once both bushes had a thorough coating, I slid the inner leg in to place, and conected it at the bottom with the allen bolt.

I repeated this for the other side.
 
Next I cleaned and greased the inner pafes of the dust seals and slid them over the inners and into place in the top of the outers. I thin slid the ruber boot over the inner leg.

I repeated this for the other leg.

Then I took the crown, and using a flat blade screwdriver, I eased oper the hole for the leg to slot into, and slid it in until the top was flush with the top of the crown, Then I took two bolts and bolted them into the side of the crown, loosely, just to stop eveything falling out..

I repeated this for the other side.

Then I took the brace (V-Brake in this case) and bolted it into position.

Then I took two brake bosses and slid them into place..

b8bea012.jpg
 
So, any Pics Steve? Satisfying doing stuff yourself isn't it? Only my Tech lets me go so far then I have to pass it over...
 
Now that eveything was in place, I could fit the springs.

7eab1739.jpg


Firstly I greased the bottom mounts (purple ano) on the springs, and then wiped a coating of grease all over the rest of the spring. Then it's just a simple case of plopping them down into the top hole.

Repeated this process for the other leg...
 
Once the springs were in, I ran a thin smear of grease all round the inside of the top caps, just to be sure. Then I screwed the top-caps all the way in, backed the adjusters all the way anti-clockwise until the marks both pointer forward (anal, I know :oops: :LOL: ) and the screwed in the crown bolts real tight, to stop anything coming loose..

11ef4480.jpg
 
So a rebuild wouldn't be worth doing if it wasn't for the little touches, so last job of the day was to apply the decals (and very top quality they are too...

1ea0e0a9.jpg

42b75d50.jpg


So all in all, the rebuild today took me about 2hrs, and that includes taking a load of phone calls, re-reading the instructions on this thread a million times, and a couple tea-breaks.

The cartridge literally took 10mins max, to rebuild.

I'm very happy with the end result. I'll probably put them on a bike tomorrow and go for a spin...

Thanks to everyone on this thread (and spacehopper) for helping me through it.. :cool: :cool:
 
claret73":xq2oxvks said:
So, any Pics Steve? Satisfying doing stuff yourself isn't it? Only my Tech lets me go so far then I have to pass it over...

pics a-plenty, now fella. And when I get a spare hour, I'll include more photos of the rebuild, in the text above...

tbh, it was all straightforward, especially once I'd asked all the quetions on here, and got all the bits I needed.

With the minimal amount of oil I used, I think I have enough for a lifetime's supply now.. :LOL:
 
DegsUk":1e5747qe said:
ooo look good Steve , gives me the urge to do mine now :D

7 pages of guff here might make you think it's long-winded, but if you have everything all ready to the complete job in one hit, then it'll only take you a morning to do the job.

If not, send them to me, and I'll do them for you... ;)
 
Got 2 pairs of minty XCs the champagne coloured ones and a pair of SLs got NOS spring and cartridge upgrade off the bay a few weeks ago so going to be busy in the next few weeks ,not checked the carts yet though :LOL:
 
Back
Top