update
its about time i updated this thread so here's how far ive got since last post,
it coming along nicely and im quite pleased with it too ,
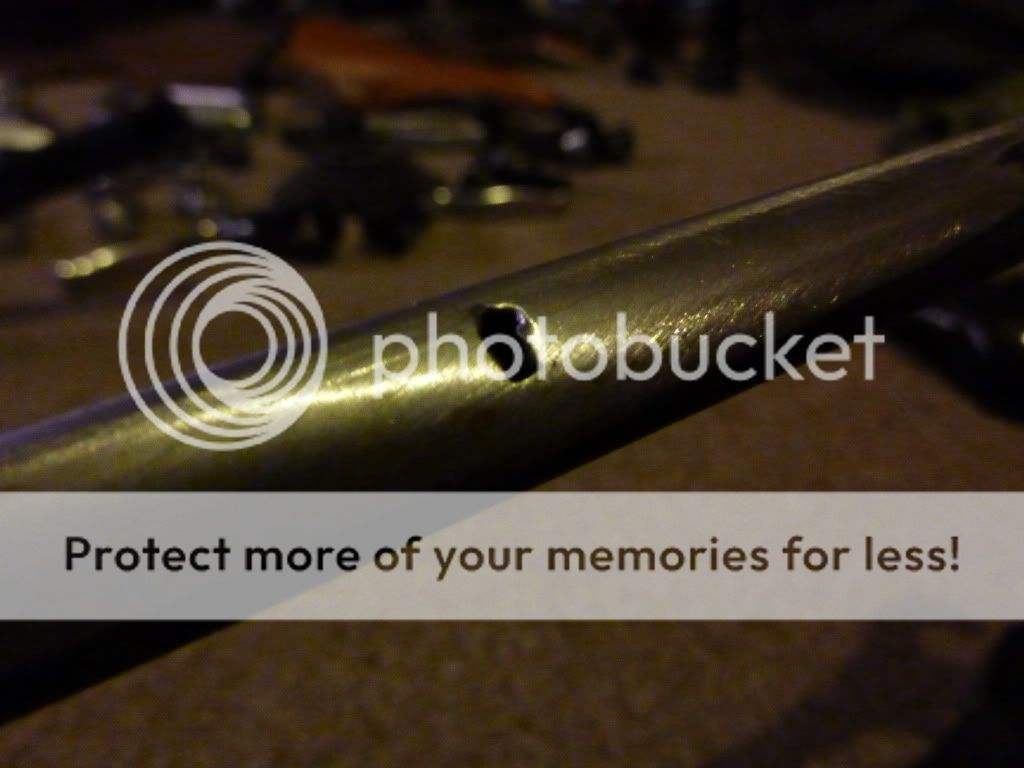
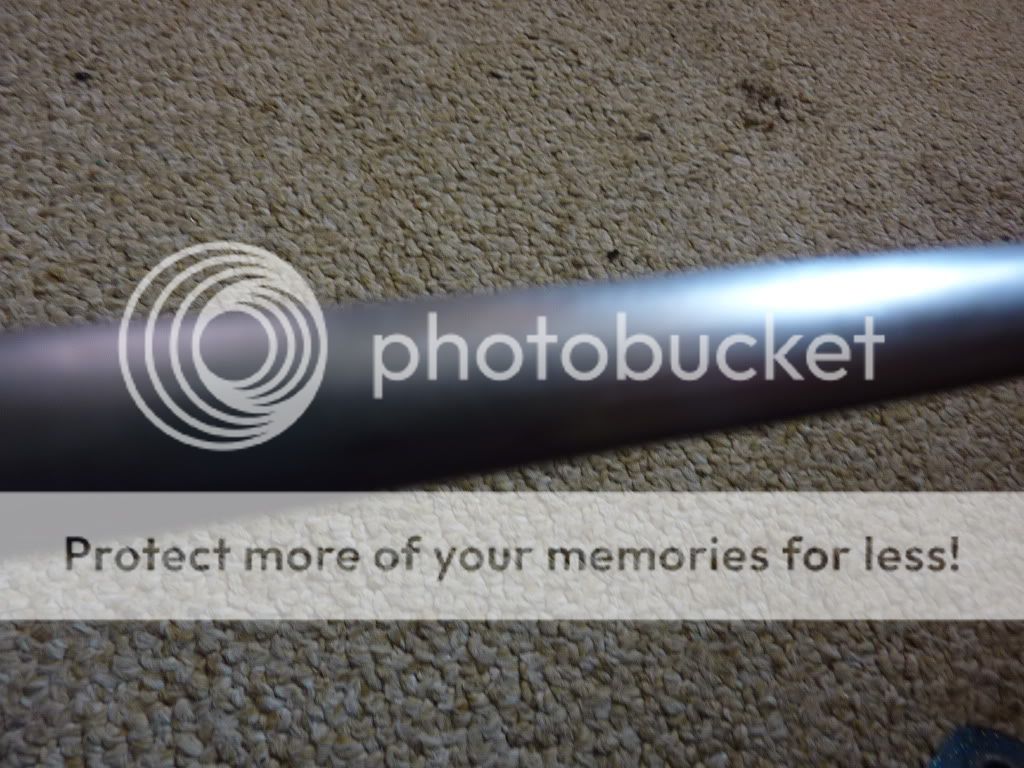
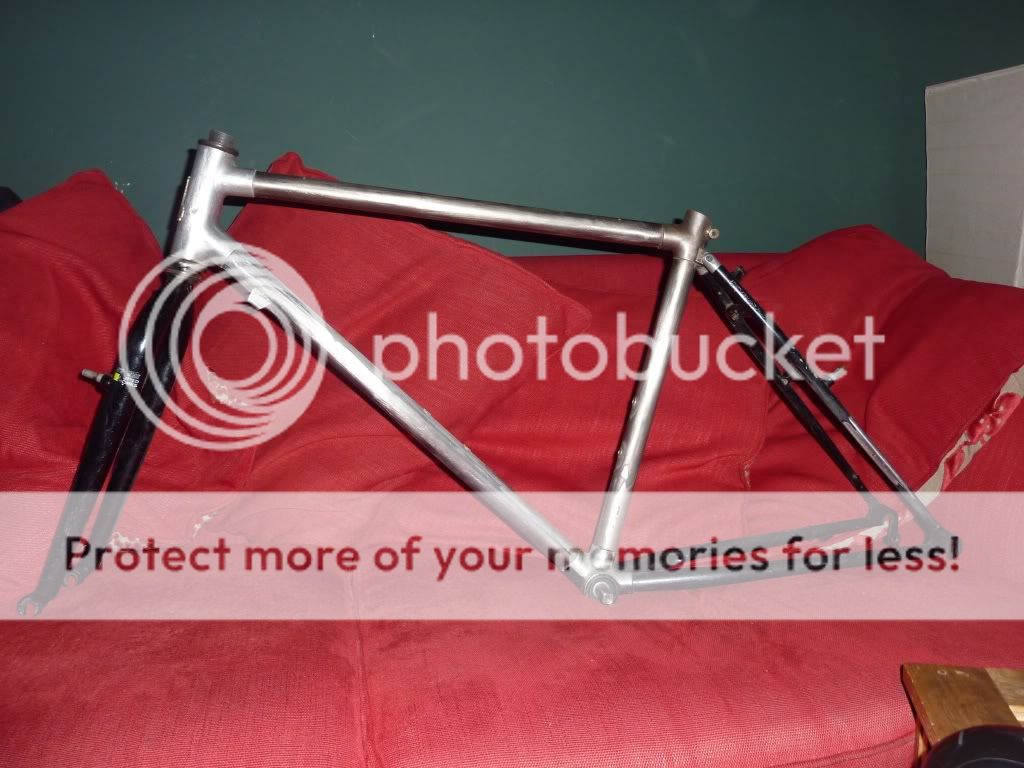
first of all i had the frame repaired at my local fabricators , he did a great job and you would never know that there was any hole there unless you knew about it ,there was a small crack too that was coming off the hole he said and so he drilled a new hole to stop the crack running and then put over and in both holes a peice of steel (the seat stays on the MT4 are mangmoly steel) and ground it back to perfection , he charged me a fiver ...come on ! in ten minutes he had just saved my baby from being writen off so i gave him a tenner .
from this
to this
will the repair be strong enough ? pottering around town he says no problem but hardcore off road only time and riding will tell .
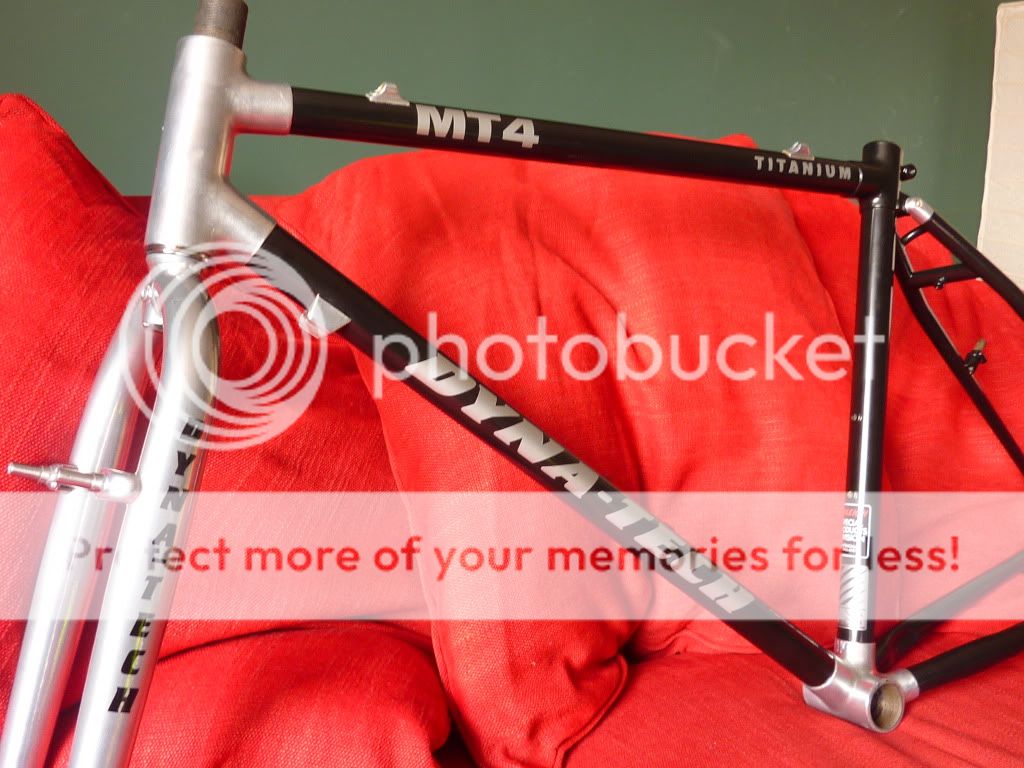
next up was the paint job ,well i wanted to bring out the elements of dyna mt4 frame and demonstrate hidden potential for what i feel is one of the nicest mtb frames of old , and ,i was also intrigued with the talk of DYNA's and powder coating in the forums, that is i wanted to put to the test the powder coating fearmongerist crowds theories that where chanting "DONT DO IT YOUR LADY DYNA WILL DIE IF YOU DO "

, so naturally for my inquisitive natrure i did do it ......TWICE !
i have to admit i didnt go into it balled headedly , i used a bit of common sense which for me isnt that common at all but whaen i was repairing the brakes bosses on the top tube i did so with a product called JB WELD (since 1969) it sets as strong as steel and resists temps up to 600F with this and with the knowledge that dynatechs indeed where being cured in a low temp oven at birth, i asked myself why would raleigh use an inferior epoxy resin than the one you can buy for £4 of ebay also the steel worker who deals with powder coat every day looked at the original paint and thought that it was PC with speccles in it and thirdly the powder coat guys rubbed some stuff (thinners i think )on the paint when i took the frame in for the first time and they said it is not spray paint but the effect they have not seen in powder before ,so who knows it could be original special powder coat that was baked on at the factory
first time it went in the oven the lads at ace powdercoating in hindley didnt do a great job of masking the alloy bits i had pointed out for detailed masking
so the frame came back to me not at all how i wanted it with not just bad masking but bits that had been masked that i didnt ask for
, someone wasnt listening :roll: ,
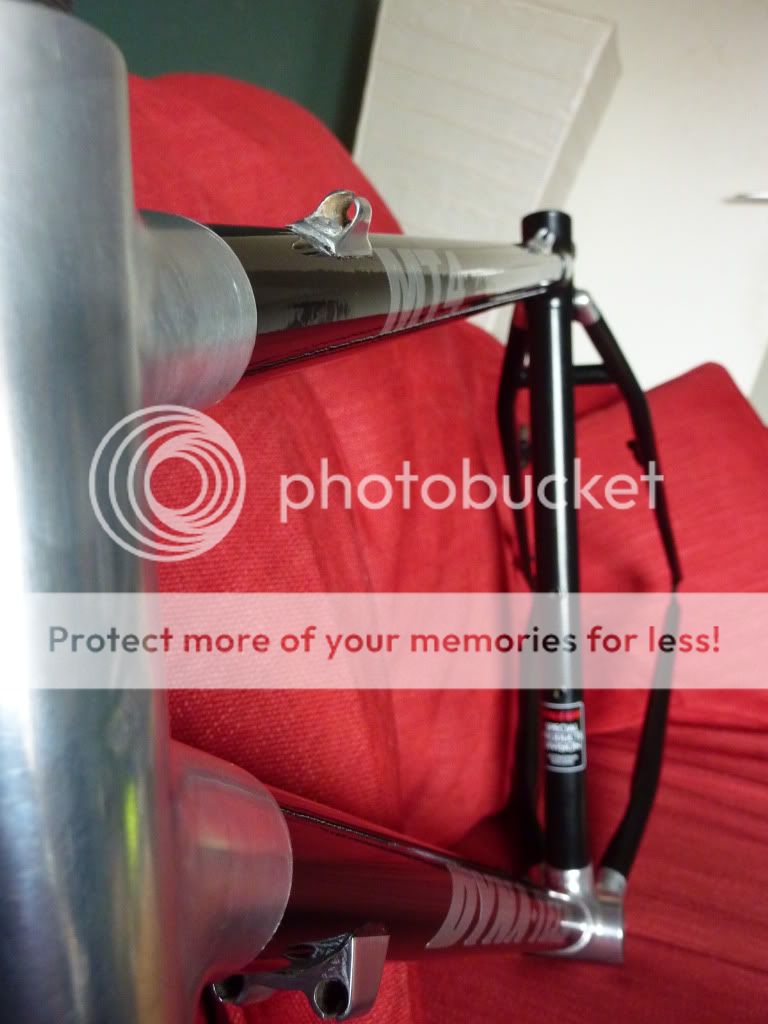
this is after the first powder coat and before the second ,you can see the bit they masked wrong at back of seat tube
another bit they kindly added to the unwanted mask list
frame before second bake with my masking
but i liked the guy as a loveable rogue and he said for me to mask it up and put it back in the oven a second time which went well
patches of previous errors fixed
NOTE: i greatly recommend doing your own masking if it is required as no one else shares your love and care for the bike full stop , no offence to second and third parties intended.
i also tested the bikes lug/tube strength after PCing by trying to sprise it apart with foot and arms with no movement thankfully , i feel confident with the frames strength even with the double dose of 200c treatment it has had this week , but riding off road is different and will test it to the max ,so indeed when it is finished and been bullied for a bit i will update the results on strength so for now this subject is on going ,
keeping with the PC subject i will add this information for anyone thats as geeky as i am .
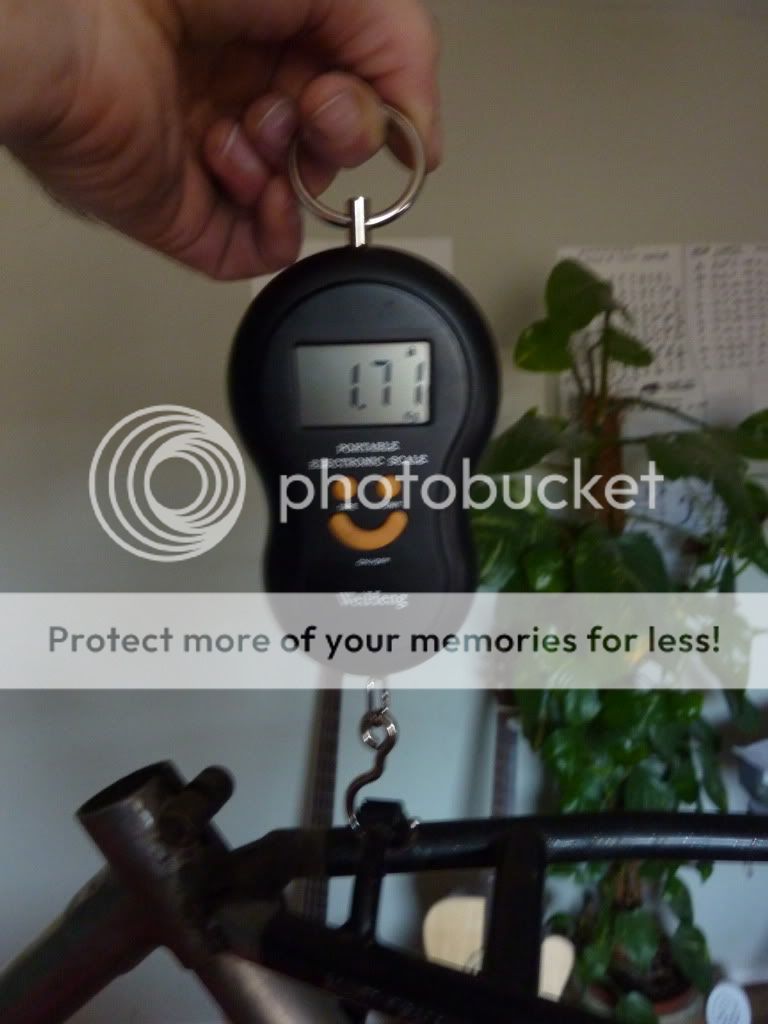
ive been keeping my eye on the weight of this build and want to keep it below 21 lbs if poss so in my anal endeavours i weighed the frame and forks and these are my conclusions :
frame weight before paint strip 1950g weight after 1710g thats a whopping 240g of paint from the raleigh factory
now
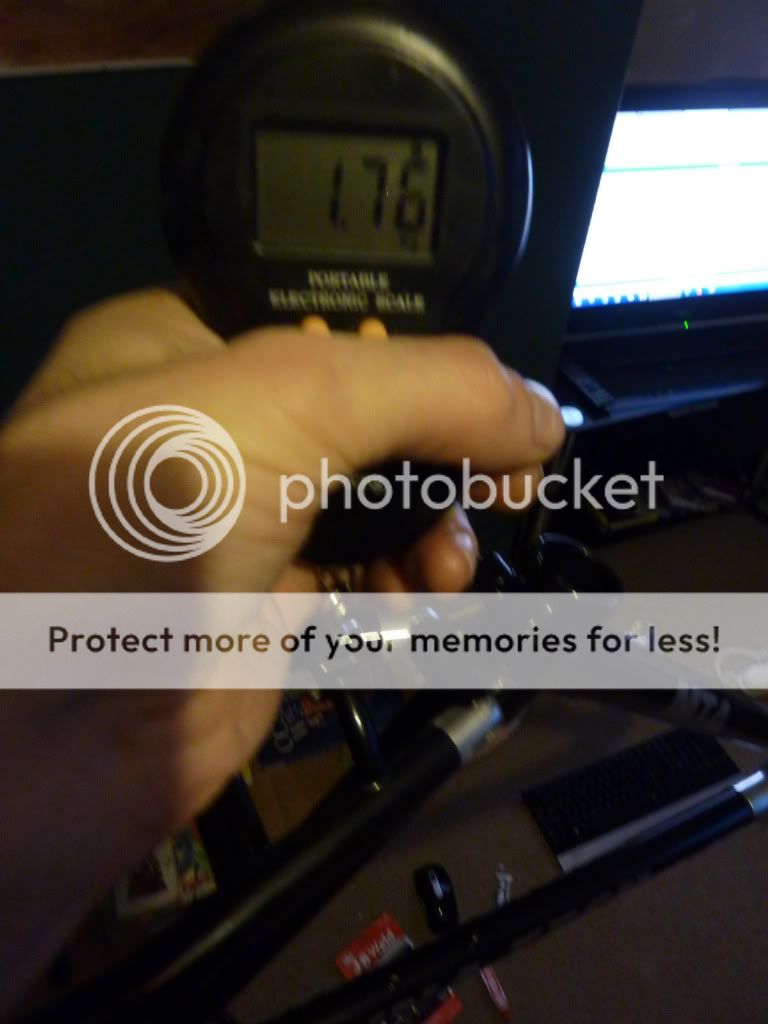
frame weight after two bakes of powder coating is 1760g ..so much for the powder coat weighs 300 grams-ish myth i have read in one post somewhere here ,well this im really pleased about because it means that i gain a full half pound back from my weight watchers allowance
YeaY !
before PC
after 2x PCing
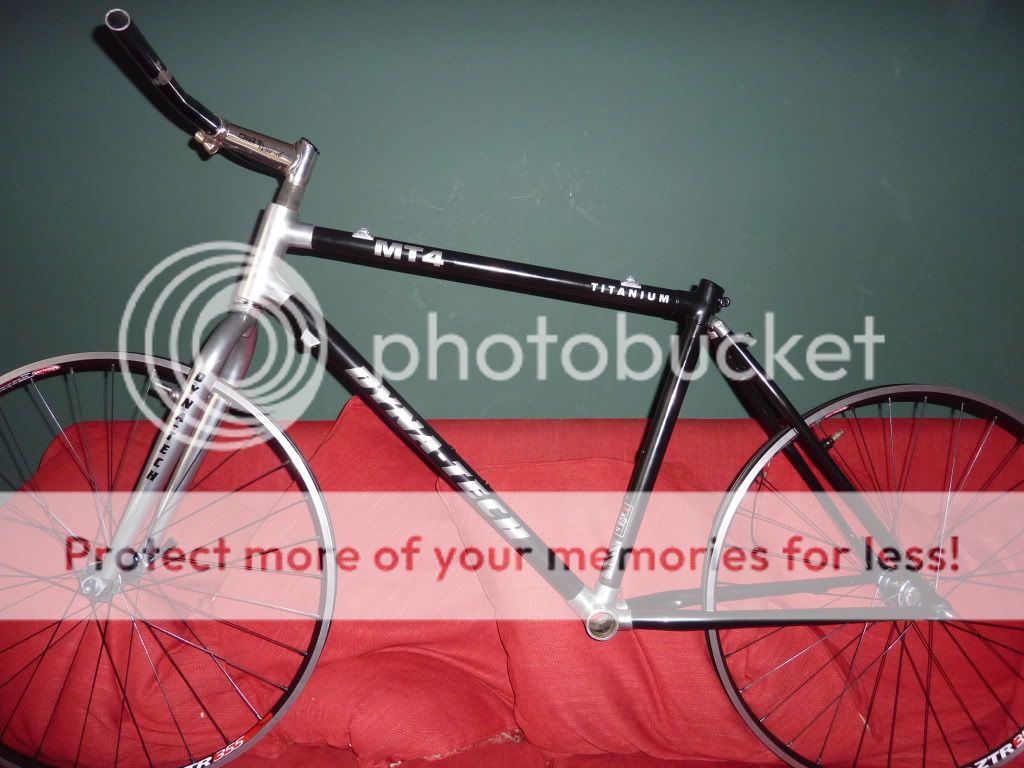
moving on now next up i have built the wheels which are xtr m970 v brake hubs on stans ztr355's with revolution spokes and black nips , now im not going to post how i built the wheels because others have done a great job of that already on the forum which i dont think i can make any better so instead i will show you a little tool i used and it simply brings the spokes up to tension quickly ,evenly and should leave you with a wheel that has very little radial errors (up and down) before you start to go into the last phases of tension and truing ,its just a screwdriver filed down on both sides to leave a prong like point in the middle ,1.5/2mm long ,to use it just turn the nips until the spoke pushes the head from the flat head groove do it to all spokes till the tool no longer works on any spoke and your done and ready to true ,simple heres a pic

and heres a jig that i rigged up out of an old drum stool with the stool seat tube removed and the forks put in upside down an use the stool tension adjuster to lock the fork secure , and for the rear wheel i duck taped the frame to the fork ,use a set square and universal joint light bracket for the reference it works well and is accurate enough ,plus the whold jig rotates to make working really easy
i dont know if i am allowed to do this but to make this thread a bit more educational i have also put this ebook on rapidshare for any wannabe weel builders, beginners or advanced its a good read
http://rapidshare.com/files/448794798/B ... ilding.pdf
i didnt write it by the way
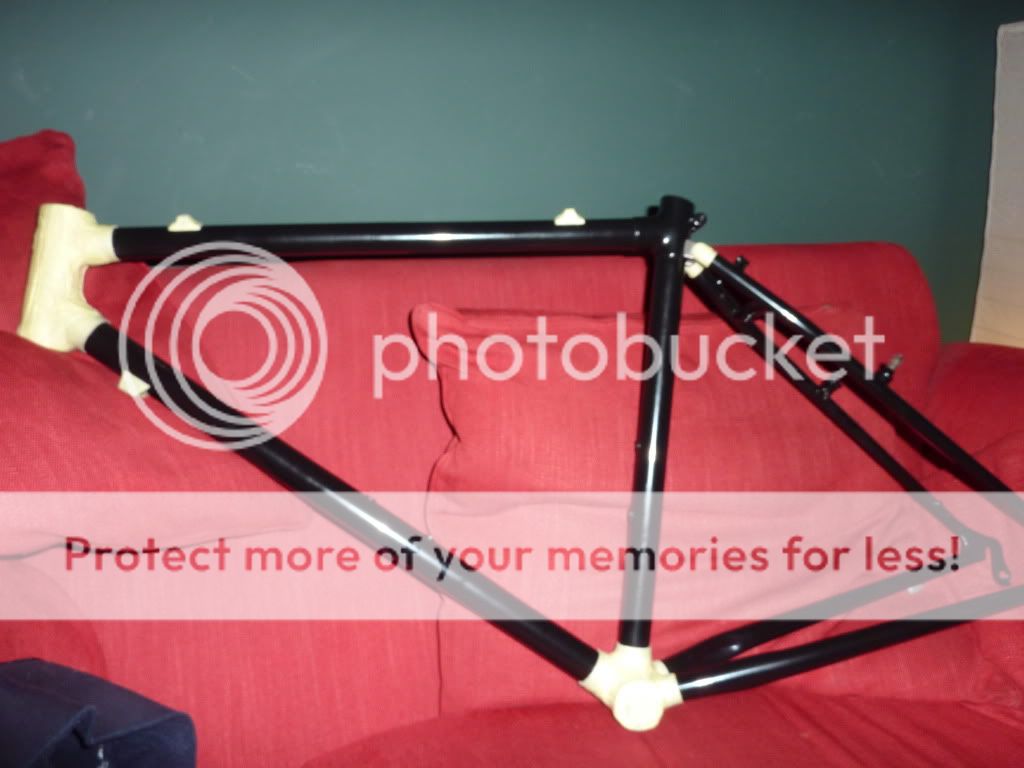
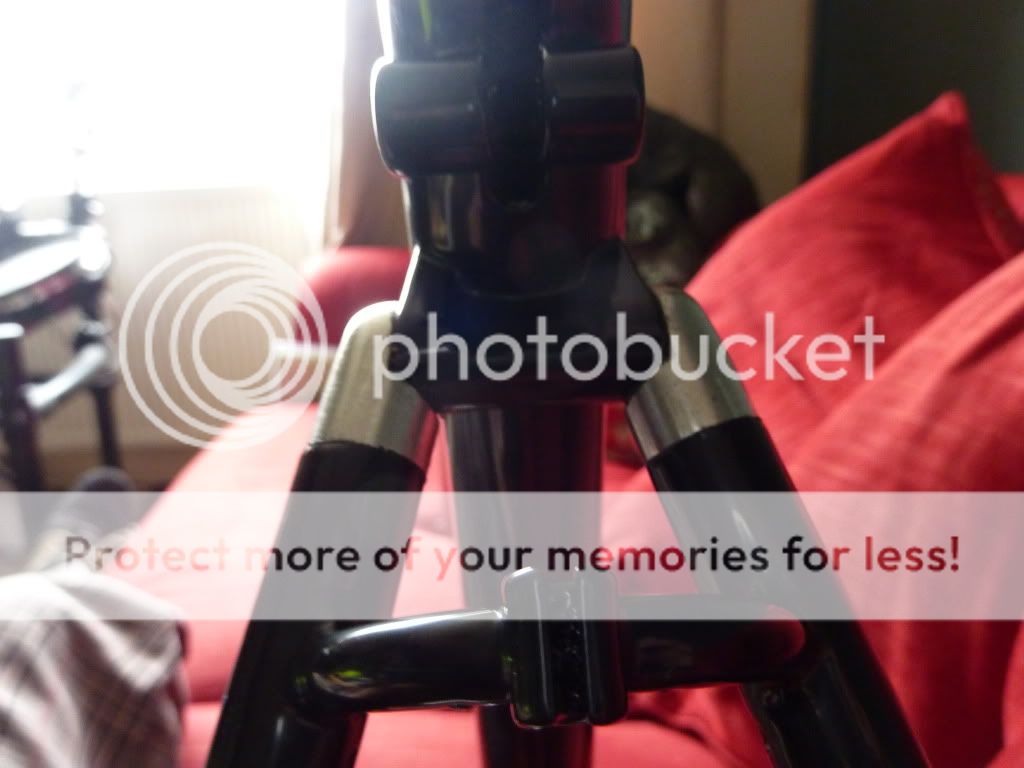
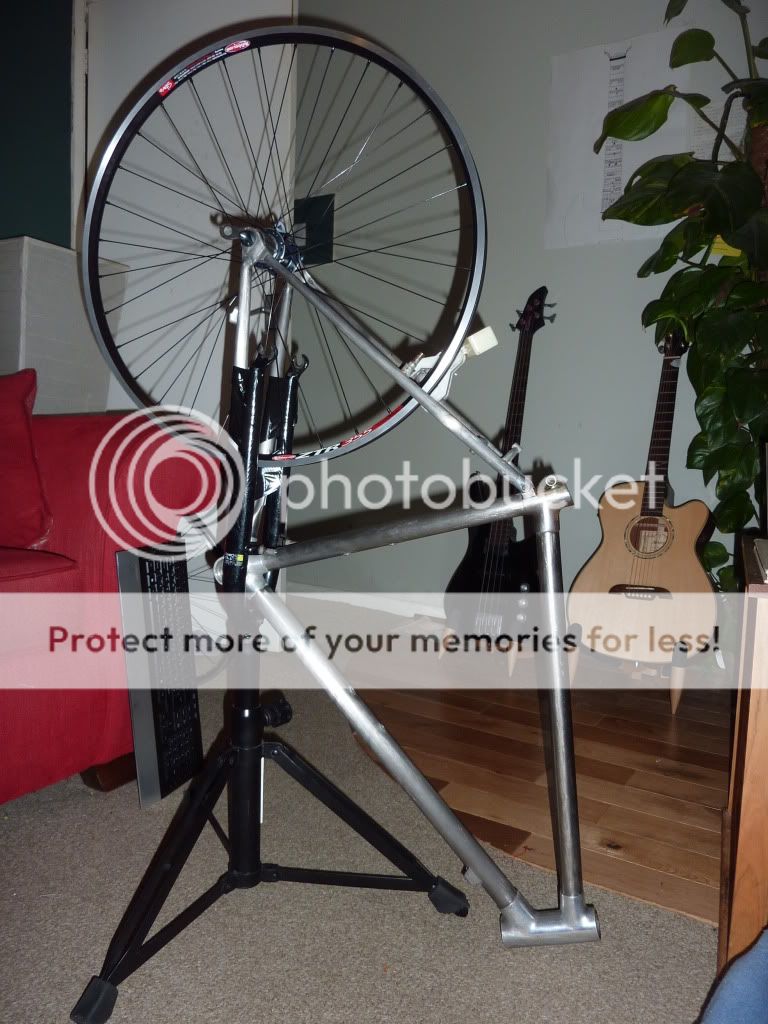
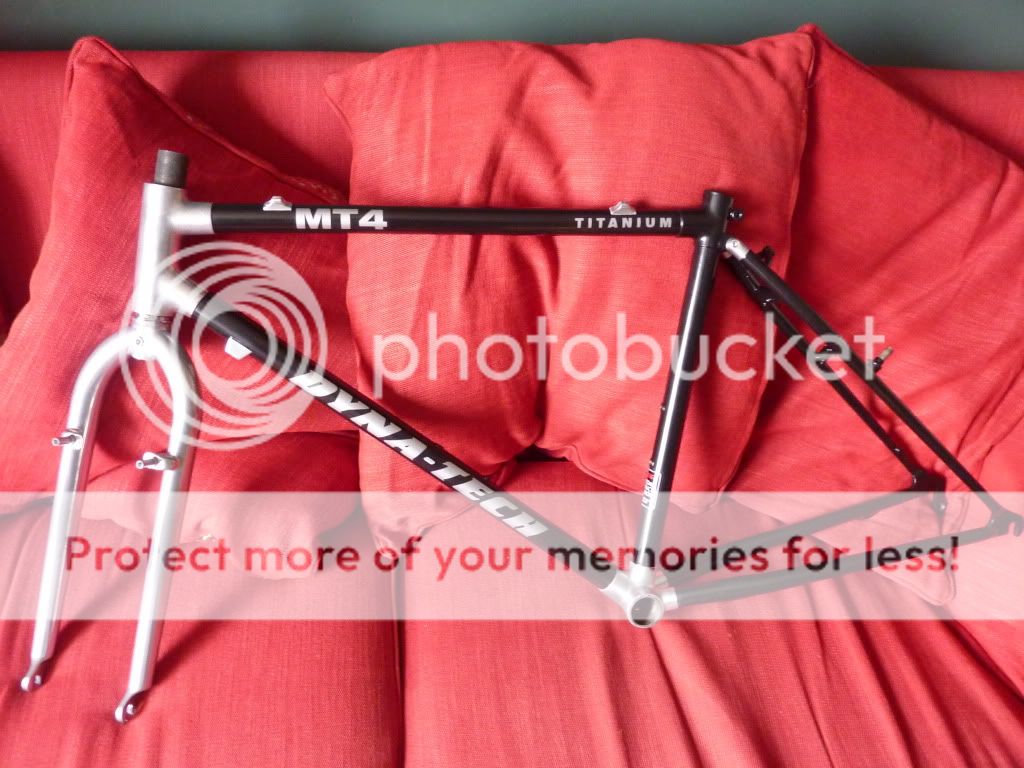
so finaally i will show you the frame now as it stands ,i have teased you for long enough so here she is without parts yet ,im waiting on tools to arrive
before
after
thanks to chaser (the authority)
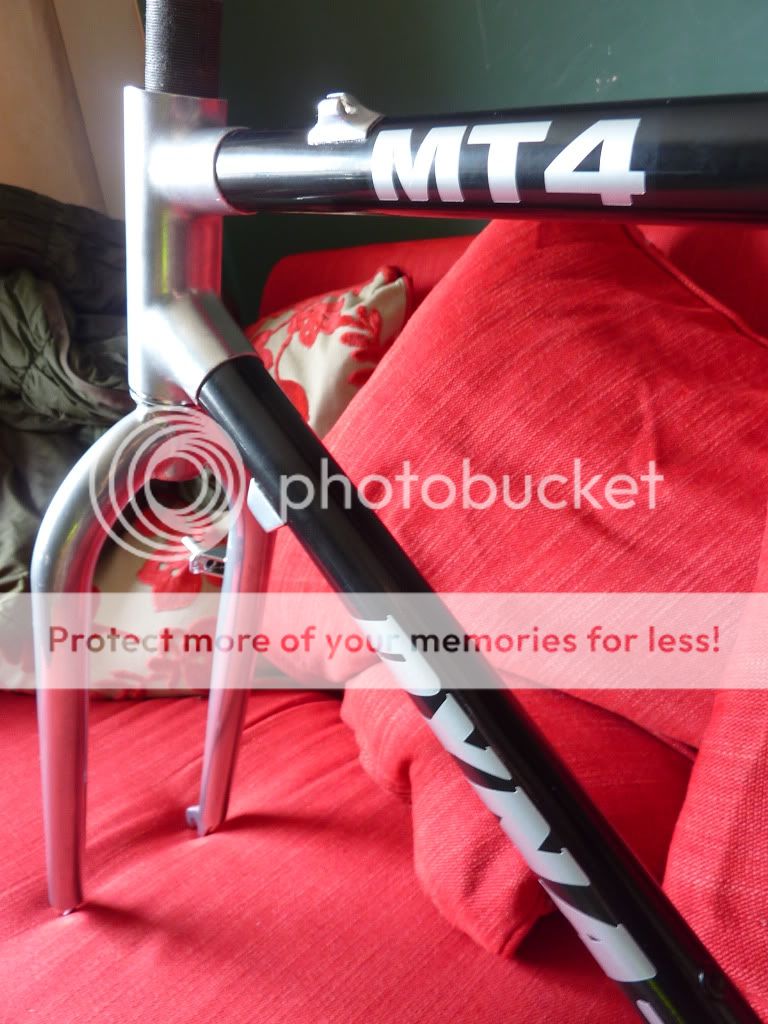
for directing me to the decal man, i got them from Gil_M a forum member and they are really fab looking and trust me hes good and quick to meet your needs on decal specs , however the decals are fragile especially on dyna techs with the little whisps on the lettering that will lift if not extremely careful, MTBing and careful.... hmmm i dont think they will stay good looking for long if you dont clear coat them after fitting them ,ieven though you fit them as whole words/decals the lettering within the words are individual , i feel a one piece decal obviously would be allot harder wearing but hey beggers and choosers springs to mind ,since youve more chance of finding rocking horse shit than dyna decals clear coat is not a bad trade offf , as any one done this with Gil's decals i would like to know which clear coat to use or not to use please?
i havent seen another dynatech like the one i am working on with dull polished lugs and alloy bits/trimings ,if you know of any that i may have missed here at the forums i would love to see how others turned out so let me know please
il make another final post when its full assembled and tested
for now taa-raa
ps
o would like to thank Gil_m for swaying my decision on the decal colour flat silver is an amazing match for dull allu and powder coat chrome it really is the beez bloody knees , taa