Thanx
first link doesnt work and yep that the bike Im on about
anyone know where it is
the only thing Im sure of is the brake levers being avids ultimate I have a set exactly the same, but Id like more info please
he was amazing
I have seen the back arms and silver spider on the bay before but i have deleted my watch list.... with the rsr 2 hole spider.
Heres a pic though of early ones.
Sadly they aren't early ones, they are some of the last dog bones made. Those are 94bcd cranks rather than 110bcd which your bike would use. Here's a pair of mine that are the same:
And here they are next to 110bcd ones:
On the plus side, cooks cranks are getting cheaper and cheaper these days:
When you click on links to various merchants on this site and make a purchase, this can result in this site earning a commission. Affiliate programs and affiliations include, but are not limited to, the eBay Partner Network.
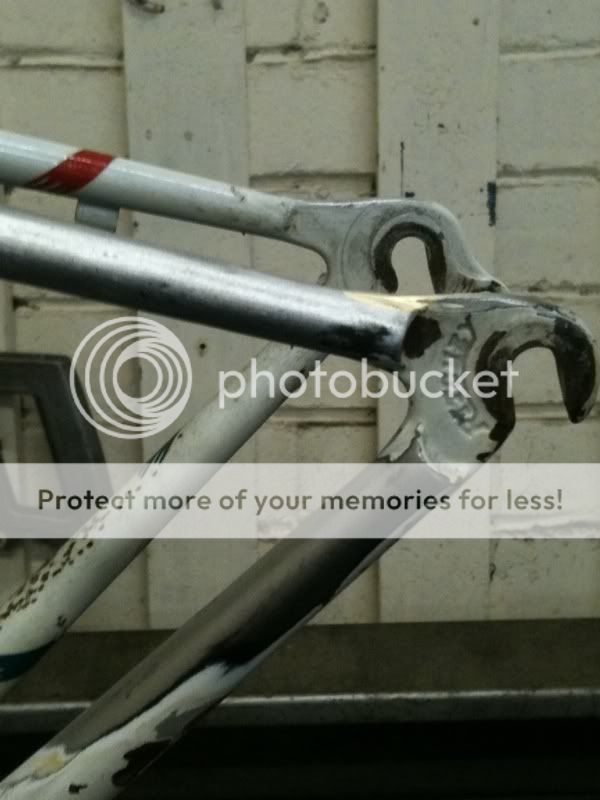
So, todays progress. Disc tab and brace removed and seat tube repaired. When the frame arrived last night i noticed the tell tale blisters around the bottom of the tube straight away. Paint removal showed 3 holes of around 2mm diameter and a crack on the drive side between two holes. I set about cleaning as much rust out of the tube by gently tapping the tube with a soft wood flat, before fitting a long wire brush probe down the tube fitted to a die grinder. Quite a bit of rust came out but not as much as i have seen before.
The repair was going to be tricky as it was so close to the weld. First off i opened up the holes with a 4mm drill bit and checked that i had exposed good clean metal. One hole had to go larger- not much but just enough to get clean edges. I then made up 3 plugs, carefully filed to size and shape which went into the holes. These were then carefully tig welded into place with short bursts to avoid overheating the thin tube. A little cleaning up with files and paper was all that was needed to complete the repairs. There are a few small dimples around the welds which i expect the powder to cover without resorting to having to silver solder- thus adding more heat stress to the frame.
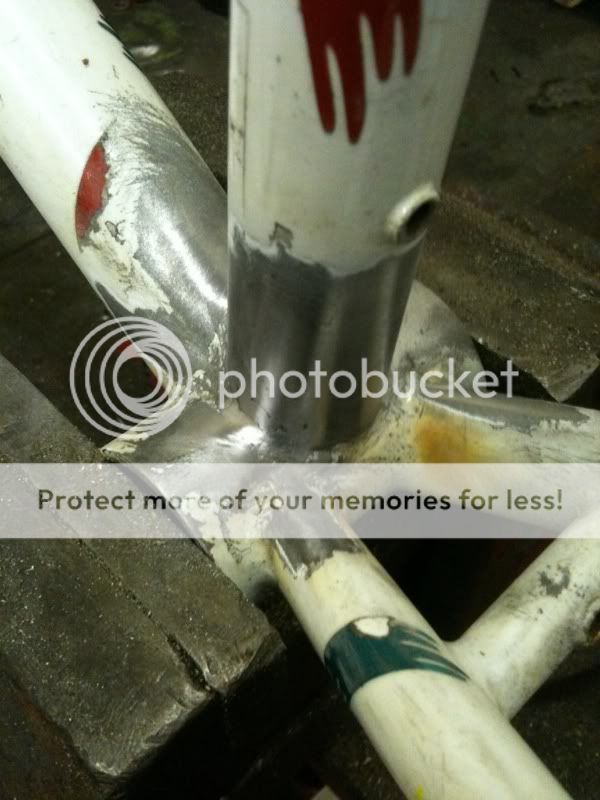
I really didn't want to put a new tube in as i wanted to keep as much of the frame original as possible. The plugging technique is something i use on old car chassis often enough and has proved to be well up to the job. My Yo was also repaired the same way over 9 months ago and is still as good as the day it was done.
The frame needs dipping in acid now to get rid of the paint and all the remaining rust before a quick session in the blast cabinet. Hopefully it should be going for powdercoat on friday.