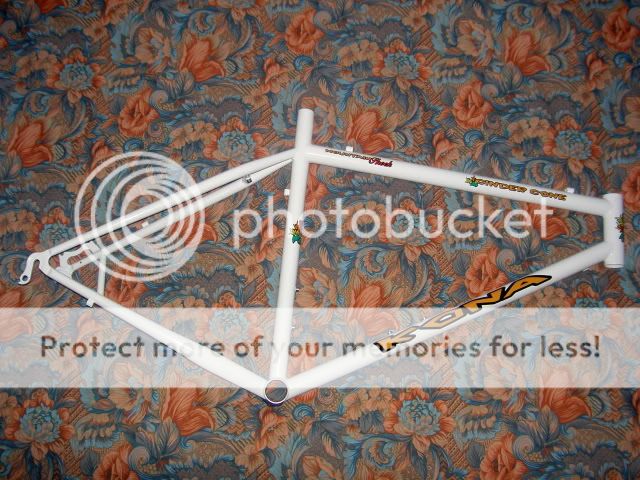
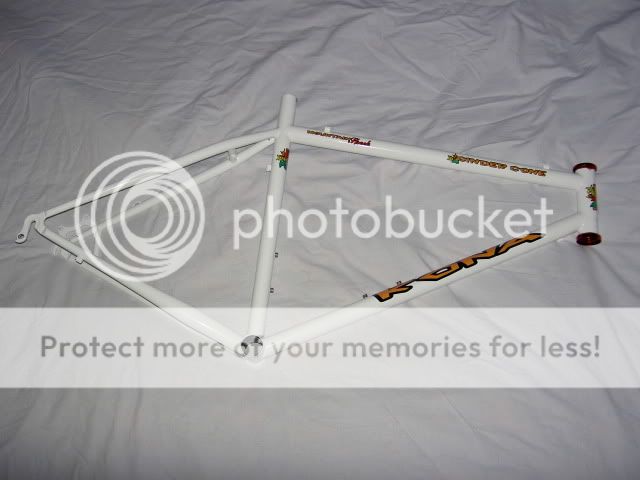
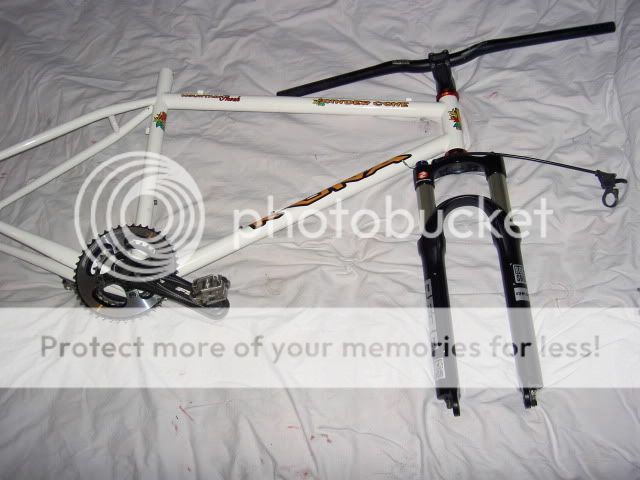
Hi guys, well finally i have decided to make the effort and start a build thread on my Kona Cinder cone 1997.
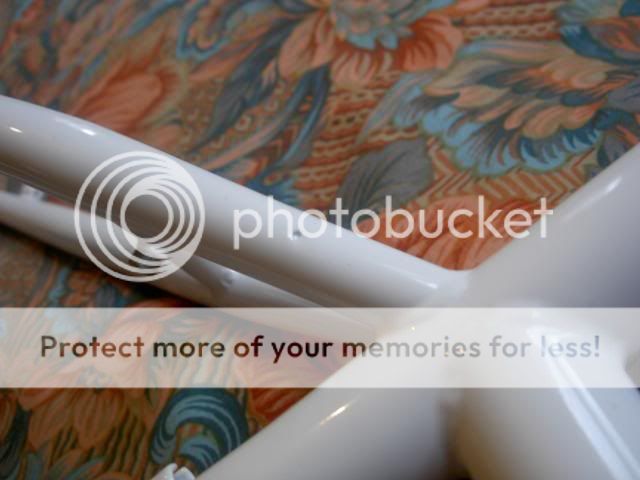
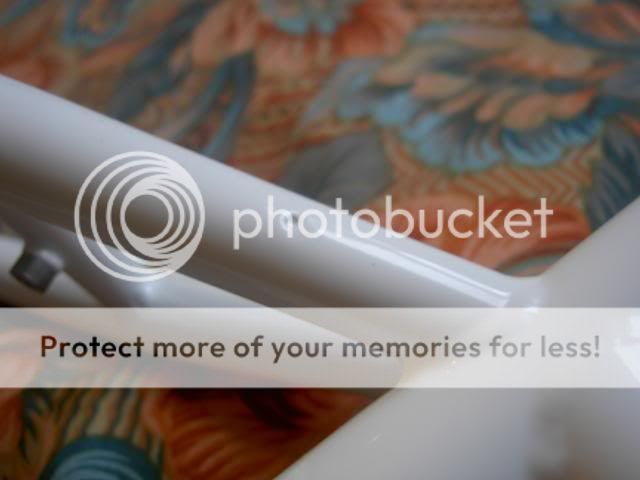
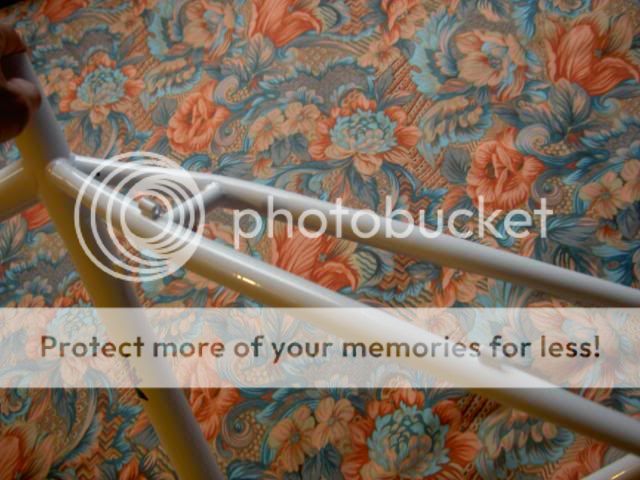
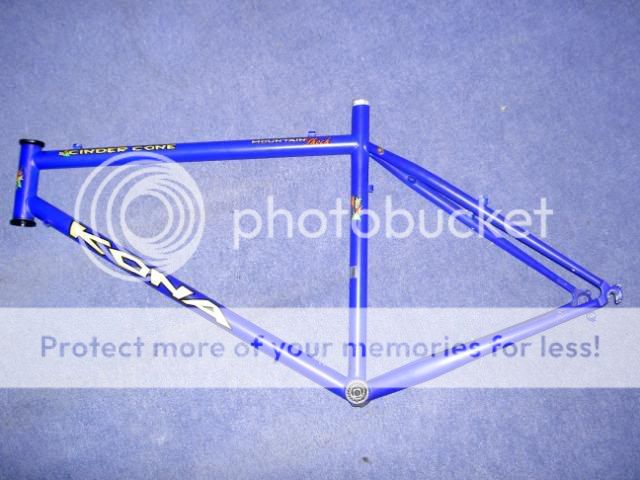
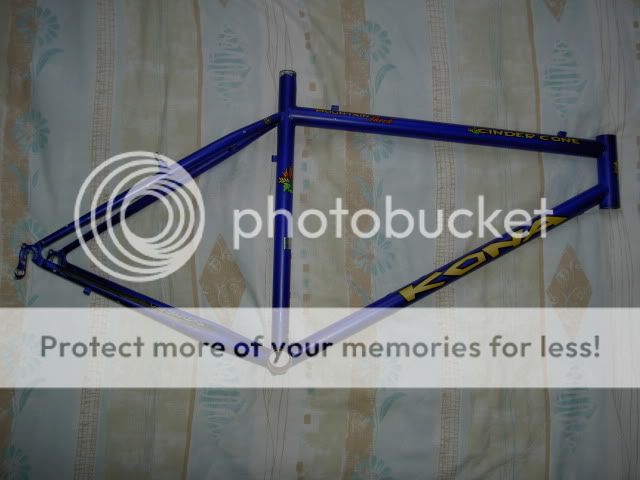
I bought this frame off here, got it at a good price, but it had a small crack in the top tube seat tube weld.
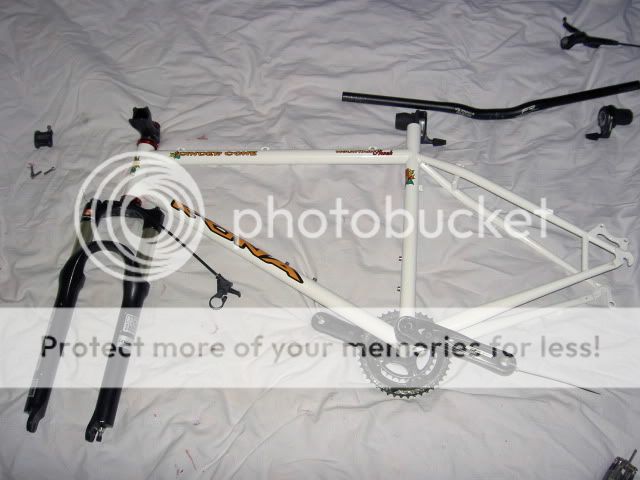
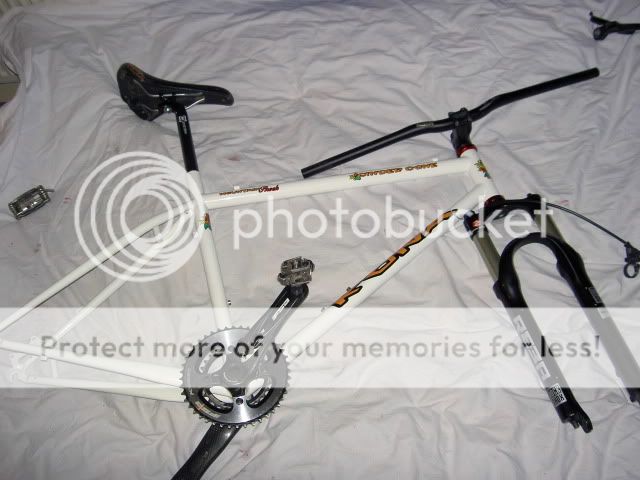
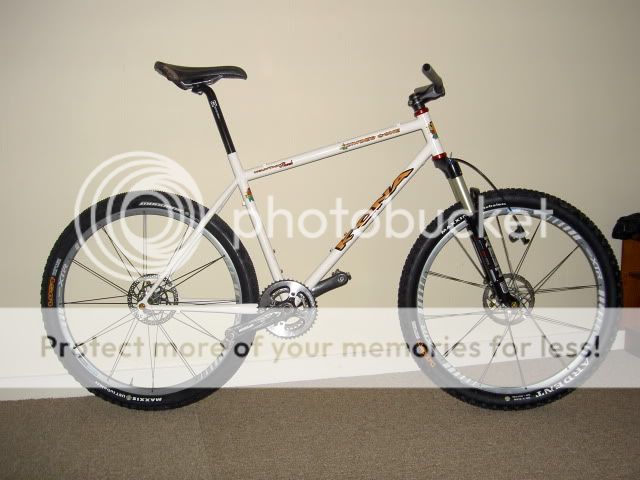
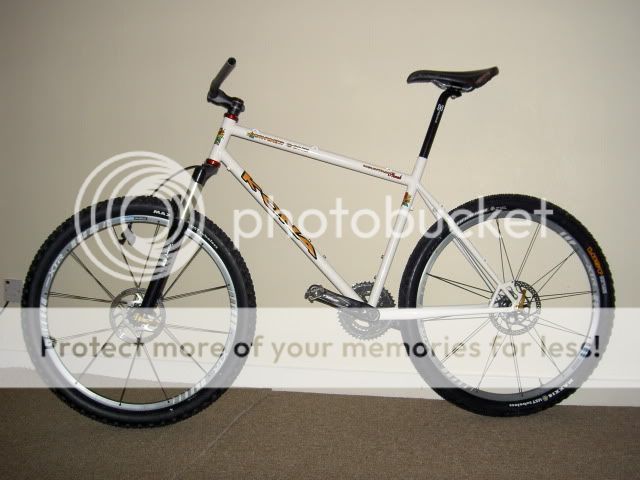
I am now trying to decide whether i should have it powder coated in white, or painted in its original colour.
I plan on keeping this frame, so would like a decent job, and i love the colour that is on it, but trying to find somewhere that would spray it in that colour without having to sell one of my kidneys to pay for it is proving quite hard.
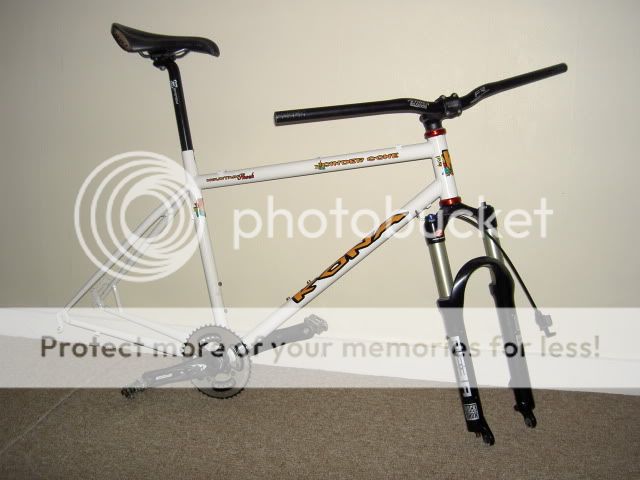
As for components, i have decided on XO grip shifters, X9 gears, and RS Reba forks, got some crappy Deore/mavic 717 wheels to put on, but will upgrade to Hope pro 2/ Xc717 wheels when i have some more money.
Will have plenty of questions to ask you guys, but have made my mind up on a lot of parts to go on the bike.
Dave
Spec list
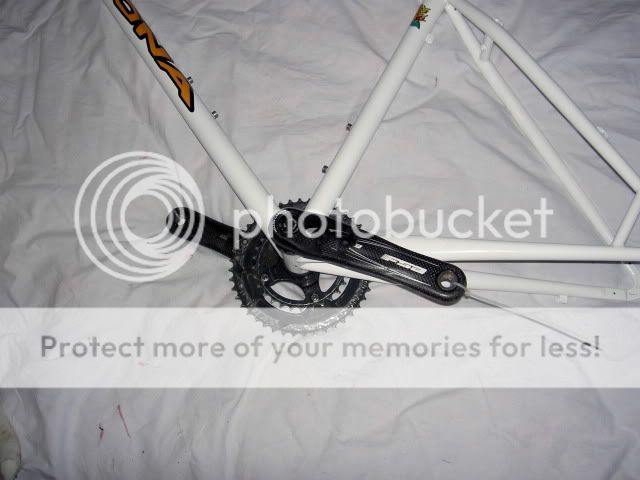
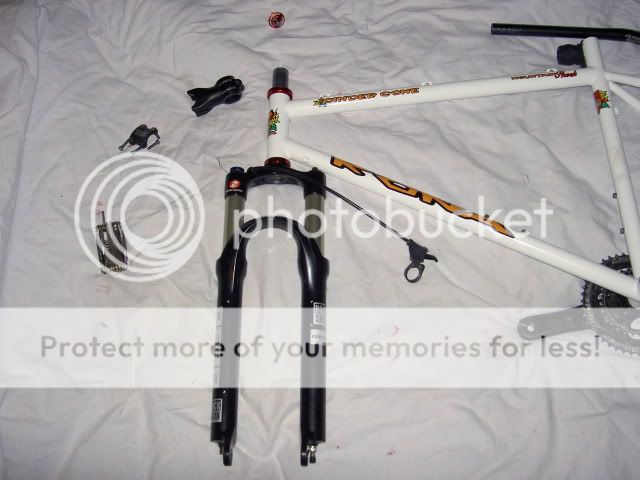
Frame: 1997 Kona Cinder Cone 19"
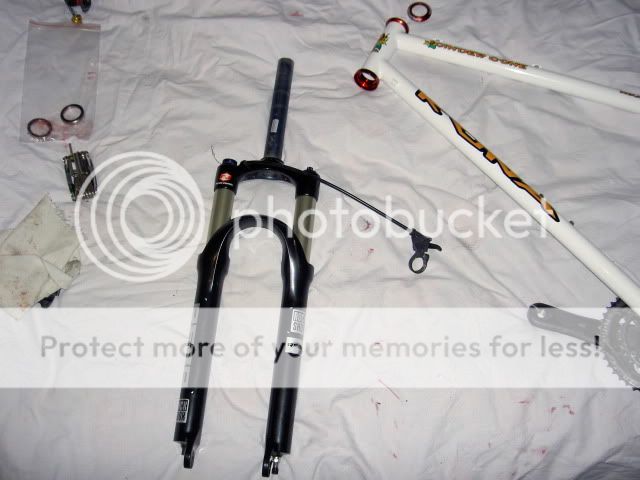
Fork: Rock shox Reba Dual Air with lockout
Headset: Cane creek S3
Stem: Truvativ
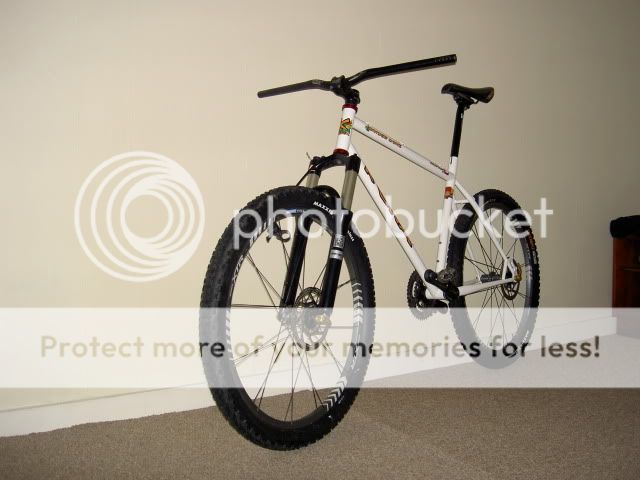
Handlebar: Tioga Riser
Grips: Foam ones
Barends: nope
Brakes: Avid juicy,s
Brake Pads: resin
Brake Cables: Standard black hose
Cantilever cable hangers: Nope
Brake Levers: Juicys
Shifters: Sram XO grips shifters
Front Derailleur: X9
Rear Derailleur: X9
Derailleur Cables: Shimano
Cassette: Sram PG951
Chain: Sram PG951
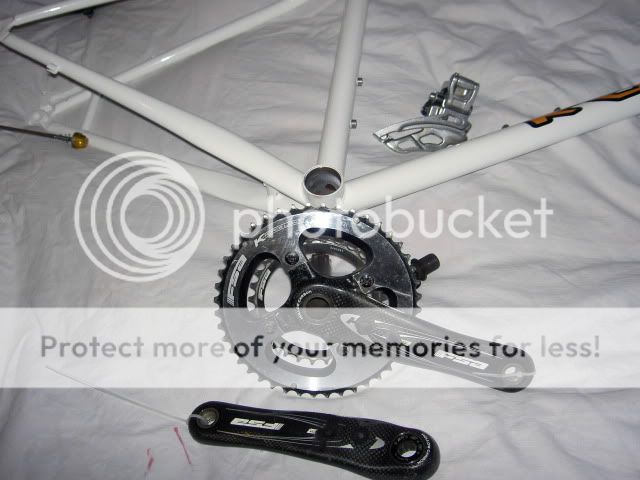
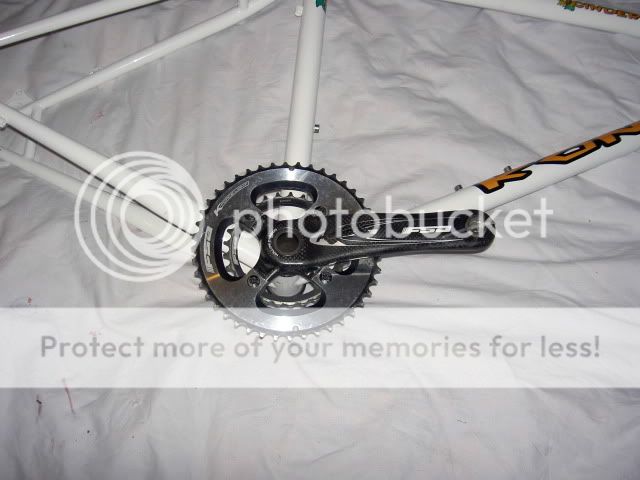
Cranks: FSA K Force
Crank Bolts: Standard
Chainrings: 44T 29T
Chainring bolts: Standard
Bottom Bracket: FSA External
Pedals: Specialized clippless
Hub Skewers: Gold hope
Rims: XTR
Hubs: XTR
Nipples: Aluminium
Spokes: DT comp
Tyres: Ardend 2.235 lust front, Maxxis monorail 2.1 lust rear
Tubes: Tubeless big man
Saddle: SDG Belair
Seatpost: Cheap one
Seatpost Binder: Dont know
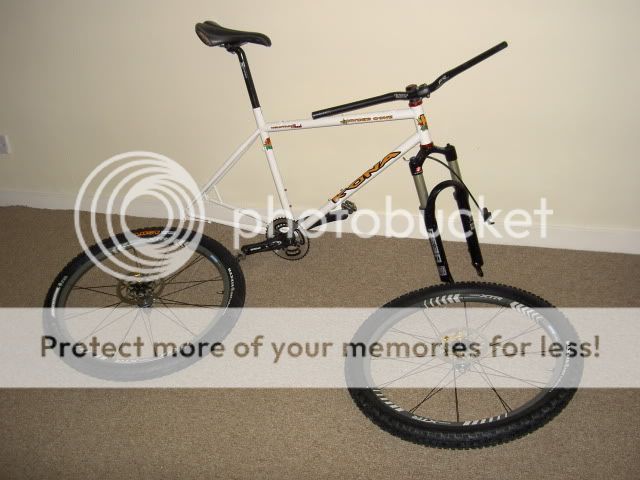
Weight: 25? not sure, will find out when it is done
I bought this frame off here, got it at a good price, but it had a small crack in the top tube seat tube weld.
I am now trying to decide whether i should have it powder coated in white, or painted in its original colour.
I plan on keeping this frame, so would like a decent job, and i love the colour that is on it, but trying to find somewhere that would spray it in that colour without having to sell one of my kidneys to pay for it is proving quite hard.
As for components, i have decided on XO grip shifters, X9 gears, and RS Reba forks, got some crappy Deore/mavic 717 wheels to put on, but will upgrade to Hope pro 2/ Xc717 wheels when i have some more money.
Will have plenty of questions to ask you guys, but have made my mind up on a lot of parts to go on the bike.
Dave
Spec list
Frame: 1997 Kona Cinder Cone 19"
Fork: Rock shox Reba Dual Air with lockout
Headset: Cane creek S3
Stem: Truvativ
Handlebar: Tioga Riser
Grips: Foam ones
Barends: nope
Brakes: Avid juicy,s
Brake Pads: resin
Brake Cables: Standard black hose
Cantilever cable hangers: Nope
Brake Levers: Juicys
Shifters: Sram XO grips shifters
Front Derailleur: X9
Rear Derailleur: X9
Derailleur Cables: Shimano
Cassette: Sram PG951
Chain: Sram PG951
Cranks: FSA K Force
Crank Bolts: Standard
Chainrings: 44T 29T
Chainring bolts: Standard
Bottom Bracket: FSA External
Pedals: Specialized clippless
Hub Skewers: Gold hope
Rims: XTR
Hubs: XTR
Nipples: Aluminium
Spokes: DT comp
Tyres: Ardend 2.235 lust front, Maxxis monorail 2.1 lust rear
Tubes: Tubeless big man
Saddle: SDG Belair
Seatpost: Cheap one
Seatpost Binder: Dont know
Weight: 25? not sure, will find out when it is done