Complete rebuild of 1990's MTB to 2016 XT spec 1x10

An update...

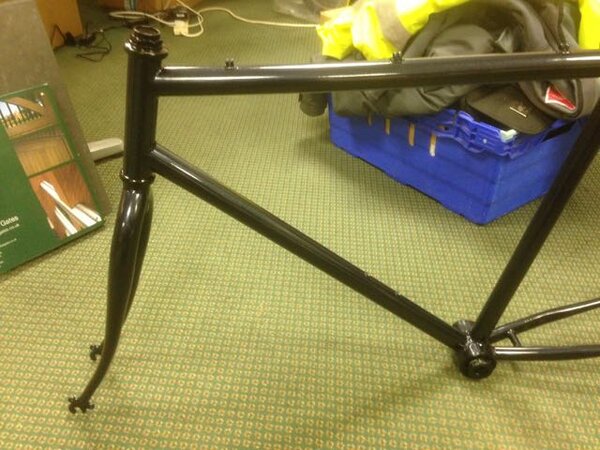
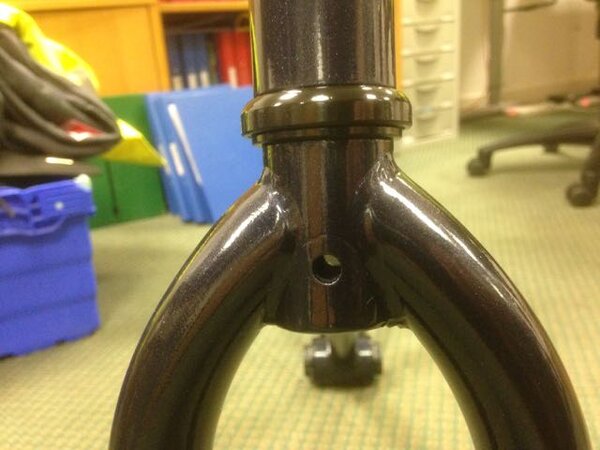
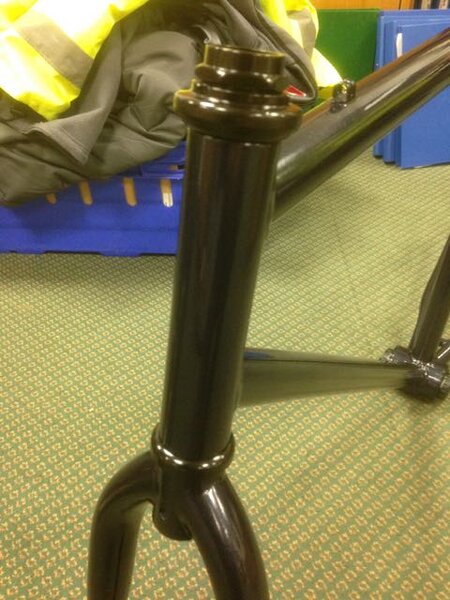
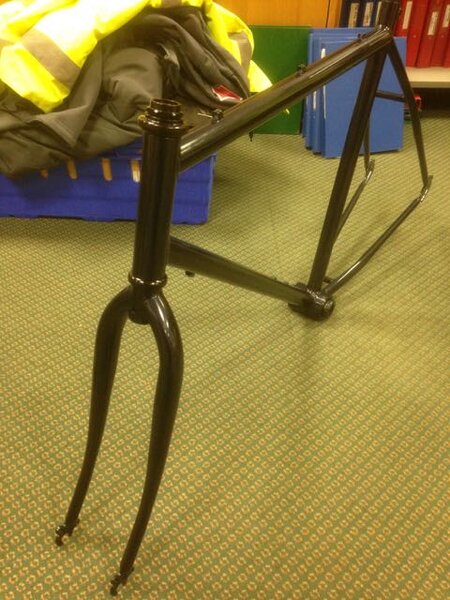
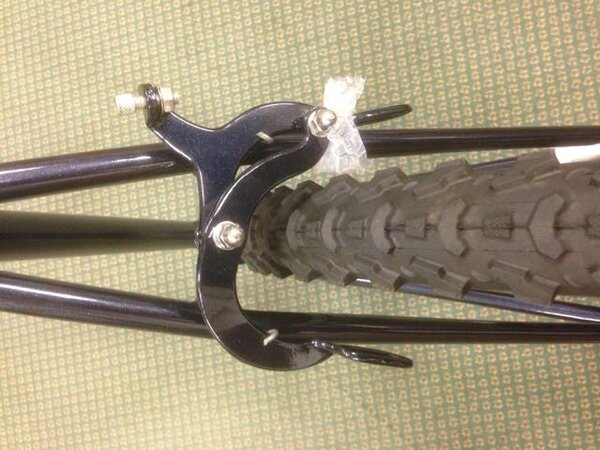
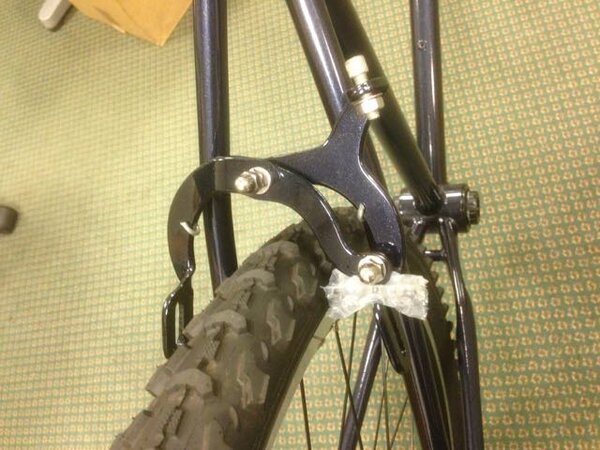
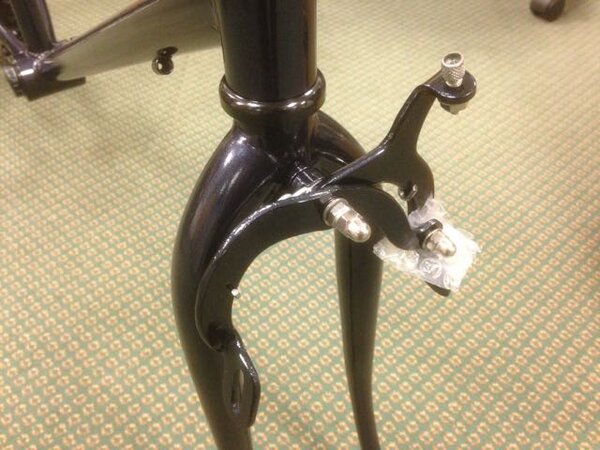
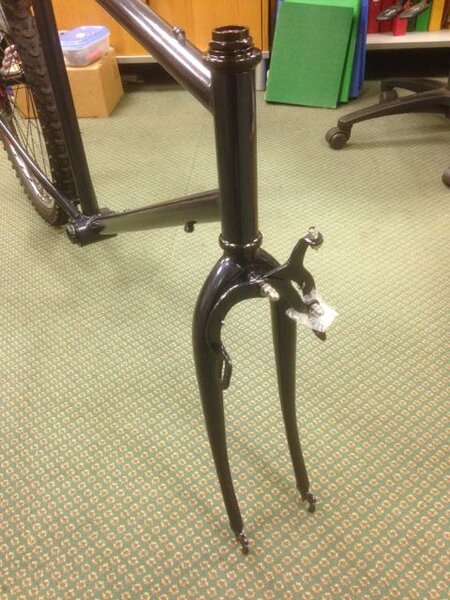
Today has been an important day in the build to me. After the last couple of weeks of altering metal work and sanding followed by prep and paint, today I got to fit the front fork.

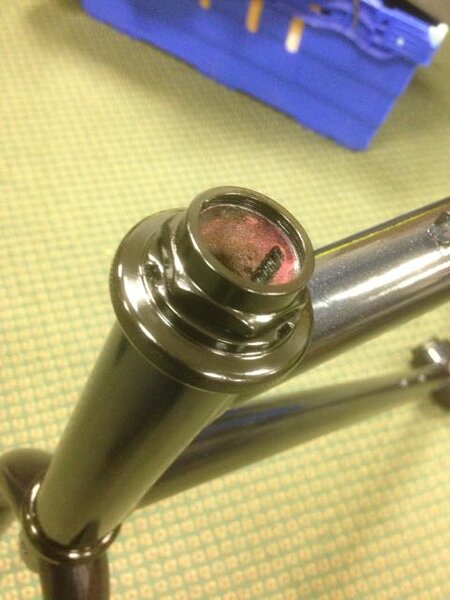
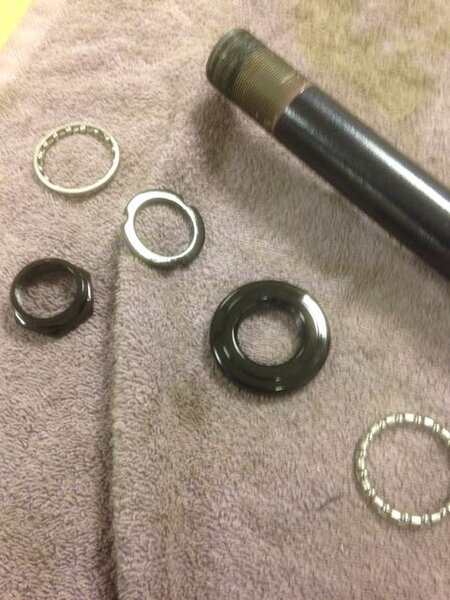
Using a different homemade press to force on the bearing cup onto the front fork. This press was made by Phil at work and worked brilliantly although in all the excitement I forgot to take photos of this part. Once fitted and tolerances checked with the callipers I went on to assembly the front fork. I applied loads of lovely new medium machine grease to the bearings and within the cups. Once assembled I tightened down the top bolt until everything was tight but free moving.

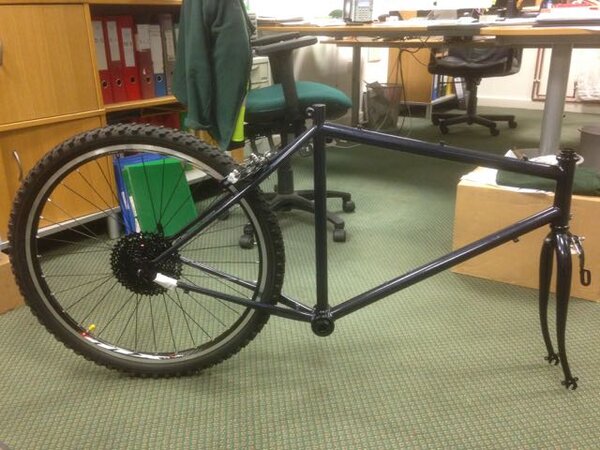
The old girl is starting to now look like a bike again....

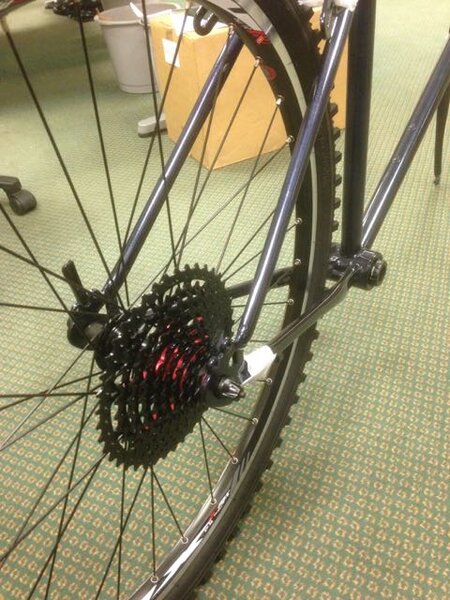
Photos below, sorry for the quality camera seems to have gone weird....
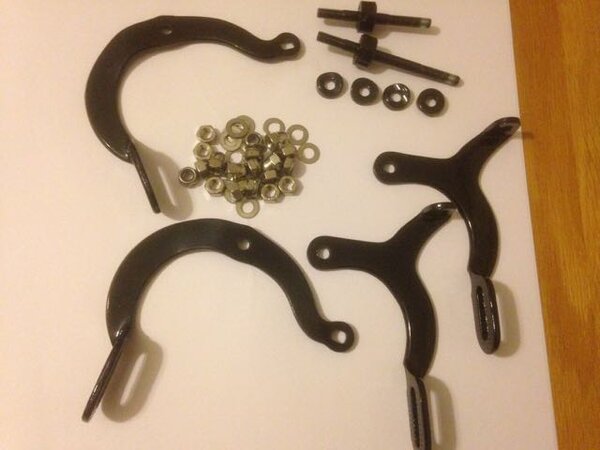
 

Attachments

  • IMG_3509.jpg
    IMG_3509.jpg
    55.3 KB · Views: 489
  • IMG_3508.jpg
    IMG_3508.jpg
    38.6 KB · Views: 489
  • IMG_3507.jpg
    IMG_3507.jpg
    39.7 KB · Views: 489
  • IMG_3506.jpg
    IMG_3506.jpg
    56.1 KB · Views: 489
  • IMG_3505.jpg
    IMG_3505.jpg
    63.7 KB · Views: 489
  • IMG_3504.jpg
    IMG_3504.jpg
    53.7 KB · Views: 489
Hi redzephyr

I will be changing the front wheel to a modern version together with almost everything else except the brakes. The brakes are pressed steel but I have fully cleaned them up by filing clean the pressing lines and sanded them back and sprayed all the components other than the springs in the same Night Blue Metallic paint. All of the bolts and washers I am replacing with polished marine grade 316 stainless steel versions.

Rebuilding the front and rear brake units are my weekend task with the plan of fitting them on Monday. I am putting together a parts list this weekend and will be adding some new brake pads in them. The original were very worn units and 40mm in length, so I plan to upgrade them to 72mm clark MTB V brake versions as shown in the photo below. The reviews for these are brilliant and the red detailing will tie in nicely with the look I have in mind.

I think that the combination of the new aluminium wheels and the 72mm brake pads should vastly improve the braking from the the original steel wheels and 40mm pads.

Thanks for looking at my build...
 

Attachments

  • Screen Shot 2017-03-30 at 21.01.57.png
    Screen Shot 2017-03-30 at 21.01.57.png
    36.2 KB · Views: 480
You sir are a mad legend and this built is totally in the spirit of Retrobike. Good luck with the rest of the build. I'd vote it BOTM.

There is another thread on here I think you'd apppreciate one of the guys converts an old 1940's beach cruiser thing into a front suspension machine - one of my all time favourite threads. Will try and dig it out..
 
Re:

I've just read your entire thread from the start and I'm itching for more.
Superb work!!
 
Re: Re:

legrandefromage":3pg3m6ah said:
groovyblueshed":3pg3m6ah said:
you're fair rattling through the build.

I hope it doesnt rattle!

:p

:D I doubt it will end in a splatter! I have every faith in NewRider's skills and I'm well impressed with the level of build he's doing – it seemed a little off the wall at first but now I'm hooked and can't wait to see the finished bike.
 
This build is totally insane. I love it!

Dubious on whether the Clarks V brake pads will work too well with the pressed steel brakes. Make sure your maiden ride is somewhere flat ;)
 
WandsworthRouleur":31gb16qy said:
This build is totally insane. I love it!

Dubious on whether the Clarks V brake pads will work too well with the pressed steel brakes. Make sure your maiden ride is somewhere flat ;)
The pads should be fine. I did the same to uprate the POS calipers on my daughters kids bike. Worst brakes ever total death trap with those cacky white plastic blocks. At least she can lock the wheel now even if the crappy pressed steel twists alarmingly.
 
Time for an update...

Yesterday I rebuilt the single pivot brakes using 316 marine grade stainless steel bolts and fixings. I feel the effect against the pressed steel parts all finished in lacquered Night Blue Metallic looks great and I am really pleased. Having built the brakes I decided to pop into work today where the bike is stored and fit the two brake units and fit the rear wheel. Fitting wise the brake units bolted on easily, although the rear wheel fits no problem at all the high gears of the cassette can get very close to the dropout so I will have to be very careful in the future to not scratch the paint. To ensure the paint survived I taped some paper over the dropout.

I have to say this bike building is addictive, I am really enjoying the process. Work has progressed on my bespoke rear derailleur hanger bracket so I am hoping to fit the cranks tomorrow. The new front wheel should arrive Tuesday together with a number of other parts to continue building. I am aiming to try and get the hanger prototype fitted to the bike by the end of the week with the rear derailleur and chain so I can test the positioning set up is correct before ordering the 316 marine grade stainless steel laser blank required to make the hanger.

Some shots attached...
 

Attachments

  • IMG_3528.jpg
    IMG_3528.jpg
    60.4 KB · Views: 343
  • IMG_3527.jpg
    IMG_3527.jpg
    66.3 KB · Views: 343
  • IMG_3526.jpg
    IMG_3526.jpg
    56.5 KB · Views: 343
  • IMG_3525.jpg
    IMG_3525.jpg
    52.9 KB · Views: 343
  • IMG_3524.jpg
    IMG_3524.jpg
    53.1 KB · Views: 343
  • IMG_3523.jpg
    IMG_3523.jpg
    62.7 KB · Views: 343
  • IMG_3511.jpg
    IMG_3511.jpg
    32.4 KB · Views: 343
When you click on links to various merchants on this site and make a purchase, this can result in this site earning a commission. Affiliate programs and affiliations include, but are not limited to, the eBay Partner Network.
Back
Top