Here is a few more photos of the process - for PeachyPM (apologies for my build brevity). Whilst the frame was away getting braze filled (a few very minor dents and nicks) copper / nickel / chrome plated, work was underway not only procuring the right components, but more often than not, converting 'FleaBay' fodder into something semi-respectable that would also prove reliable. Every bearing surface has been refaced where necessary and polished, with new high quality 1000 grade bearings installed with Campagnolo grease.
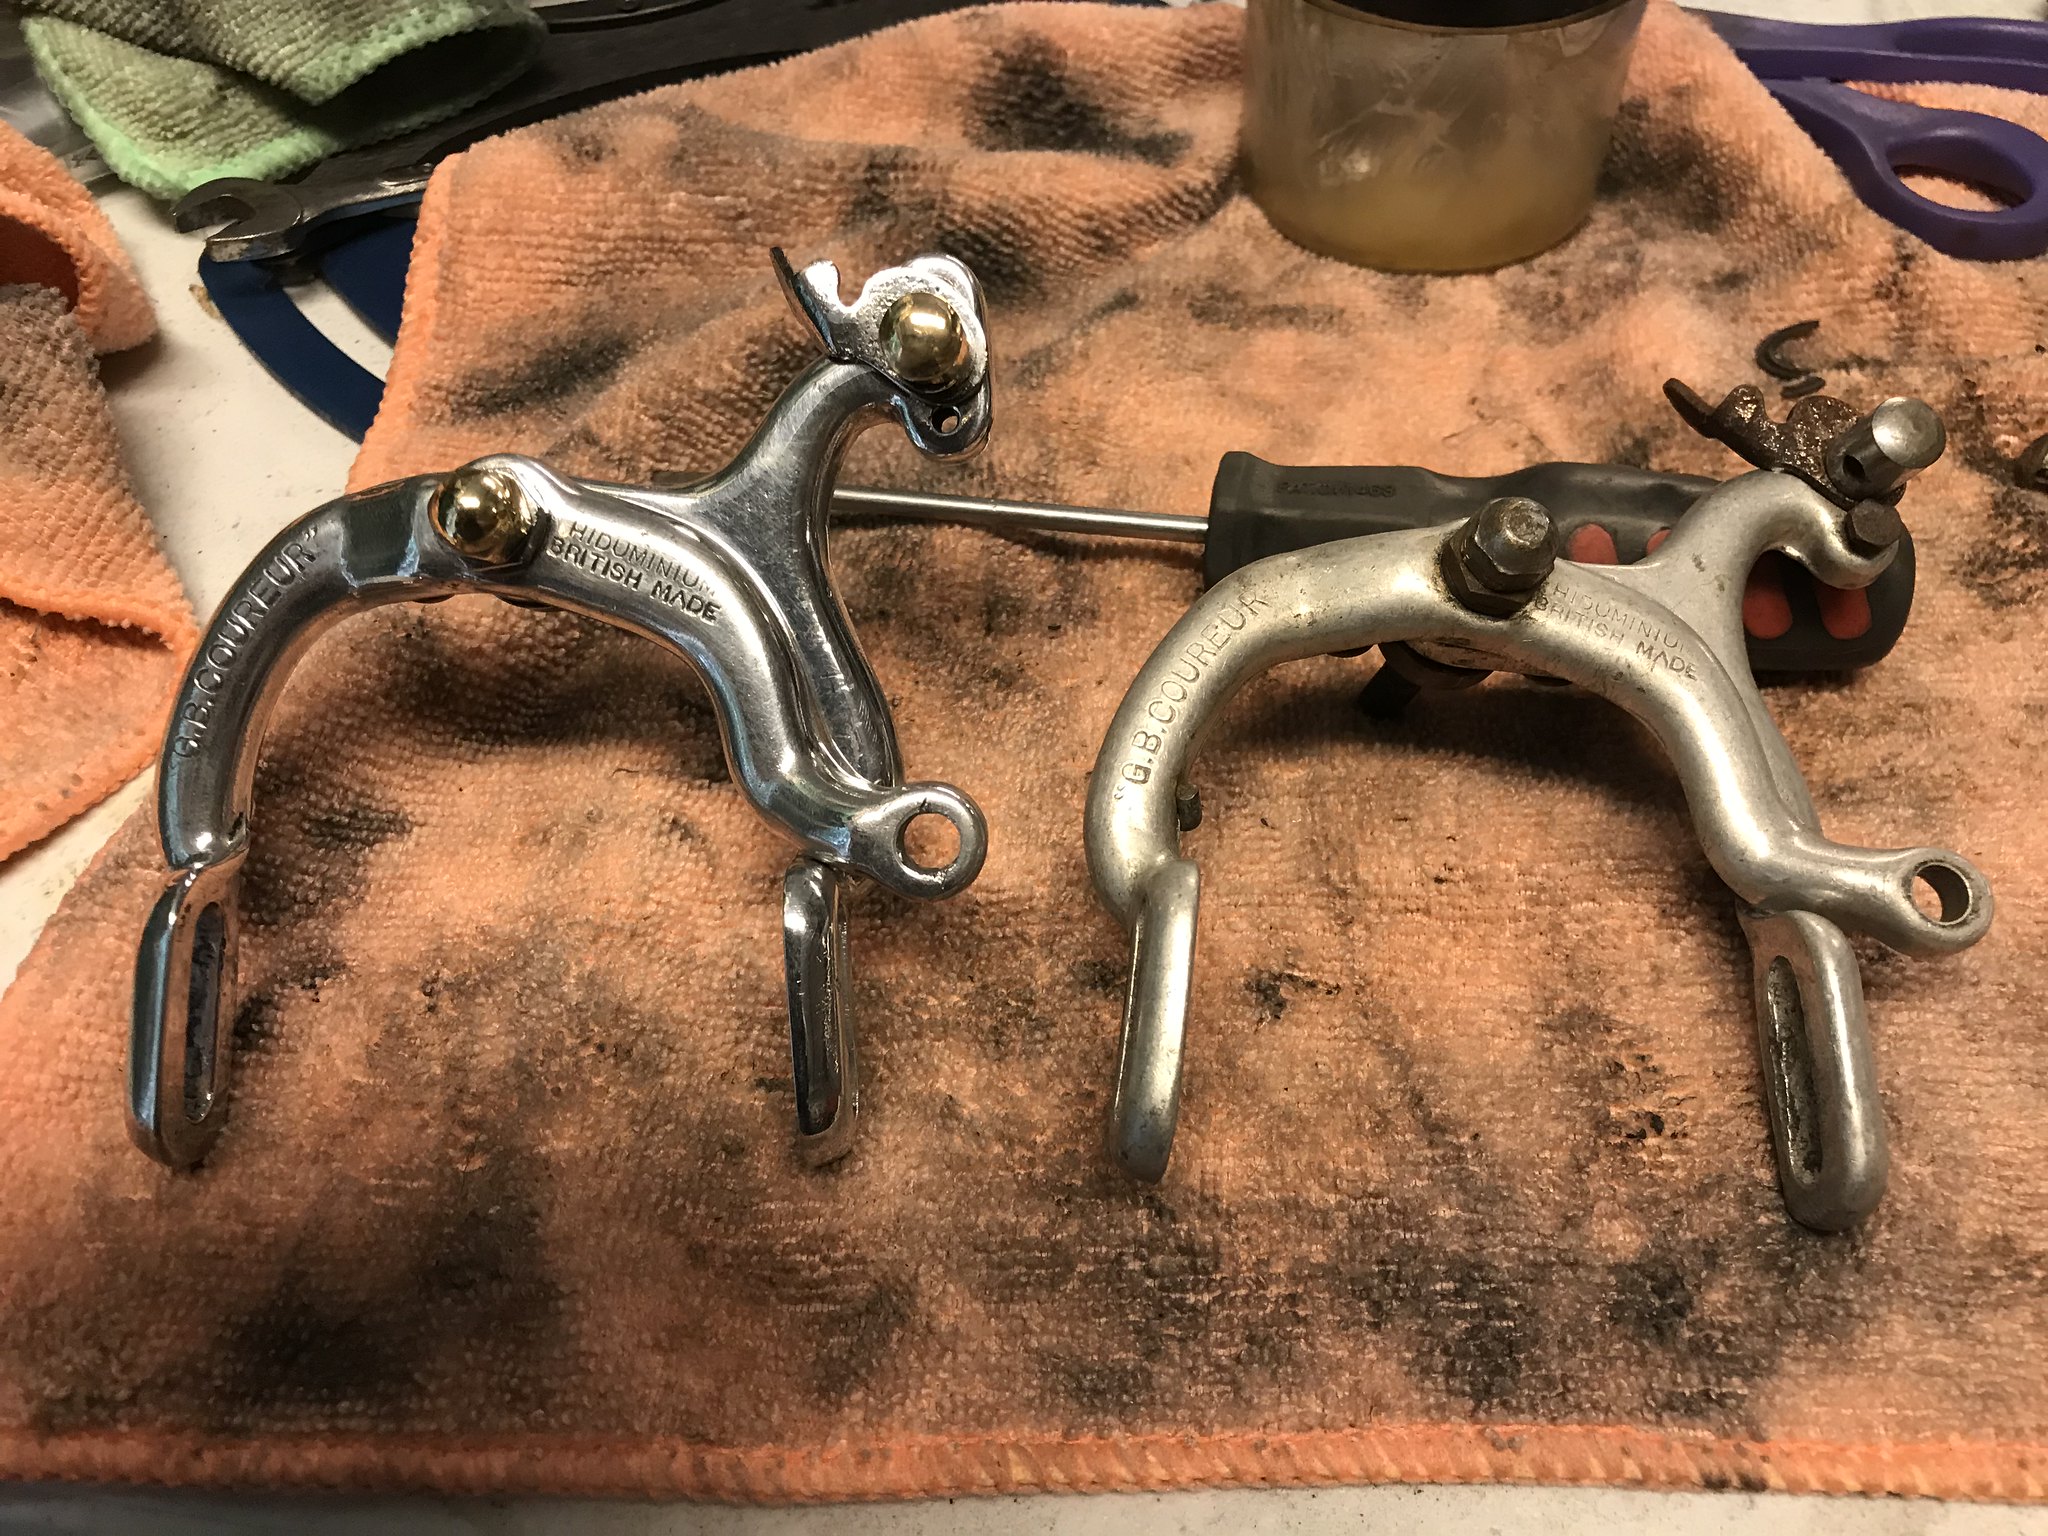
The brakes were typical of 50's stuff that comes up on Ebay - required quite a lot of work and replacing some of the hardware with identical items. Before and after...
 IMG_1093 by Glen Plummer, on Flickr
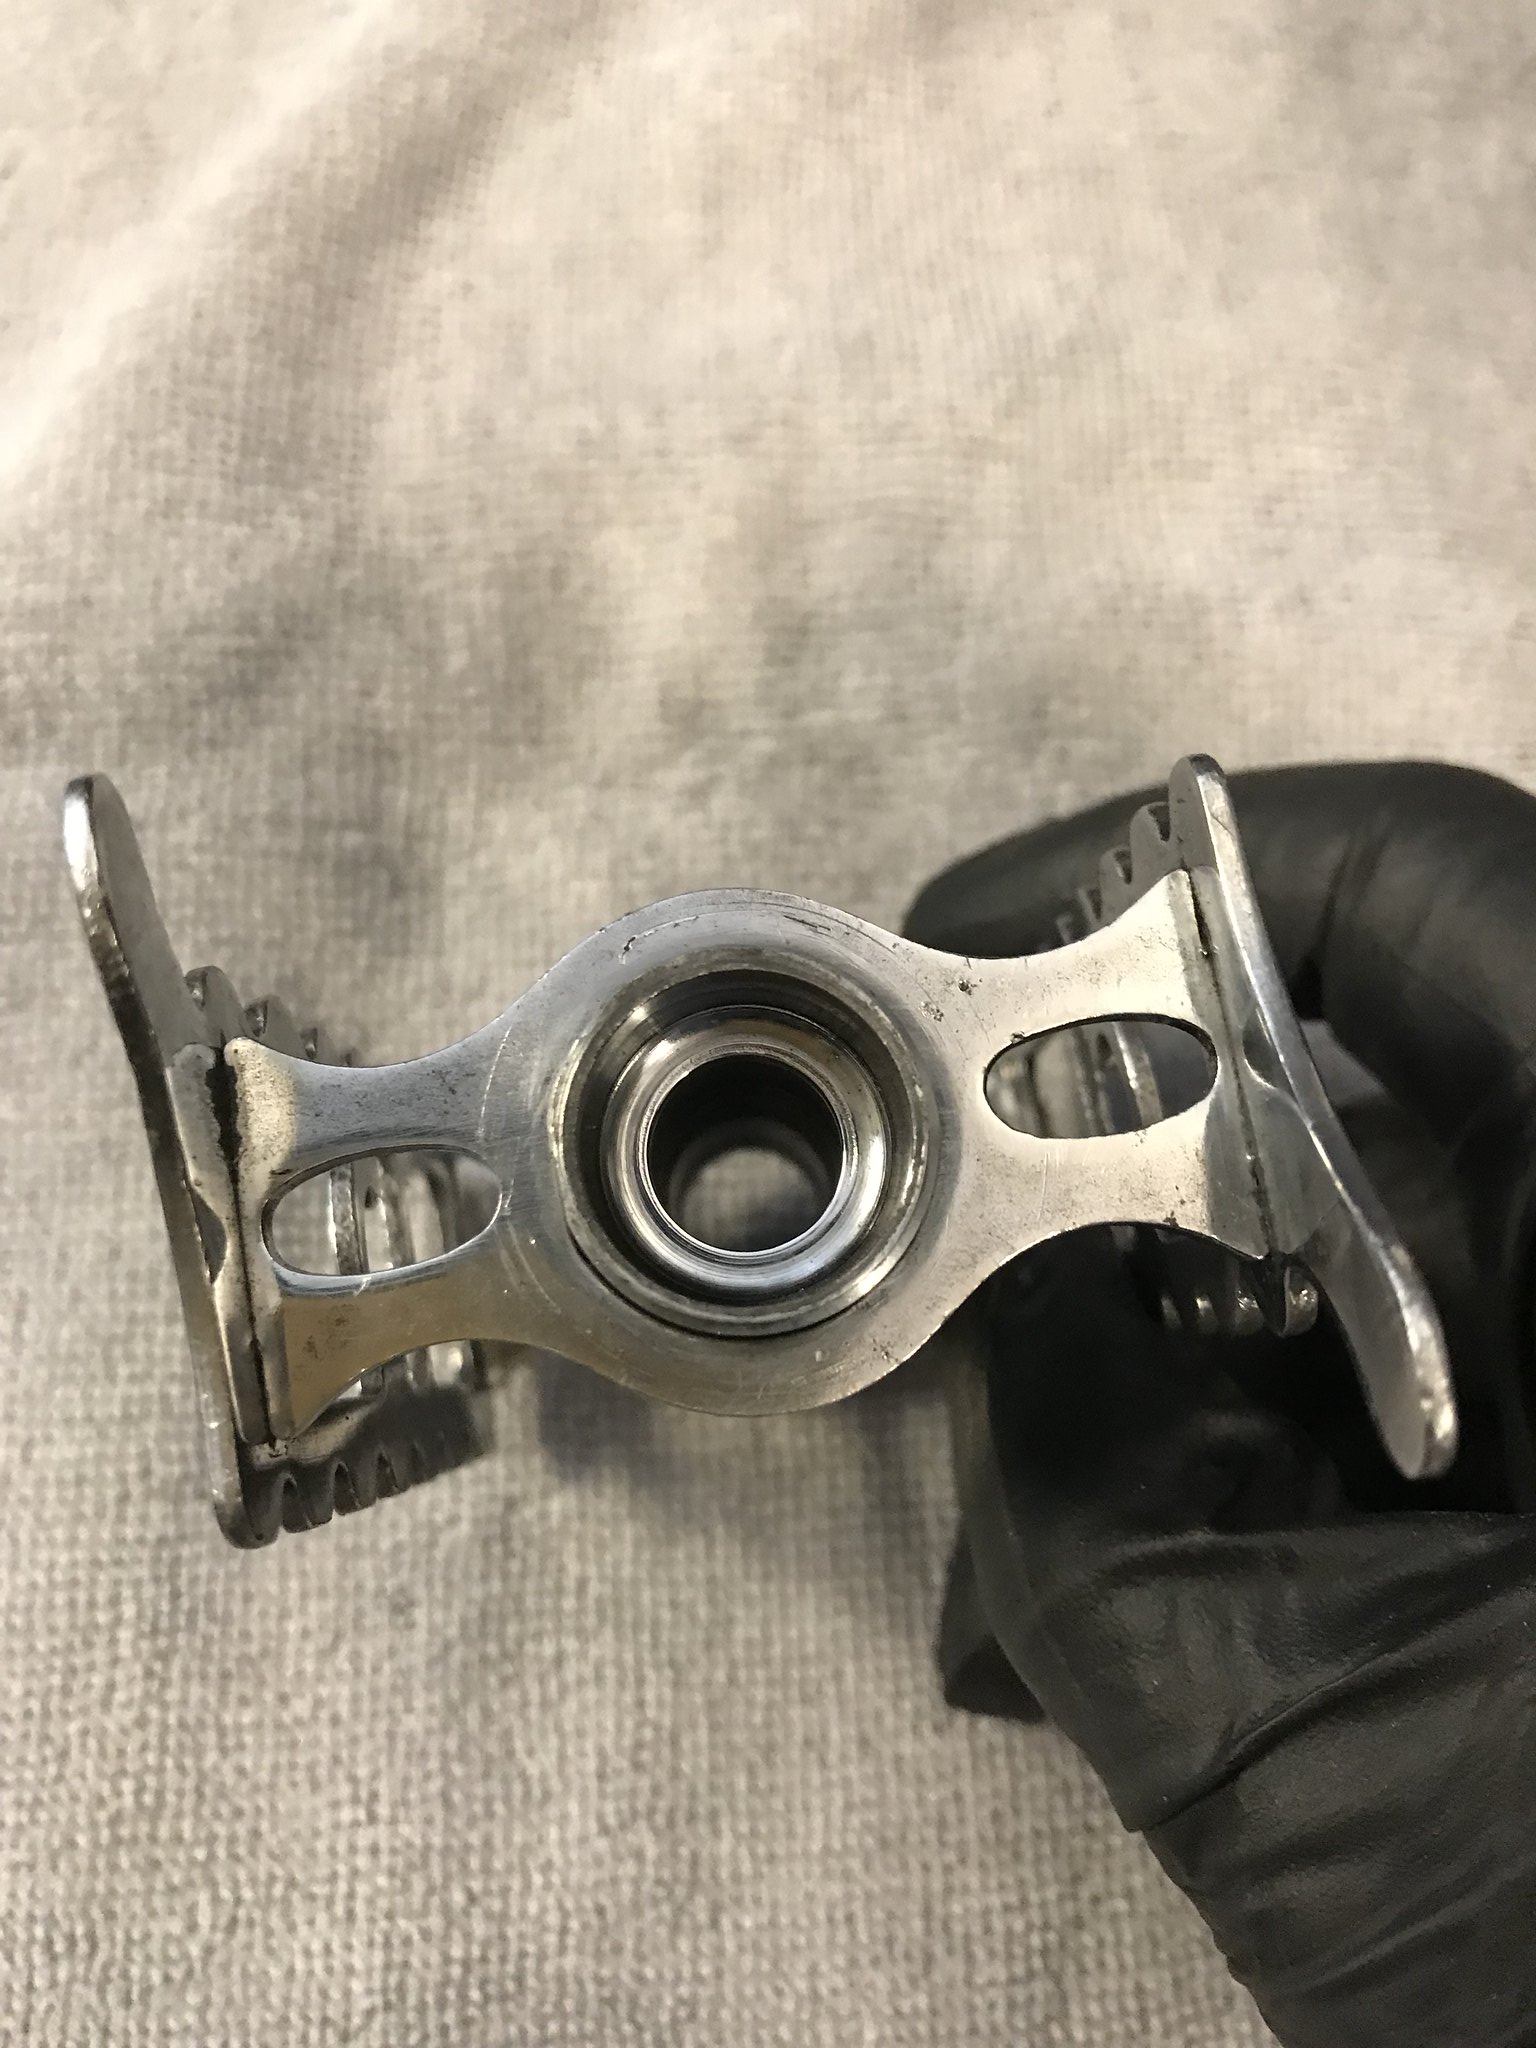
Pedals, even though they were lovely Chater Lea Tommy Bars, they also needed quite a lot of work. It's the first time I have come across 'brittle grease' that was so dry I had to chip it out. Before...
 IMG_1058 by Glen Plummer, on Flickr
And after...
 IMG_0988 by Glen Plummer, on Flickr
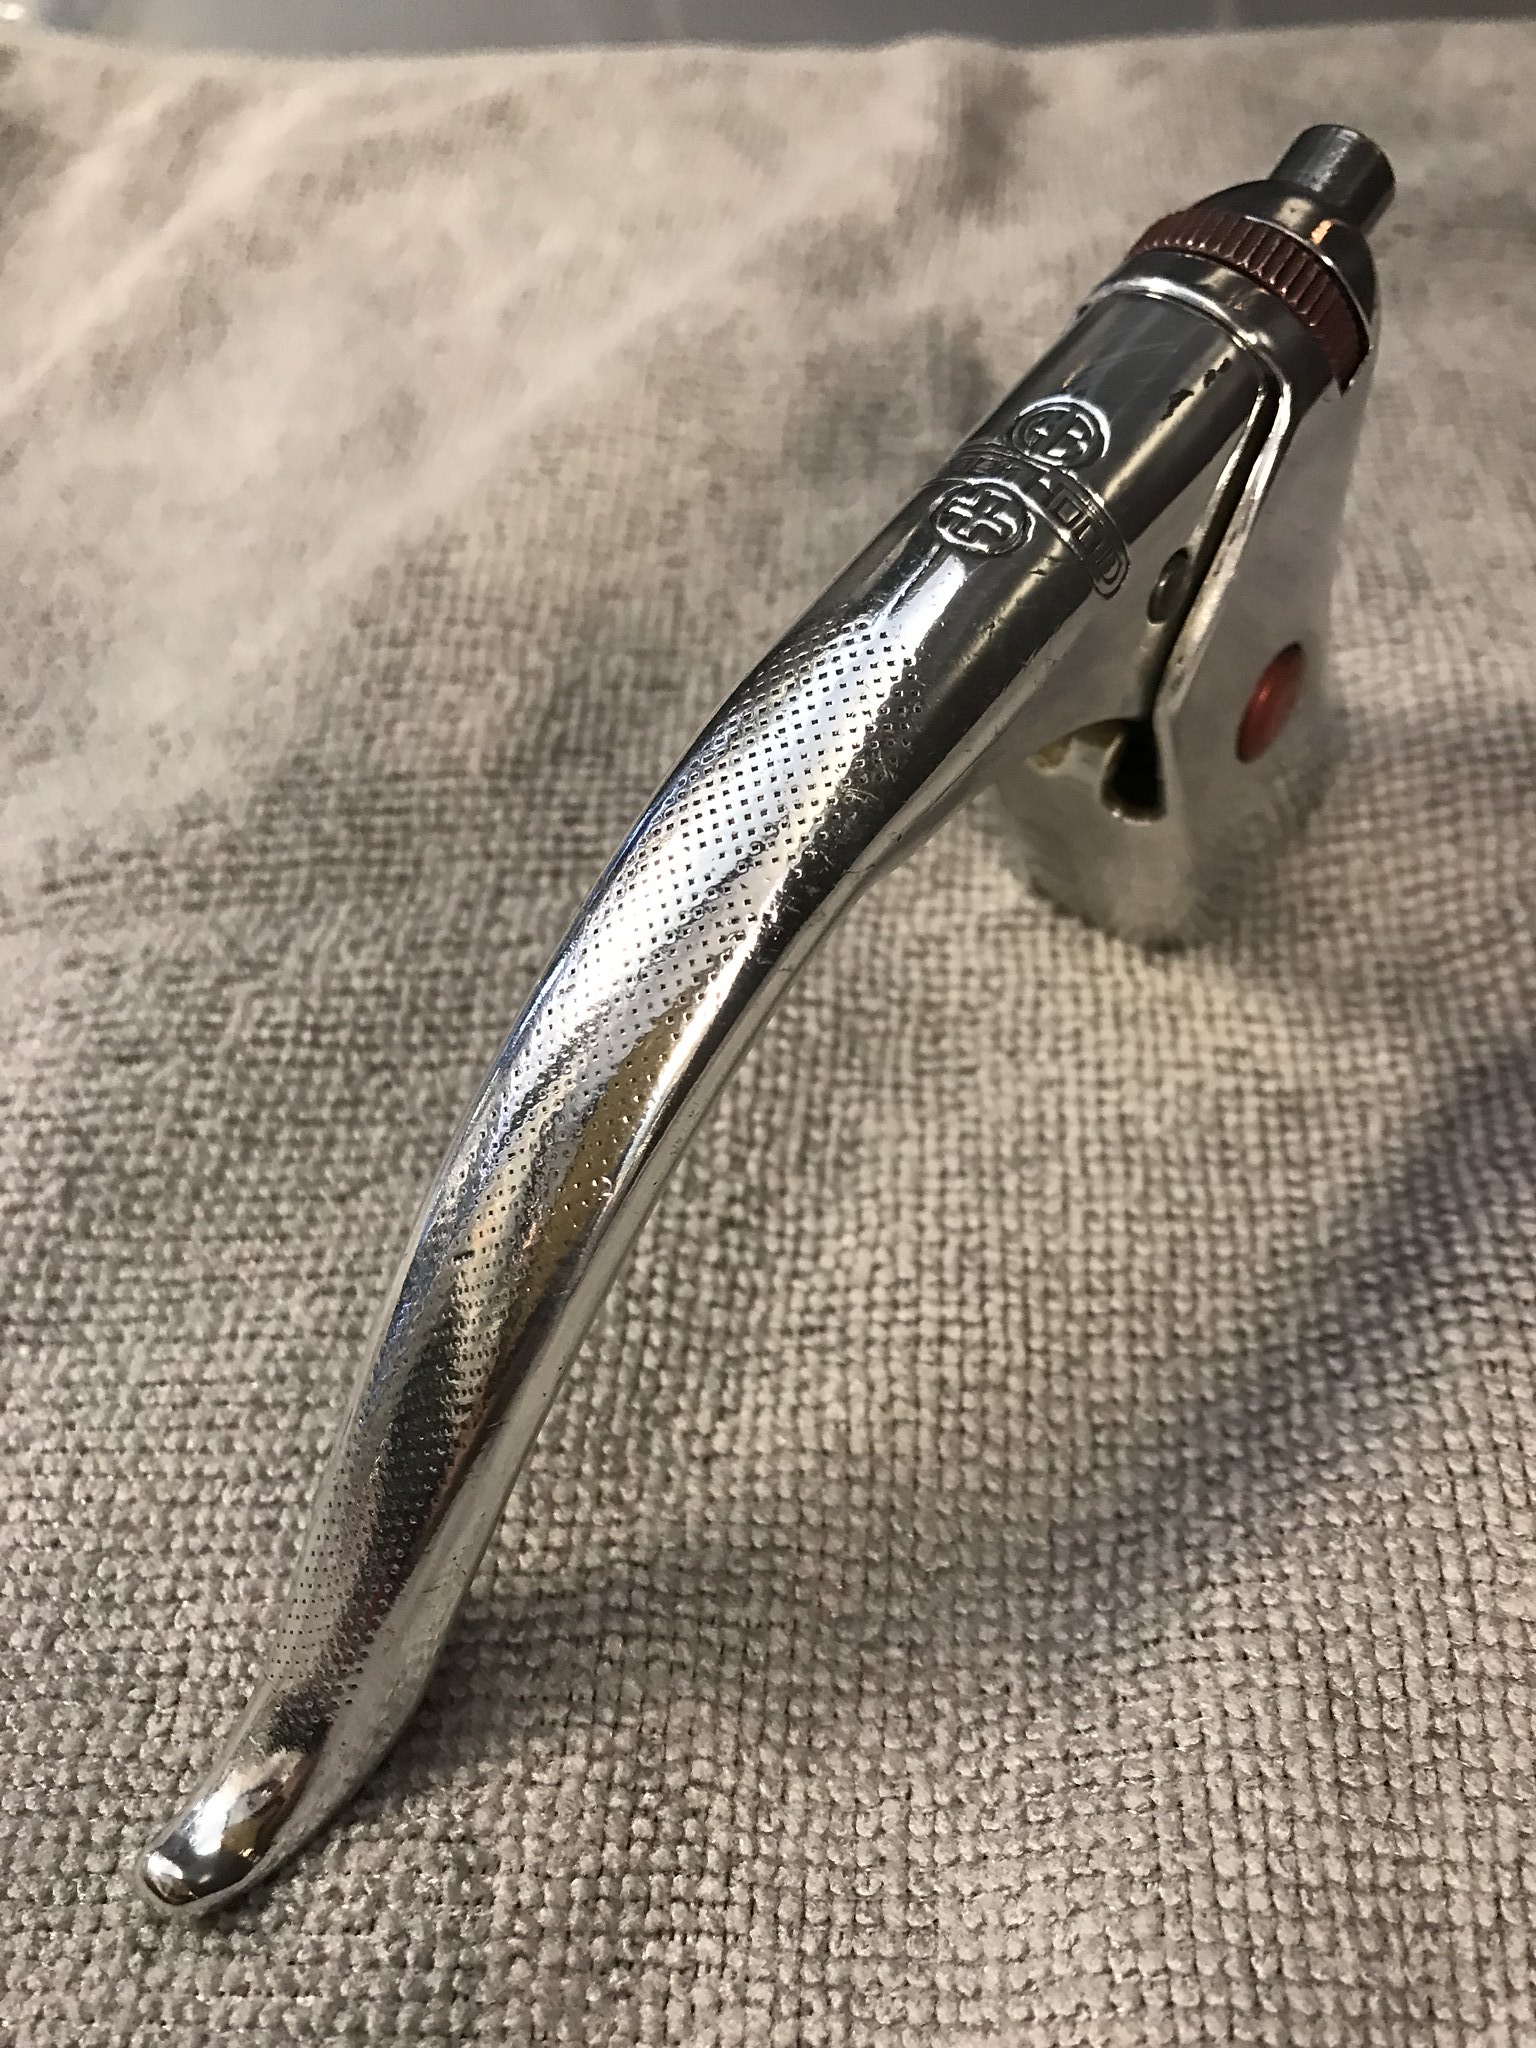
The brake levers were only a couple of hours work - gentle wet sanding with 400/800/1200 and then a quick sisal buff rather than a mirror polish
 IMG_0992 by Glen Plummer, on Flickr
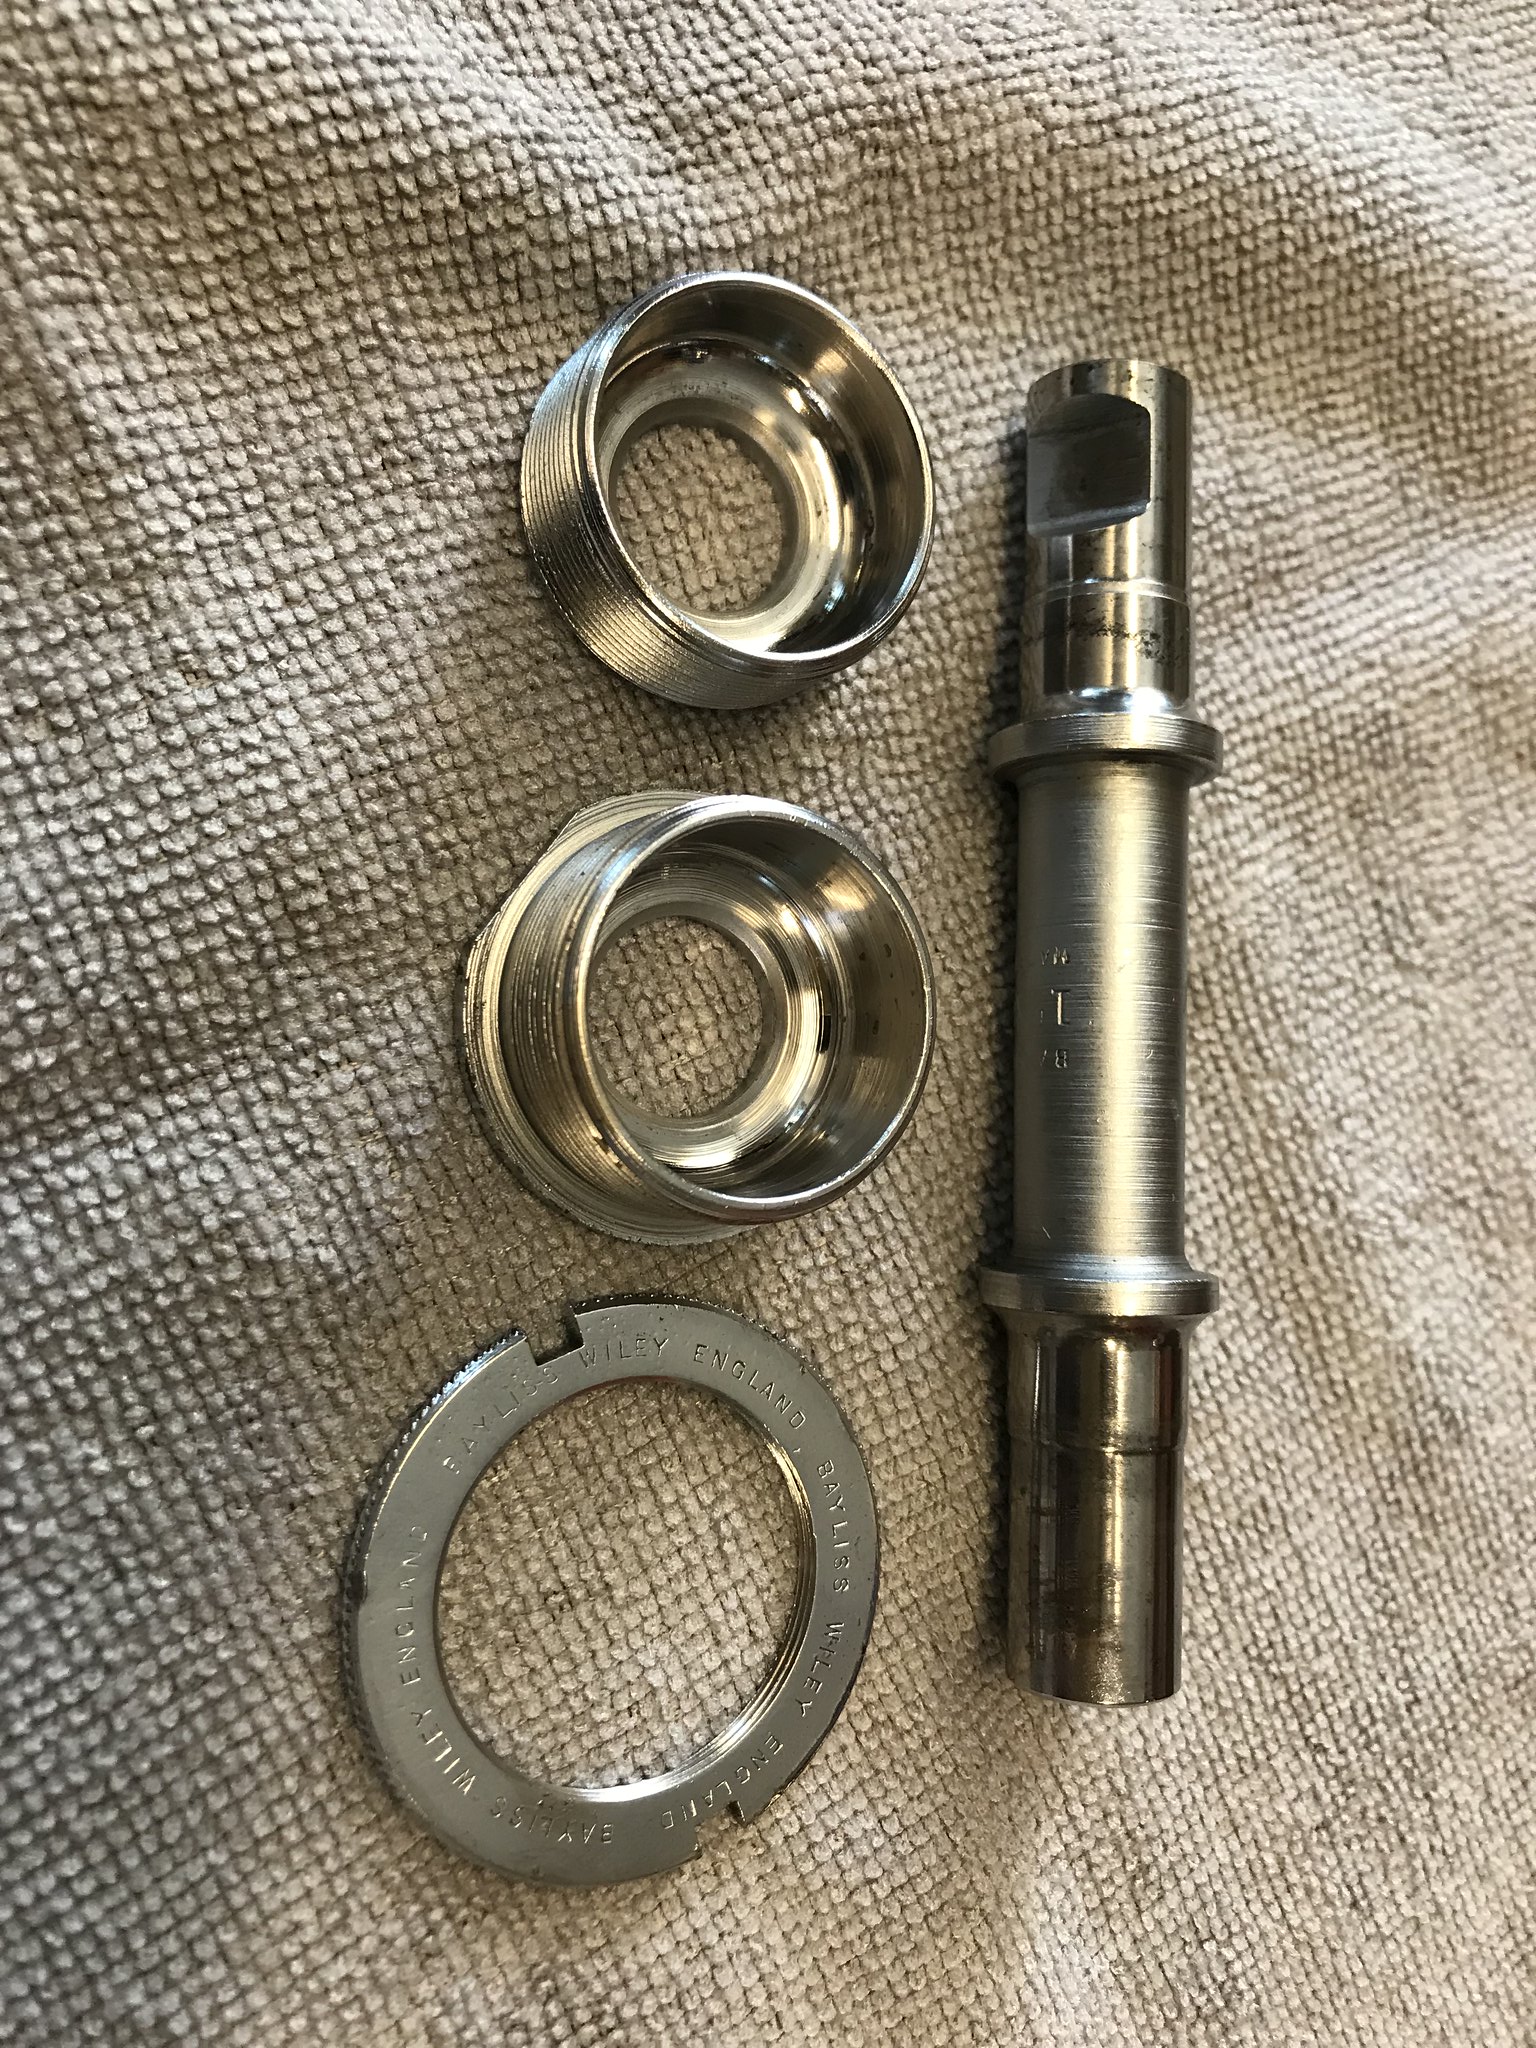
Similarly the bottom bracket bearing surfaces came up a treat with just a light dremel polish.
 IMG_0986 by Glen Plummer, on Flickr
The Cyclo Benelux rear and front rod deraileurs were also both pulled down completely, checked, cleaned/polished as necessary and reassembled using Campagnolo grease. Again some hardware needed replacement with identical items so I now have a bag full of Cyclo spares...
Thankfully the gearsets I bought had original cables and most importantly original cable end ferrules fitted. Most were in aesthetically poor condition but responded well to the polishing wheel, as did the Titan stem and Maes Kint bars.
I'd never done a 4 cross spoke pattern for wheels before, so it took a few (four) attempts before I had the hub logo facing the valve hole. I was pleasantly surprised that the wheel came into spec so readily - +/- 0.5m radial runout, +/- 0.3mm lateral and all with spoke tensions within 10%. Given that I used DT Swiss spokes, brass nipples and prepped the spokes first, I would expect these wheels to be good for another 20+ years.
Dramas? Plenty! I thought I'd mislaid the original grease nipples fitted to the frame. After months of searching I found some BSA pattern ones at a vintage motorcycle shop. When I got them home I put them straight into my 'special parts' drawer only to find the original nipples staring at me... A quick polish and the were reinstalled. Yes, they are the original 1952 chrome!
Upon trying to straighten the front brake blocks one of the caliper arms snapped exposing highly crystalised poor quality alloy. It's been replaced but I now have recurrent thoughts of variable quality alloy.
I spent a whole weekend on cable outers. I purchased vintage ribbed outers in green, brown, antique white and grey. I tried them all on the bike and decided that they grey looked best.
And there is till one drama outstanding - the rear freewheel is correct in every aspect except one. It has 1/8 cogs instead of 3/32, so the search continues...
The brakes were typical of 50's stuff that comes up on Ebay - required quite a lot of work and replacing some of the hardware with identical items. Before and after...
IMG_1093 by Glen Plummer, on FlickrPedals, even though they were lovely Chater Lea Tommy Bars, they also needed quite a lot of work. It's the first time I have come across 'brittle grease' that was so dry I had to chip it out. Before...
IMG_1058 by Glen Plummer, on FlickrAnd after...
IMG_0988 by Glen Plummer, on FlickrThe brake levers were only a couple of hours work - gentle wet sanding with 400/800/1200 and then a quick sisal buff rather than a mirror polish
IMG_0992 by Glen Plummer, on FlickrSimilarly the bottom bracket bearing surfaces came up a treat with just a light dremel polish.
IMG_0986 by Glen Plummer, on FlickrThe Cyclo Benelux rear and front rod deraileurs were also both pulled down completely, checked, cleaned/polished as necessary and reassembled using Campagnolo grease. Again some hardware needed replacement with identical items so I now have a bag full of Cyclo spares...
Thankfully the gearsets I bought had original cables and most importantly original cable end ferrules fitted. Most were in aesthetically poor condition but responded well to the polishing wheel, as did the Titan stem and Maes Kint bars.
I'd never done a 4 cross spoke pattern for wheels before, so it took a few (four) attempts before I had the hub logo facing the valve hole. I was pleasantly surprised that the wheel came into spec so readily - +/- 0.5m radial runout, +/- 0.3mm lateral and all with spoke tensions within 10%. Given that I used DT Swiss spokes, brass nipples and prepped the spokes first, I would expect these wheels to be good for another 20+ years.
Dramas? Plenty! I thought I'd mislaid the original grease nipples fitted to the frame. After months of searching I found some BSA pattern ones at a vintage motorcycle shop. When I got them home I put them straight into my 'special parts' drawer only to find the original nipples staring at me... A quick polish and the were reinstalled. Yes, they are the original 1952 chrome!
Upon trying to straighten the front brake blocks one of the caliper arms snapped exposing highly crystalised poor quality alloy. It's been replaced but I now have recurrent thoughts of variable quality alloy.
I spent a whole weekend on cable outers. I purchased vintage ribbed outers in green, brown, antique white and grey. I tried them all on the bike and decided that they grey looked best.
And there is till one drama outstanding - the rear freewheel is correct in every aspect except one. It has 1/8 cogs instead of 3/32, so the search continues...
