Hi all and this being my first post I'll try and introduce myself as best as I can.
I'm 21, an Illustration student and up until now have been been limited to biking the 1-2 urban miles between my home and University. I'd do the occasional 12-mile slog to my Aunt's house in the next town, over some rather patchy country roads but even that so far has been limited by poor hardware, poor knowledge of bike mechanics and generally bad cycling. I consider it a bit of a miracle I haven't severely hurt myself by exercising poor technique or had an accident, or something.
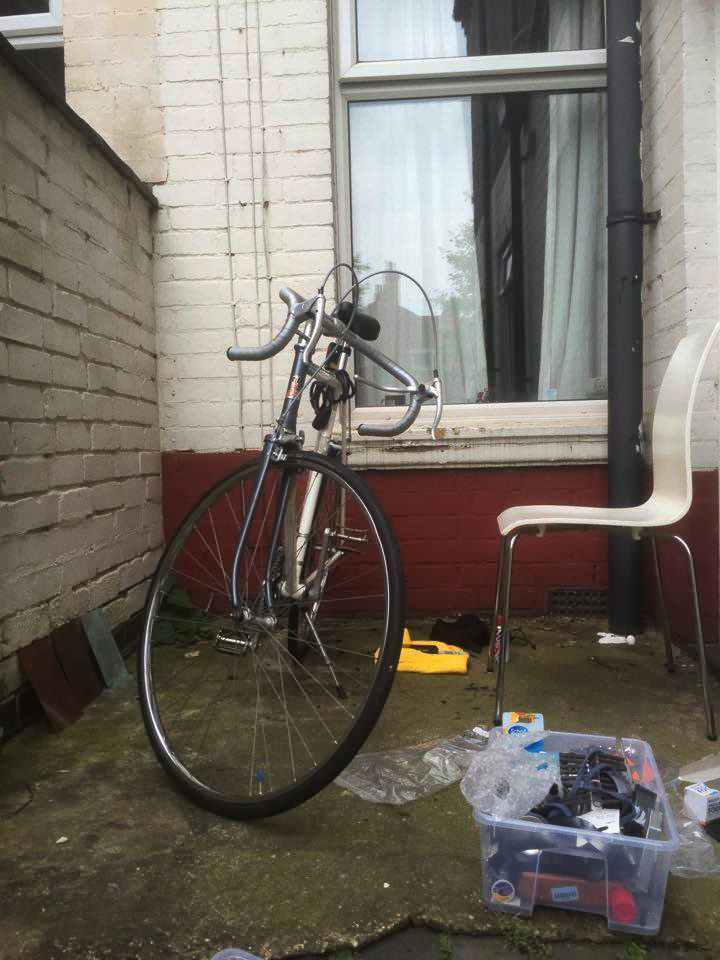
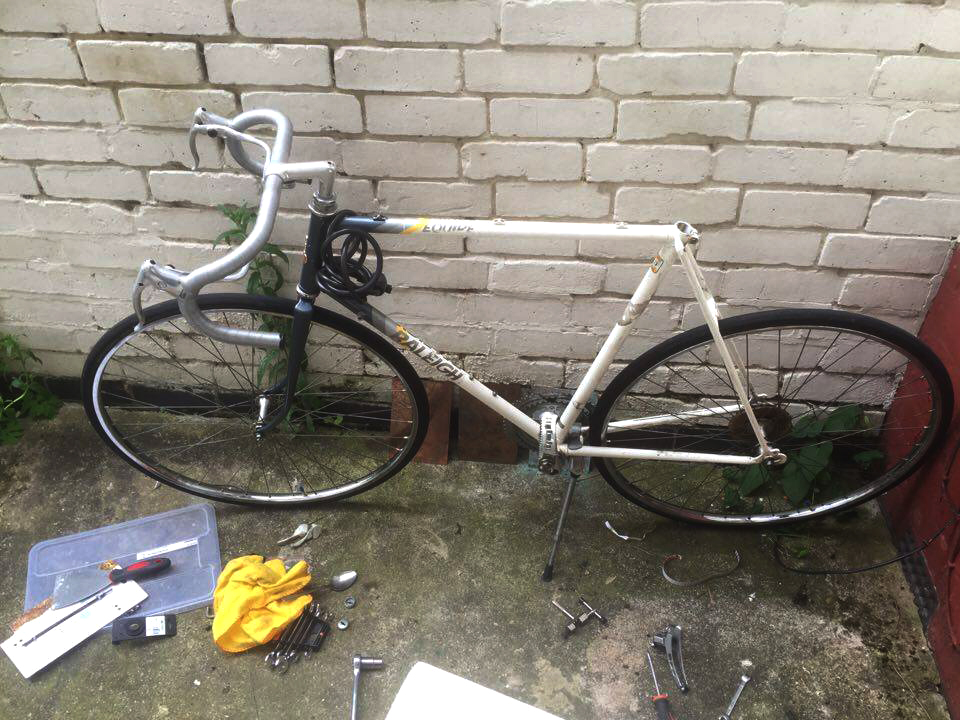
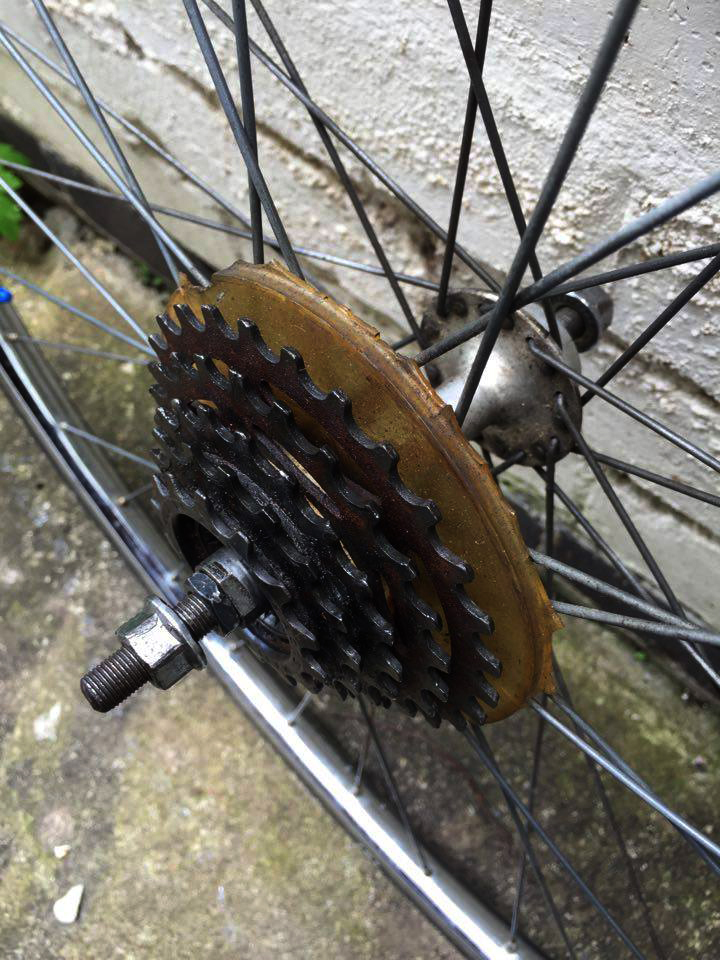
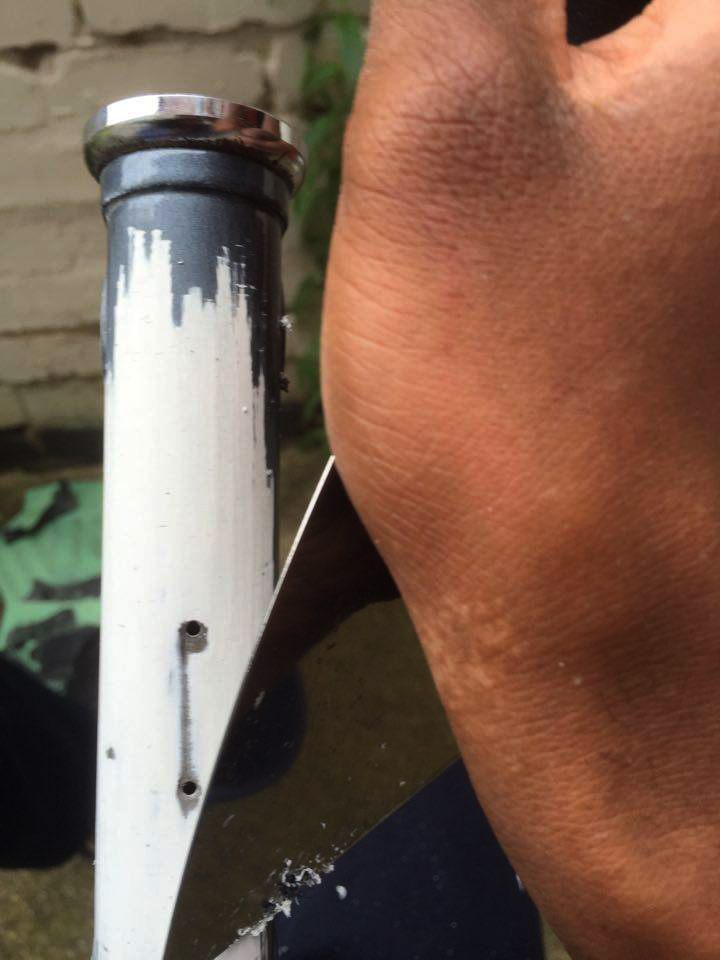
All of which are why I decided to buy my scrappy Raleigh Equipe. It was £55 from eBay and came packaged with its original 1989-period tires, perished to the inners, Weinmann side-pull rim brakes again with ruined brake pads, seemingly original handlebar tape and cables and Maillard hubs which very badly needed a service. On assembly I promptly found that everything had seized and, after applying bike grease to all the vitals, spent a painful ride into town working it loose again. It was, quite appropriately, a barn find.

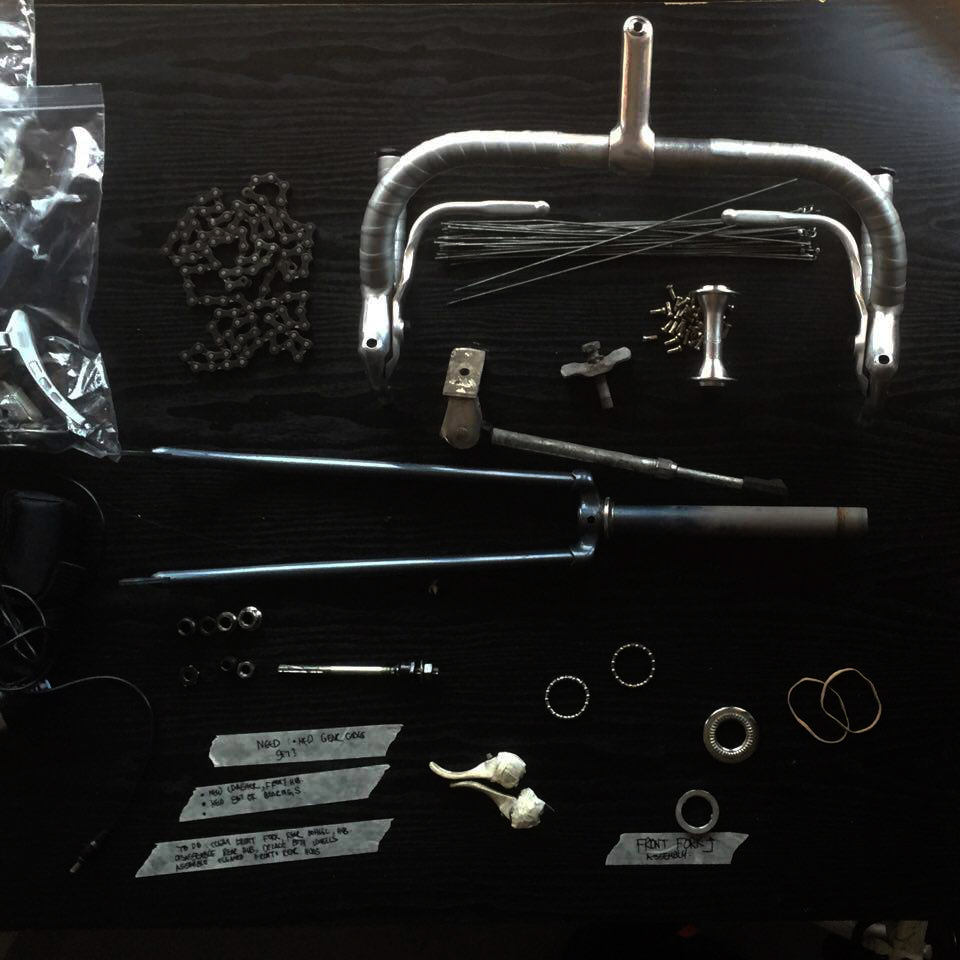
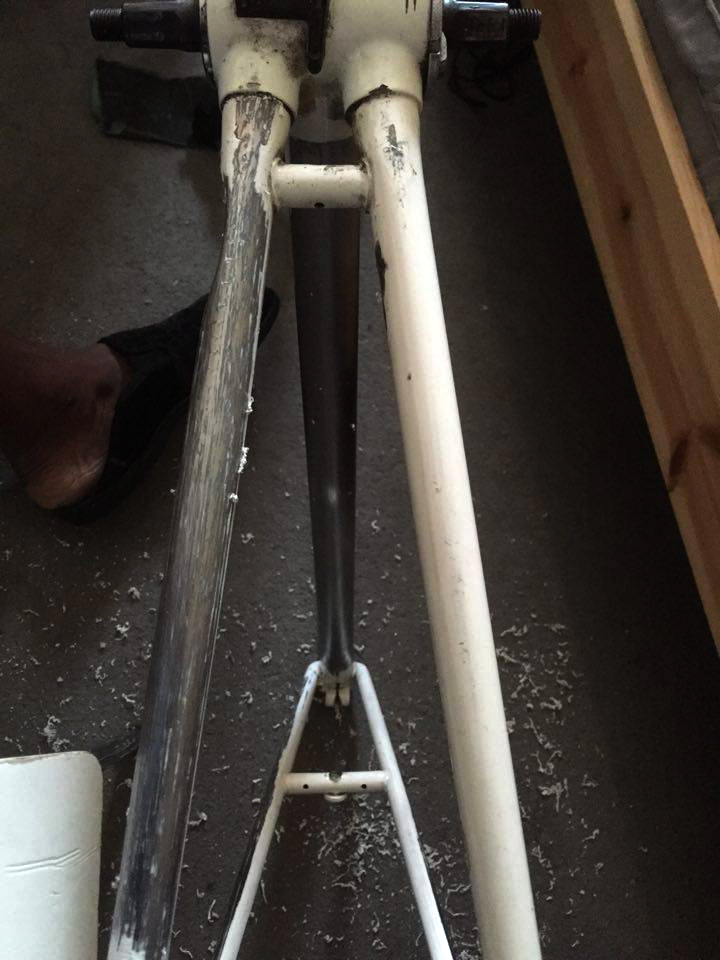
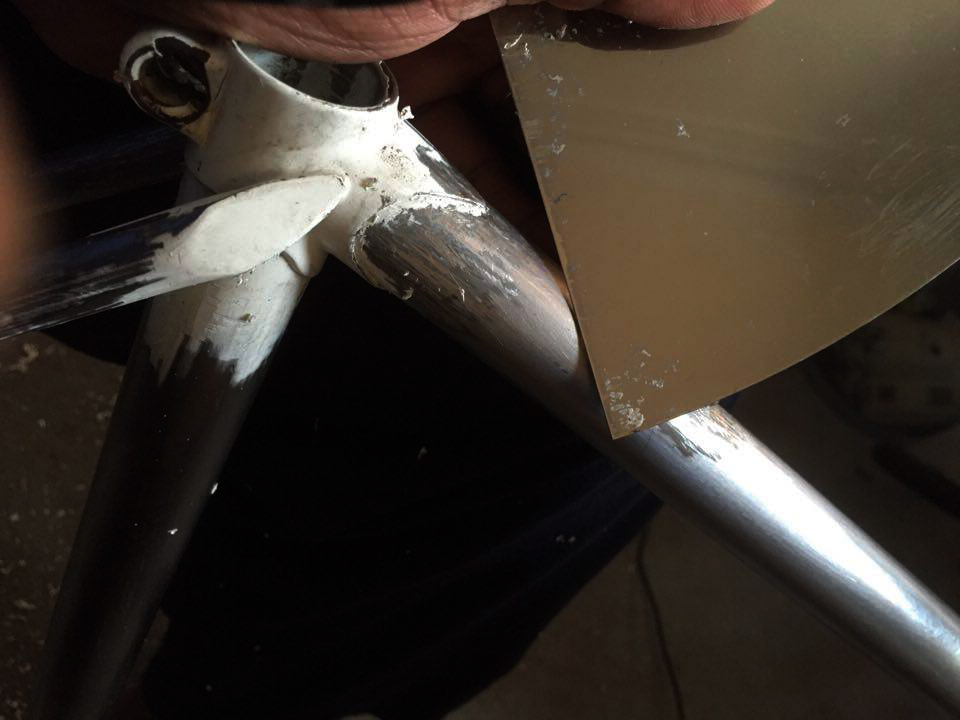
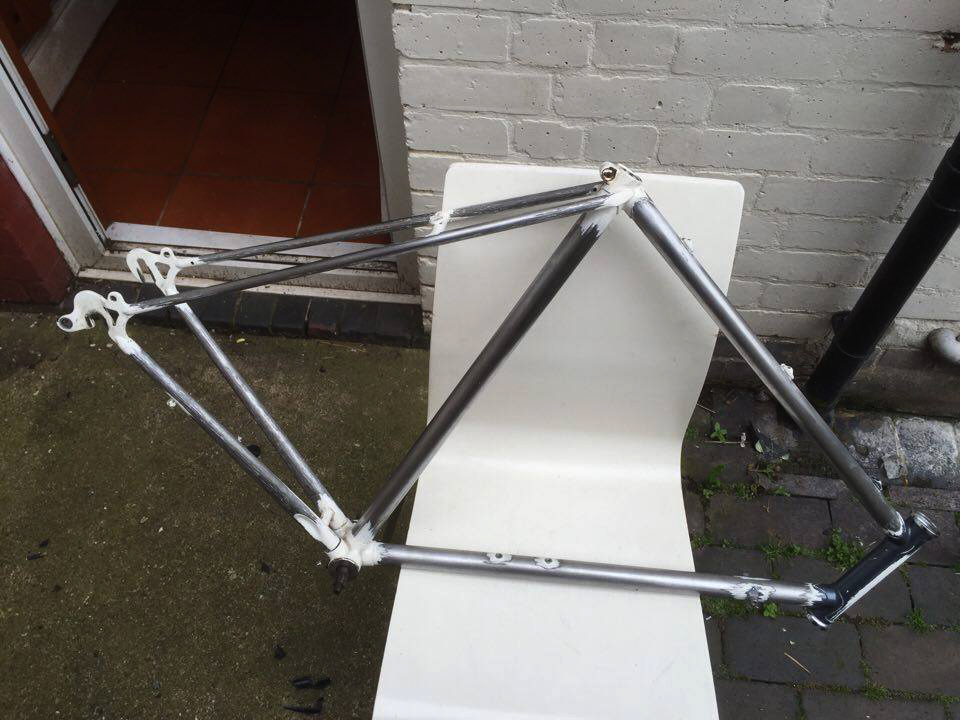
And yet, my current attempt at restoration will hopefully help me understand it like only a complete disassembly will. I have plans to remove, dismantle, clean and service every moving part and hopefully get it into as-new condition, or close. Not a restoration in the traditional sense - but a thorough renewal. Hopefully it'll now last as long on the road as it did for the first part in a shed.
I'm 21, an Illustration student and up until now have been been limited to biking the 1-2 urban miles between my home and University. I'd do the occasional 12-mile slog to my Aunt's house in the next town, over some rather patchy country roads but even that so far has been limited by poor hardware, poor knowledge of bike mechanics and generally bad cycling. I consider it a bit of a miracle I haven't severely hurt myself by exercising poor technique or had an accident, or something.
All of which are why I decided to buy my scrappy Raleigh Equipe. It was £55 from eBay and came packaged with its original 1989-period tires, perished to the inners, Weinmann side-pull rim brakes again with ruined brake pads, seemingly original handlebar tape and cables and Maillard hubs which very badly needed a service. On assembly I promptly found that everything had seized and, after applying bike grease to all the vitals, spent a painful ride into town working it loose again. It was, quite appropriately, a barn find.
And yet, my current attempt at restoration will hopefully help me understand it like only a complete disassembly will. I have plans to remove, dismantle, clean and service every moving part and hopefully get it into as-new condition, or close. Not a restoration in the traditional sense - but a thorough renewal. Hopefully it'll now last as long on the road as it did for the first part in a shed.