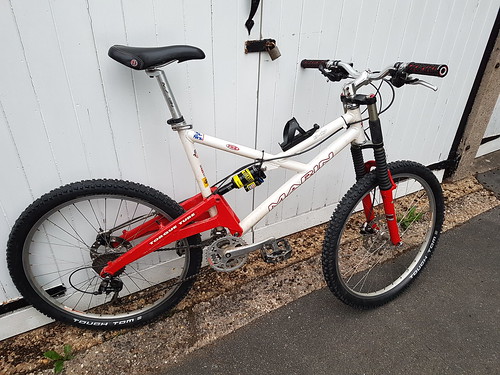
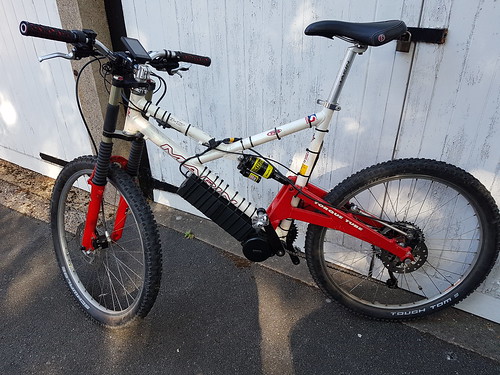
I have a tired Marin B17 that I've had from new, and an itch for an Ebike, so I thought I'd put the project on here.
My reasons for building an Ebike are nothing to do with disability (I'm slow and fat, but have no other issues ), it's simply because they look like a total hoot! Winter muddy riding may become something to look forward to. So if you are one of the fun police, or think an Ebike is heresy, this may not be the thread for you. If you think they look like fun, or are curious, then join me on the journey. Firstly is to get the bike back up to date and ridable.
So, the forks first.
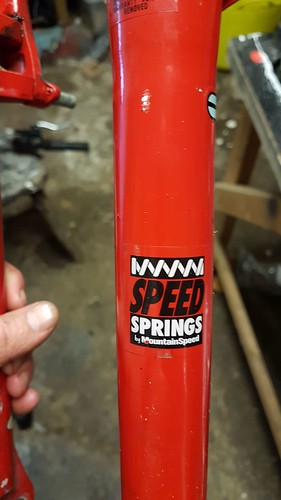
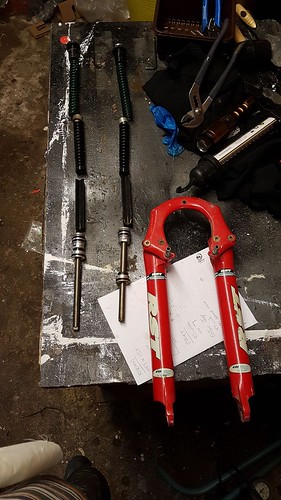
Marin HI-5 triple clamps weren't great in the day, but with a set of Mountainspeed Speed Springs were pretty capable, and it was a common upgrade. Luckily I had some fitted, so we werent off to a bad start.
 IMG-20180821-WA0013 by Andy Stokes, on Flickr
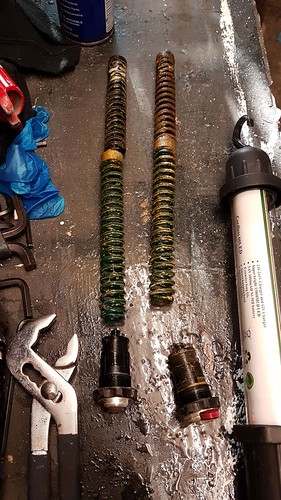
Basically the forks were jammed solid, so it was a bit of a fight to get the legs off. The legs were marked, and the outers were full of water!!!
 IMG-20180821-WA0006_resized_1 by Andy Stokes, on Flickr
 IMG-20180821-WA0004_resized_1 by Andy Stokes, on Flickr
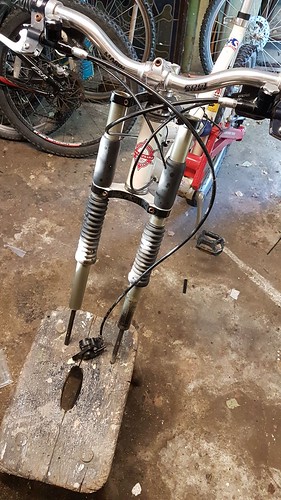
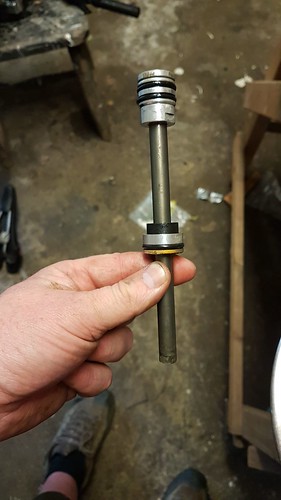
Plenty of WD40 and a good clean and lube they came out ok.
 IMG-20180821-WA0011_resized_1 by Andy Stokes, on Flickr
 IMG-20180821-WA0009 by Andy Stokes, on Flickr
Back on the bike and smooth as butter.
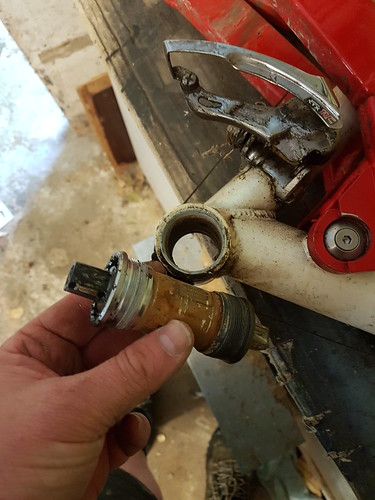
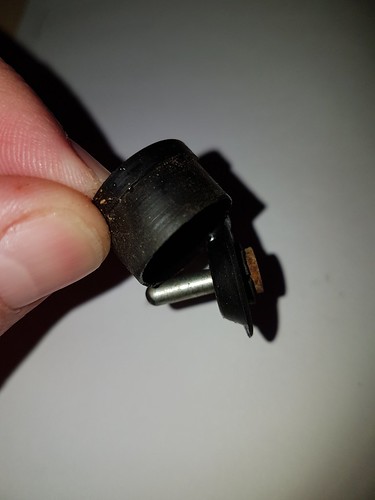
Next the Hope C2 brake levers.
These have a rubber bellows type arrangement with a prodder that pushes the master cyclinder. The bellows had perished on both sides
 20180824_102949_resized by Andy Stokes, on Flickr
So, after a bit of head scratching of whether to repair or replace I decided to repair.
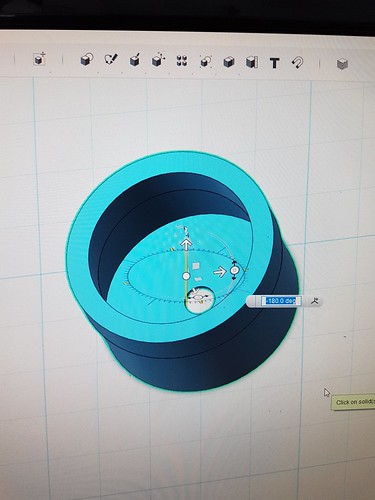
Onto the PC to create a simplified CAD drawing of the bellows.
 20180824_104636_resized by Andy Stokes, on Flickr
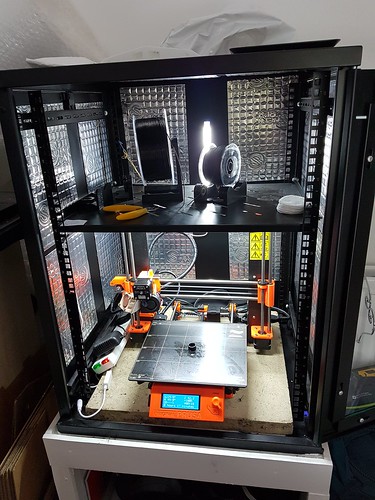
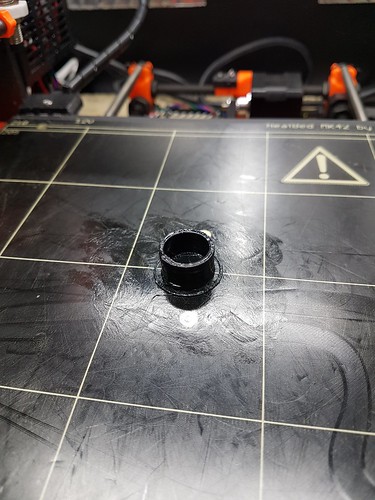
Then onto the 3D printer to print them in rubber flex filament. I dont print in flex often, but they came out ok first try.
 20180824_111835_resized by Andy Stokes, on Flickr
 20180824_111838_resized by Andy Stokes, on Flickr
They fit in the hole. You can see the end of the master cyclinder.
 20180824_120614_resized by Andy Stokes, on Flickr
 20180824_125531_resized by Andy Stokes, on Flickr
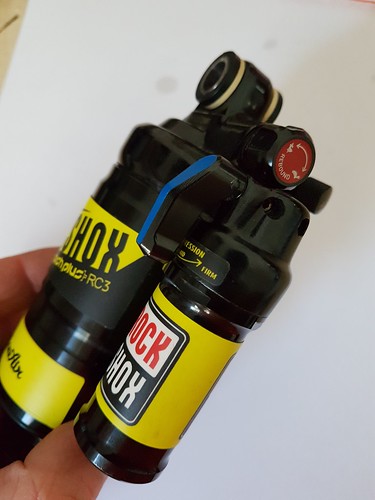
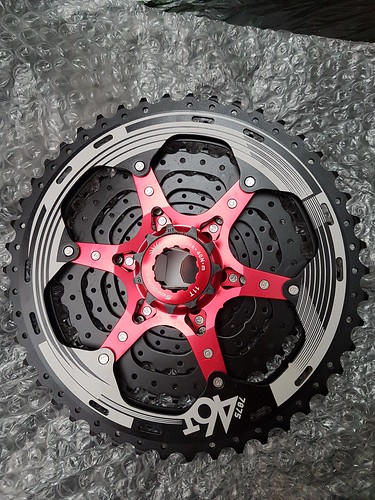
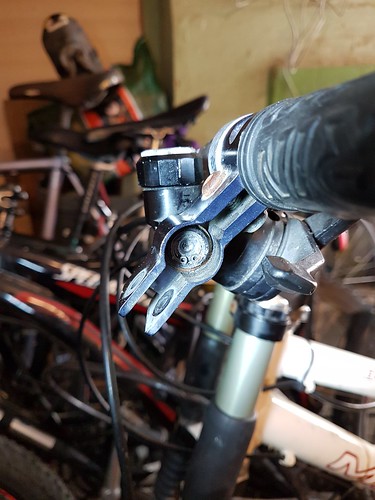
Here's the finished article. Both sides done, and set with the screws. Then I let my nephew out for a ride to test the front shock and brakes. It was a reveltation and like new, so I'm pleased with progress so far. Next up is rear shock and tyres.
My reasons for building an Ebike are nothing to do with disability (I'm slow and fat, but have no other issues
), it's simply because they look like a total hoot! Winter muddy riding may become something to look forward to. So if you are one of the fun police, or think an Ebike is heresy, this may not be the thread for you. If you think they look like fun, or are curious, then join me on the journey. Firstly is to get the bike back up to date and ridable.So, the forks first.
Marin HI-5 triple clamps weren't great in the day, but with a set of Mountainspeed Speed Springs were pretty capable, and it was a common upgrade. Luckily I had some fitted, so we werent off to a bad start.
IMG-20180821-WA0013 by Andy Stokes, on FlickrBasically the forks were jammed solid, so it was a bit of a fight to get the legs off. The legs were marked, and the outers were full of water!!!
IMG-20180821-WA0006_resized_1 by Andy Stokes, on FlickrIMG-20180821-WA0004_resized_1 by Andy Stokes, on FlickrPlenty of WD40 and a good clean and lube they came out ok.
IMG-20180821-WA0011_resized_1 by Andy Stokes, on FlickrIMG-20180821-WA0009 by Andy Stokes, on FlickrBack on the bike and smooth as butter.
Next the Hope C2 brake levers.
These have a rubber bellows type arrangement with a prodder that pushes the master cyclinder. The bellows had perished on both sides
20180824_102949_resized by Andy Stokes, on FlickrSo, after a bit of head scratching of whether to repair or replace I decided to repair.
Onto the PC to create a simplified CAD drawing of the bellows.
20180824_104636_resized by Andy Stokes, on FlickrThen onto the 3D printer to print them in rubber flex filament. I dont print in flex often, but they came out ok first try.
20180824_111835_resized by Andy Stokes, on Flickr20180824_111838_resized by Andy Stokes, on FlickrThey fit in the hole. You can see the end of the master cyclinder.
20180824_120614_resized by Andy Stokes, on Flickr20180824_125531_resized by Andy Stokes, on FlickrHere's the finished article. Both sides done, and set with the screws. Then I let my nephew out for a ride to test the front shock and brakes. It was a reveltation and like new, so I'm pleased with progress so far. Next up is rear shock and tyres.